Kuala Lumpur International Airport Terminal 1 Map (Most Up-To-Date)
Kuala Lumpur International Airport Terminal 1 is a split, hub-and-spoke layout: the Main Terminal Building and Contact Pier (G and H gates) sit on one side, while the separate Satellite Building A (C gates) sits out on the airfield. At Malaysia’s main Kuala Lumpur airport hub, the critical orientation is “Main Terminal and Contact Pier versus Satellite Building,” because the 1.2-kilometer inter-building link normally handled by the Aerotrain is currently replaced by bus staging nodes.
Map Table
| Zone | Connection | Walk Time |
|---|---|---|
| Main Terminal Building | Contact Pier (G and H gates) | 5–8 min |
| Contact Pier (Gate G1 node) | Bus transfer → Satellite Building A | 5–10 min + wait |
| Satellite Building A (Gate C5 node) | Bus transfer → Main Terminal Building | 5–10 min + wait |
| Satellite Building A central core (Jungle Boardwalk) | All C-gate arms | 3–8 min |
Kuala Lumpur International Airport Terminal 1 Map Strategy
- Treat “Main Terminal Building and Contact Pier versus Satellite Building A” as the first decision: if your gate is C, commit to the bus transfer path early; if your gate is G or H, stay on the walkable Contact Pier spine.
- Use fixed anchors to confirm you’re in the right building: the Main Terminal Building duty-free central zone and the Satellite Building A Jungle Boardwalk are the two “reset points” before you choose Gate G1 or Gate C5 paths.
- Build your buffer around the bus loop, not the listed gate time: walking + queueing + tarmac delays make the bus transfer the critical path during Aerotrain downtime.
- Plan for gate-screening friction: carry an empty bottle toward the gate zone, avoid loose liquids unless sealed for screening, and assume post-screening amenities vary by gate lounge.
2026 Kuala Lumpur International Airport Terminal 1 Map + Printable PDF
Aerotrain suspension still defines how Kuala Lumpur International Airport Terminal 1 works in 2026, with Gate G1 (Contact Pier) and Gate C5 (Satellite West Zone) acting as the practical transfer “stations.” Passenger flow is also shaped by decentralized gate security and the January 2026 streamlining of post-immigration departure checks, which improves flow but does not remove gate-level screening constraints.
Kuala Lumpur International Airport Terminal 1 International Departure Map 2025
Kuala Lumpur International Airport Terminal 1 International Arrivals Map 2025
Kuala Lumpur International Airport Terminal 1 Domestic Departure Map 2025
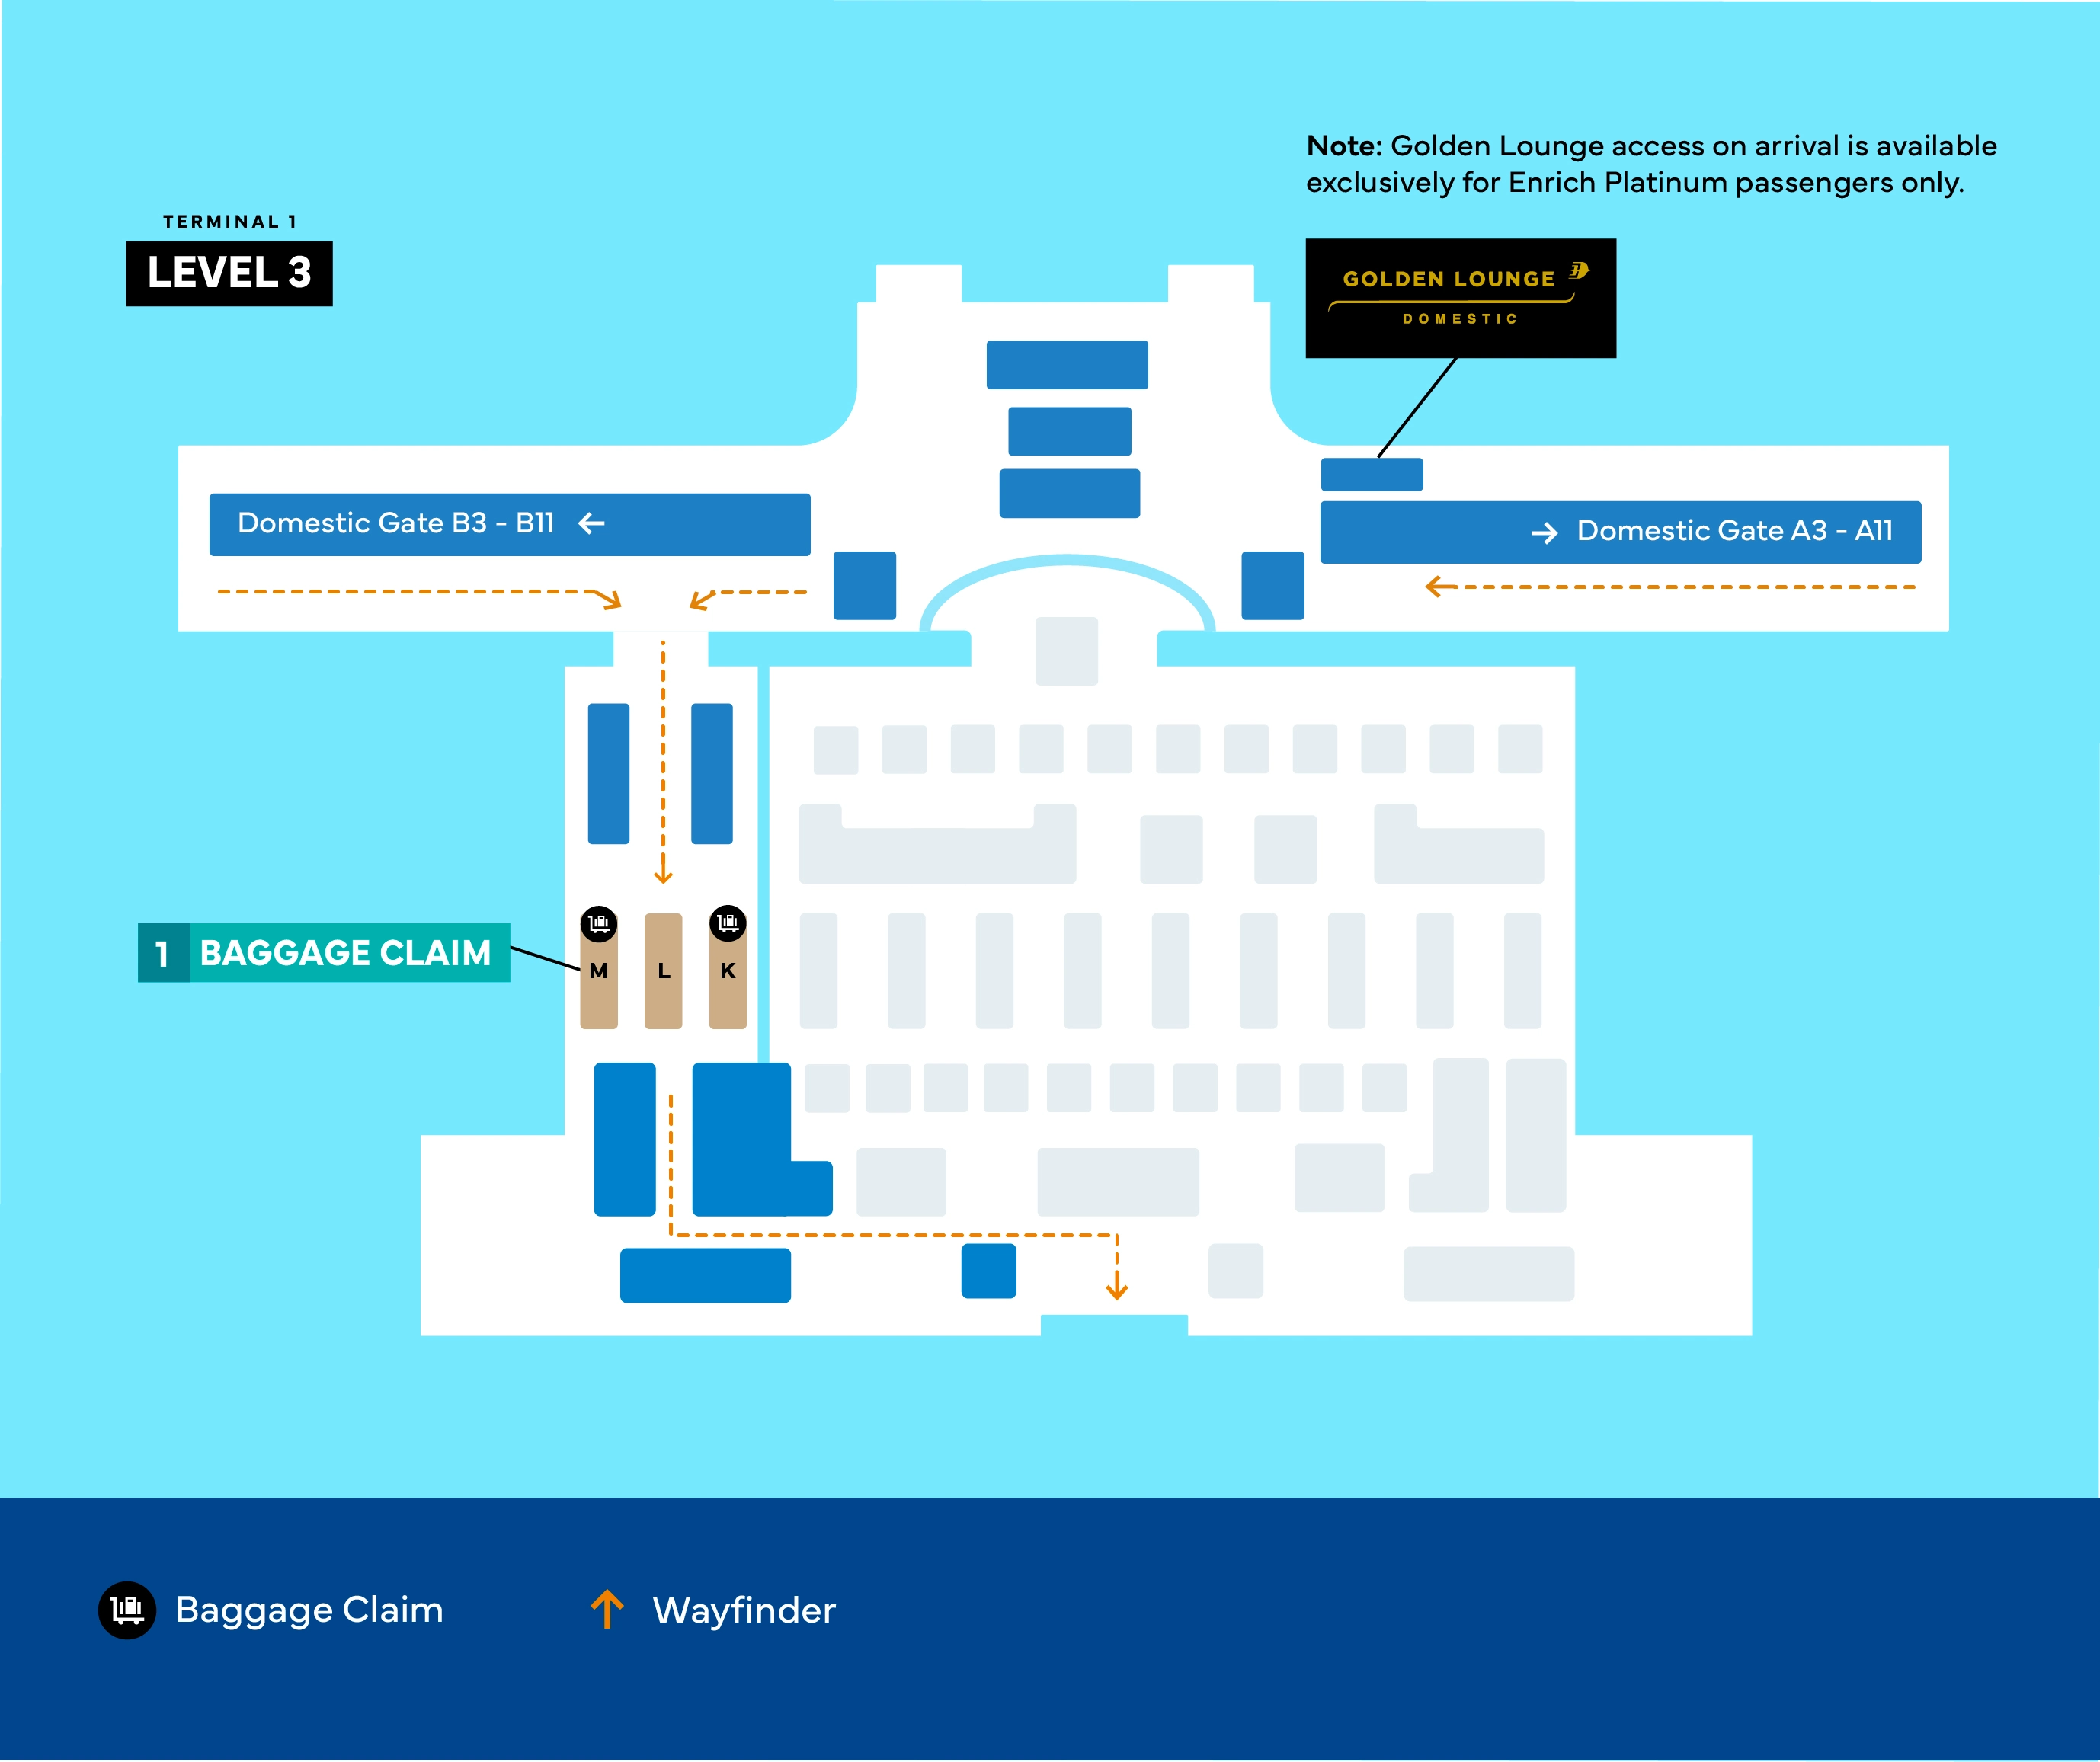
Kuala Lumpur International Airport Terminal 1 Domestic Arrivals Map 2025
2026 Kuala Lumpur International Airport Terminal 1 Map Guide
What is the exact walking distance (meters) from the Satellite building arrivals exit to the shuttle-bus boarding point for the Main Terminal transfer?
No walk-only route exists from the Satellite Building A arrivals exit to the Main Terminal Building transfer without using the dedicated bus staging node at Gate C5. The controlling distance is the internal walk from Satellite passenger flow into the Gate C5 bus lounge doors, because the Aerotrain platforms are sealed and there is no pedestrian corridor to the Main Terminal Building.
The mapped walk depends on where you start inside the Satellite Building A arrival flow. From the Satellite central core at the Jungle Boardwalk to the Gate C5 bus lounge is about 150 meters. From a far-arm arrival (for example, the South arm near Gate C37) to the Jungle Boardwalk is about 300 meters, making a maximum internal walk of about 450 meters to reach the Gate C5 bus staging doors.
What is the exact route (turn-by-turn landmarks) from Gate C-area passenger flow to the bus staging doors used for transfers to the Main/Contact Pier?
The bus staging doors for the Main Terminal Building transfer sit at Gate C5 in the Satellite Building A West Zone, reached by routing through the Jungle Boardwalk central core. The Aerotrain station is not usable, so any path that aims for the train platform is a dead end.
From the Gate C area, follow the concourse inward toward the Jungle Boardwalk rainforest enclosure until you reach the Satellite Building A central hub. Keep the rainforest enclosure as your anchor and continue toward the West arm for Gates C1–C6, following “Bus” or “Transfer” wayfinding that overrides the permanent Aerotrain signage. Stay on the passenger level to the Gate C5 cluster, then enter the Gate C5 lounge frontage and continue to the controlled doors where passengers queue before descending to the tarmac for bus boarding.
Where are the physical decision points (signs/escalators/corridors) that separate paths to G/H gates (Main building) versus C gates (Satellite building)?
The primary decision point is the overhead gantry split immediately after immigration on Level 4, at the central duty-free zone where the walkable Contact Pier spine diverges from the Satellite transfer path. This is the “point of no return” for efficient routing, because G and H gates remain walkable while C gates require committing to the Gate G1 bus node.
The separation happens at the main airside corridor just beyond the duty-free entrance: continuing straight and then down the Contact Pier corridor leads toward Gates G and H, while turning right toward the train icon and transfer signage leads toward the closed Aerotrain station area and onward to “Bus to Satellite” routing for C gates. A second, reinforcing decision point appears when you pass the boarded-up Aerotrain station frontage—if you are still tracking toward Gates G and H at that point, you have missed the transfer signage and must backtrack roughly 300 meters to regain the Gate G1 bus staging path.
What is the exact walking distance (meters) from the Main Terminal bus drop-off to the nearest immigration hall entrance (departures side)?
The walk is about 250 meters from the Main Terminal Building-side bus operation point at Gate G1 to the departures immigration hall entrance on Level 4. That distance assumes you are starting from the Gate G1 bus lounge frontage used for the Satellite Building A transfer, not from a random Contact Pier gate farther down the spine.
After you leave the Gate G1 bus staging area, stay on the Contact Pier international level and follow the main concourse back toward the central duty-free zone. The immigration hall entrance sits before the main retail spine, adjacent to the central processing core that funnels passengers from check-in Level 5 down to Level 4. If you overshoot into the duty-free frontage, you have passed the immigration decision edge and must backtrack along the same corridor.
From the typical international arrival corridor in Terminal 1, what is the mapped distance to the first immigration queue split (electronic gates versus manual counters)?
The distance is about 120–150 meters from the Terminal 1 international arrivals corridor exit into the immigration hall to the first clear split between electronic gates and manual counters. The split presents immediately as the hall opens, so the usable “decision distance” is essentially the length of the entry walk to the counter bank.
Arriving from the Contact Pier corridor or from the bus-side arrivals feed, stay on the main arrivals path until it opens into the Level 3 immigration hall. Use the first full-width counter sightline as your anchor: the electronic gates are predominantly on the right-hand side of the hall, while the manual counters occupy the left and center lanes. If you are seeing right-side digital signage and flag/eligibility boards, you are already at the split; if you are still in a narrower corridor with no counter visibility, you are not yet at the decision point.
Where is the closest alternative immigration hall or secondary access point if the primary queue is saturated (based on terminal layout)?
No true alternate immigration hall exists inside Kuala Lumpur International Airport Terminal 1 Arrivals that lets you bypass the main Level 3 counter bank once you enter the immigration hall. The practical “secondary access” is repositioning to the far-end lanes of the same hall, not finding a different hall.
The workable move is lateral, not directional: stay in the immigration hall and walk along the front of the queue field toward the extreme ends of the counter bank, using the counter-numbered ends and the blue-lit premium lane area as anchors. The electronic gates are predominantly on the right side of the hall and the manual counters are left/center, so a saturated center mass often means the only relief is at the outer edges where staff can open or flex lanes. If you commit deep into a stalled queue, reversing out is slow because the entry corridor behind you narrows.
What is the exact curb-to-counter walking distance from the most common drop-off doors to the main international check-in island(s) in Kuala Lumpur International Airport Terminal 1?
The distance is about 40 meters from the typical Level 5 departures curbside doors into the check-in hall to the central international check-in islands used by major carriers, with an outer-range maximum of about 80 meters to the furthest islands. The “comb” layout means the door-to-island depth is short, but the exact island letter shifts laterally along the hall.
From the Level 5 drop-off curb, enter through the nearest automatic doors aligned with the central hall, using the main information counters as your anchor for the midpoint. The main international check-in activity commonly clusters around central islands such as Island H, which sits roughly one short hall-depth in from the doors. If your airline is assigned to an end island (for example, near Island A or Island M), the walk becomes the longer edge case—still within roughly 80 meters from doors to counter frontage.
Which entrance/door number places you closest to the airline check-in zone(s) that historically generate the longest queues (shortest pathing variable only)?
Door alignment depends on which check-in island your airline is assigned, but the most queue-prone zones are typically in the central international check-in band where high-volume carriers concentrate on mid-hall islands. The shortest-path strategy is picking a Level 5 departures door that opens directly opposite your airline’s island letter, not defaulting to the nearest curb stop.
Use the check-in hall’s central core as your landmark: the main information counters and the midpoint islands (such as Island H) form the densest international processing area, and doors nearest this core minimize cross-hall lateral walking when lines spill outward. If you enter at a far-end door while your island is central, you add sideways distance and often meet the tail of the longest queue first. If your island assignment is displayed on overhead monitors, match your door to that monitor cluster before committing to a line.
What is the exact internal route from Kuala Lumpur International Airport Terminal 1 Arrivals to the KLIA Ekspres / ERL platform access (including the final corridor/escalator choice)?
The route runs from the Level 3 arrivals public hall down to the Level 1 ground transportation hub where the KLIA Ekspres and ERL platforms are accessed. The controlling navigation feature is the Main Terminal Building central core of escalators and elevators that stitches Level 3 to Level 1.
From the arrivals exit after customs scanning, remain landside in the public arrivals hall and follow “Train” or “KLIA Ekspres / ERL” overhead wayfinding toward the Main Terminal Building central core. Use the main information counters and the vertical transport bank as your anchor, then take the escalator or elevator down two levels to Level 1. At Level 1, follow the rail signage along the concourse to the platform entry gates and ticketing frontage; the final choice is the escalator versus elevator at the platform threshold, with the elevator sitting adjacent to the escalator pair at the same entry bay.
What is the exact mapped distance between the Terminal 1 to Terminal 2 transfer arrival point and the Terminal 2 check-in hall threshold (to quantify the last-mile transfer risk)?
The last-mile walk is the distance from the Terminal 2 ground transportation arrival node on Level 1 to the Terminal 2 check-in hall threshold, and it functions as an internal terminal walk rather than a curb-to-counter sprint. The controlling risk is not a long walk but the compound delay of waiting for the inter-terminal mode plus navigating from the drop-off bay into the correct hall entrance.
From the Terminal 1 side, the free shuttle typically delivers you to Terminal 2 at the Level 1 transportation hub area (commonly marked by bay numbering such as Bay A10). From that drop-off, follow the primary “Departures / Check-in” vertical routing up to the check-in level threshold using the nearest escalator bank, with elevators adjacent for step-free access. The walk component is generally short relative to the 2-kilometer inter-terminal gap, but the transfer should still be planned as a 30–40 minute total operation when you include platform/bay finding and frequency gaps.
Where are the gate-area security screening chokepoints located relative to the main concourse spine (i.e., how far before the gate do lanes begin)?
Security lanes begin directly at the entrance to each gate lounge or gate cluster, not at a centralized checkpoint, so the chokepoint is effectively at the gate door. That means queueing can spill backward into the public concourse spine immediately outside the lounge frontage.
At Contact Pier gates (such as G gates), the X-ray and metal detector setup sits at the lounge threshold where boarding-pass control begins, with lanes forming in the corridor just before the gate seating area. At Satellite Building A C gates, the same pattern applies: the screening position is at the gate lounge entry (for example, a C-gate cluster like C21–C27), with the queue stacking in the arm corridor leading to the lounge doors. If you can still see the open concourse retail/toilet zones, you are outside screening; once you pass the X-ray portal, you are inside the sterile lounge space.
What is the nearest post-screening water refill point for passengers routed toward specific airside zones, and what is the walking distance to it?
No reliable post-screening water refill point can be assumed inside Kuala Lumpur International Airport Terminal 1 gate lounges, because fountains inside the screened lounge areas are rare, inconsistent, and sometimes non-functional. The only dependable planning assumption is that most fountains sit in the public concourse near toilets, which is pre-screening for the decentralized gate model.
Some larger gate lounges have a small stainless-steel fountain positioned near the service desk or near the glass boarding doors inside the lounge, which can be the nearest option once you have cleared the X-ray. When present, the walk is typically short—on the order of tens of meters from the screening portal to the desk-side area—but the exact location varies by gate cluster and cannot be treated as guaranteed. The practical tactic is to carry an empty bottle through gate security and fill it only if the intralounge fountain is visible and functioning.
For wheelchair users, what is the step-free route from bus transfer drop-off to the gate concourse, including the exact elevator locations required?
No step-free route exists using the standard shuttle buses, because boarding typically involves stairs or steep ramps at the tarmac interface, so the controlling requirement is using dedicated PRM handling rather than the mass bus loop. The functional step-free path uses elevators inside each building and an ambulift or specialized van between Gate G1 and Gate C5 operations.
From the Main Terminal Building side, use the central core elevator bank (adjacent to the main information counters) for any level change between processing floors and the Contact Pier international level, then proceed to the Gate G1 lounge area where PRM handling is staged. Airside transfer is completed by ambulift or a PRM vehicle to the Satellite Building A Gate C5 side rather than by climbing bus steps. On the Satellite Building A side, use the Satellite central core elevators (the elevator group serving the Jungle Boardwalk hub) to move between the passenger level and any required mezzanine or tarmac interface level, then roll into the gate arm corridor for the assigned C gate concourse.
Where are the bus-boarding lounges/holding areas for remote stands located, and what is the walking distance from the central concourse to those lounge doors?
The primary bus-boarding holding areas are Gate G1 on the Contact Pier international level and Gate C5 in the Satellite Building A West Zone. These two nodes function as the replacement “stations” whenever passengers must be moved by bus on the apron, including inter-building transfers and some remote stand operations.
From the Main Terminal Building airside central duty-free zone to the Gate G1 holding area is about 200–250 meters along the Contact Pier spine. From the Satellite Building A central concourse at the Jungle Boardwalk to the Gate C5 holding area is about 150 meters down the West arm. If you are starting from a far Satellite arm gate, add up to about 300 meters to reach the Jungle Boardwalk first, making a worst-case internal approach of about 450 meters to reach the Gate C5 lounge doors.
If a gate changes from Main building (G/H) to Satellite (C) within the last hour, what is the shortest mapped route from the first gate zone back to the inter-building transfer point?
The fastest recovery route is walking back along the Contact Pier spine to Gate G1, because Gate G1 is the bus transfer node to the Satellite Building A when the Aerotrain is unavailable. No walkable corridor exists from the Contact Pier to the Satellite Building A, so the Gate G1 bus staging point is the hard requirement.
From your current Gate G or Gate H area, turn back the way you came and follow the main concourse toward the central duty-free zone, using the duty-free frontage as your re-orientation anchor. As you approach the central split, follow “Bus to Satellite” wayfinding (not the sealed Aerotrain signage) and continue along the Contact Pier international level to the Gate G1 holding area. From the central duty-free node to Gate G1 is roughly 200–250 meters, and a wrong-building backtrack penalty is typically around 300 meters before you are back on the correct transfer path.