Hong Kong International Airport Terminal 1 Map (Most Up-To-Date)
Hong Kong International Airport Terminal 1 is a massive Y-shaped hall: an East Hall core (low-number gates), a long central spine, and a West Hall fork (high-number gates). Transfers feel “fragile” because arriving flows run on Level 5 while departures sit above on Level 6, forcing vertical transitions through a few security chokepoints. Within Hong Kong’s main airport complex, the scale is deceptive—gate placement and checkpoint choice can swing your transfer by 20+ minutes.
Map Table
| Zone | Connection | Walk Time |
|---|---|---|
| East Hall (Gates 1–21) | Transfer Security E1/E2 (Level 5) | short, core-adjacent |
| Central Spine (Gates 22–36) | Gate 29 Transfer Security (Level 5) | mid-distance |
| West Hall Fork (Gates 40–80) | Transfer Security W1 (Level 5), Automated People Mover access node | moderate, fork-adjacent |
| Midfield (Gates 201–230) | Automated People Mover only, Transfer Security M1 | fixed rail transfer |
Hong Kong International Airport Terminal 1 Map Strategy
- Find your Arrivals vs Transfer or Transit fork immediately on Level 5; choosing wrong creates the one-way “stuck airside” problem and wastes the most distance.
- Verify the transfer-security checkpoint you’re heading to before committing to a long walk; East Hall E1/E2 and West Hall W1 behave like chokepoints, while Gate 29, Gate 42, and Gate 63 can be time-savers when staffed.
- Follow the vertical sequence as a single route chain: arrivals corridor → transfer security → escalator or elevator core → departures level; delays stack at each level change.
- Avoid reverse-flow assumptions: West-to-East on departures is walk-only, so lounge choices and gate changes can turn into a forced 15–25 minute cross-terminal hike.
2026 Hong Kong International Airport Terminal 1 Map + Printable PDF
Terminal 1’s operating logic in 2026 still revolves around the Level 5 arrivals corridor feeding a small set of transfer-security checkpoints, then a lift or escalator jump to Level 6 departures. The Sky Bridge route to Gates 13–21 and the Automated People Mover link to West Hall and Midfield remain the key “map lines” that decide whether you walk a predictable corridor or get forced into a bottleneck.

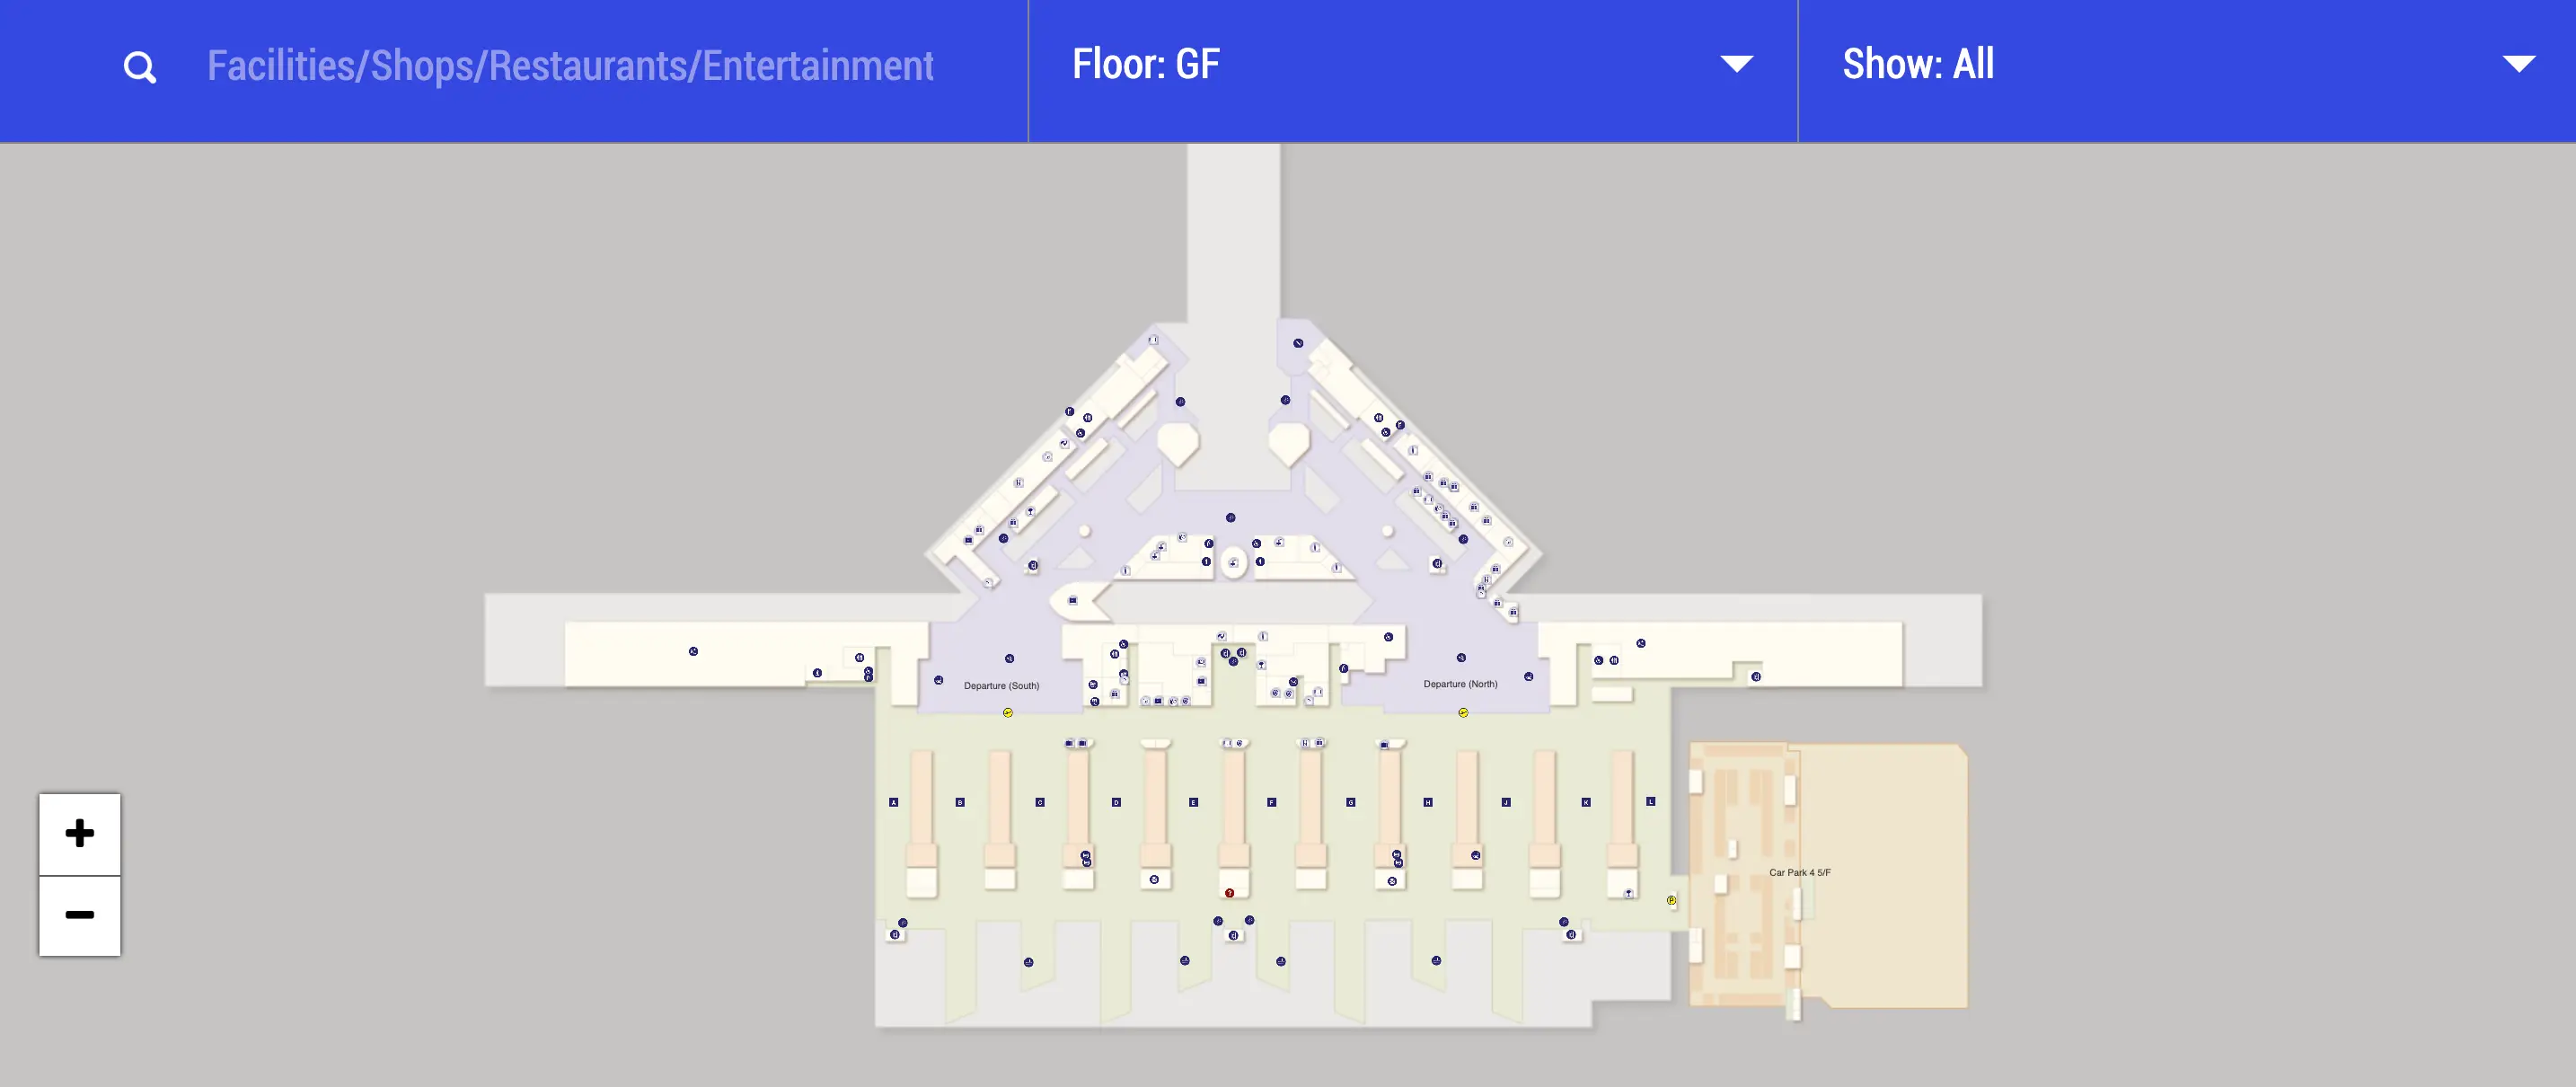
Hong Kong International Airport Terminal 1 GF Map 2025
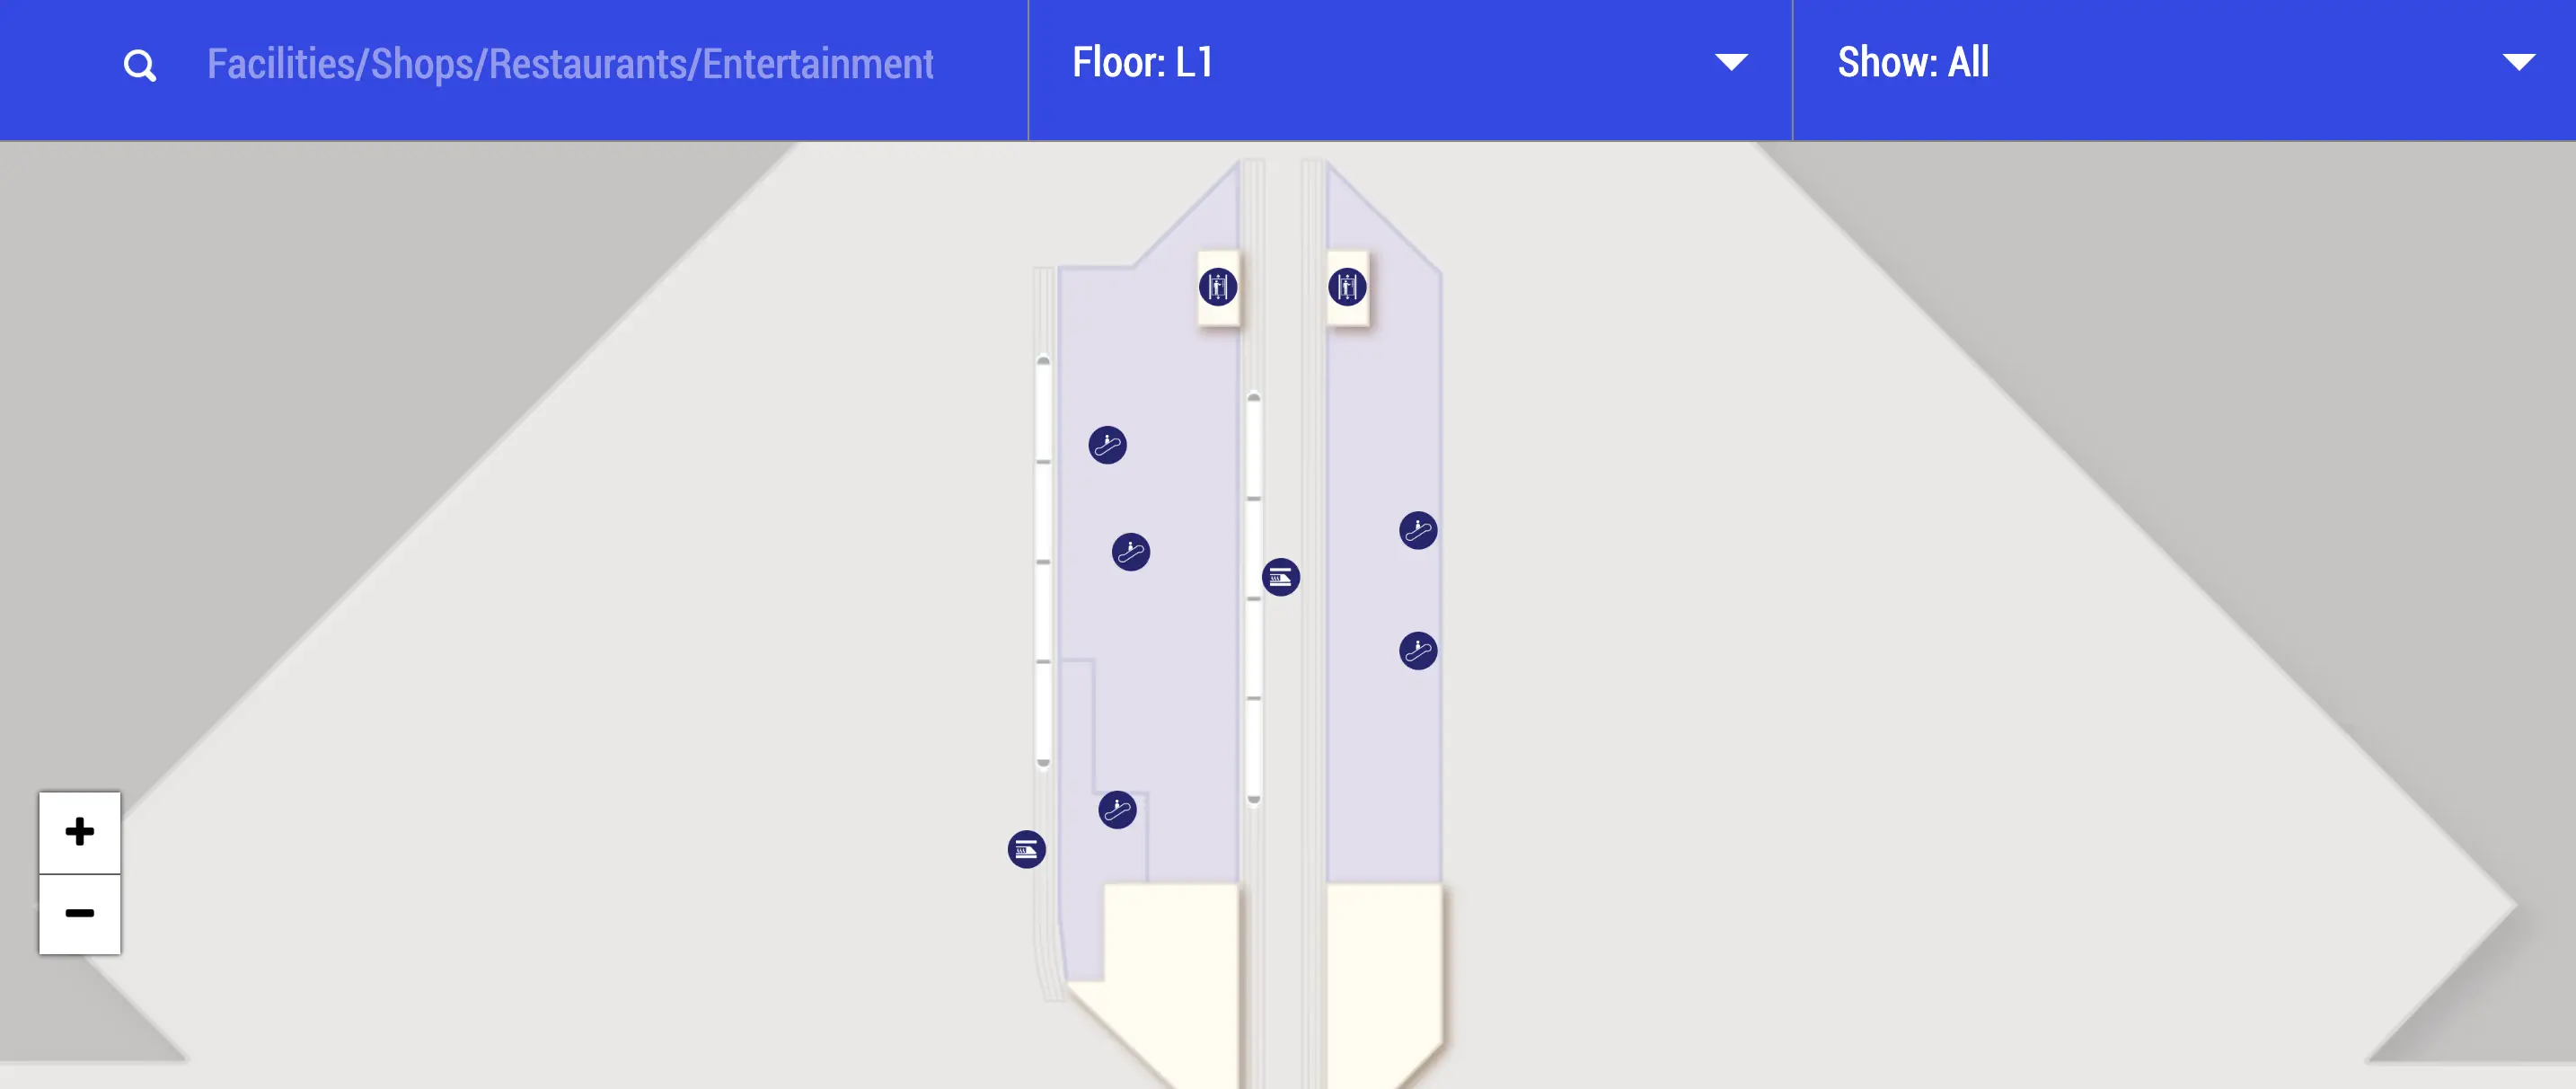
Hong Kong International Airport Terminal 1 L1 Map 2025
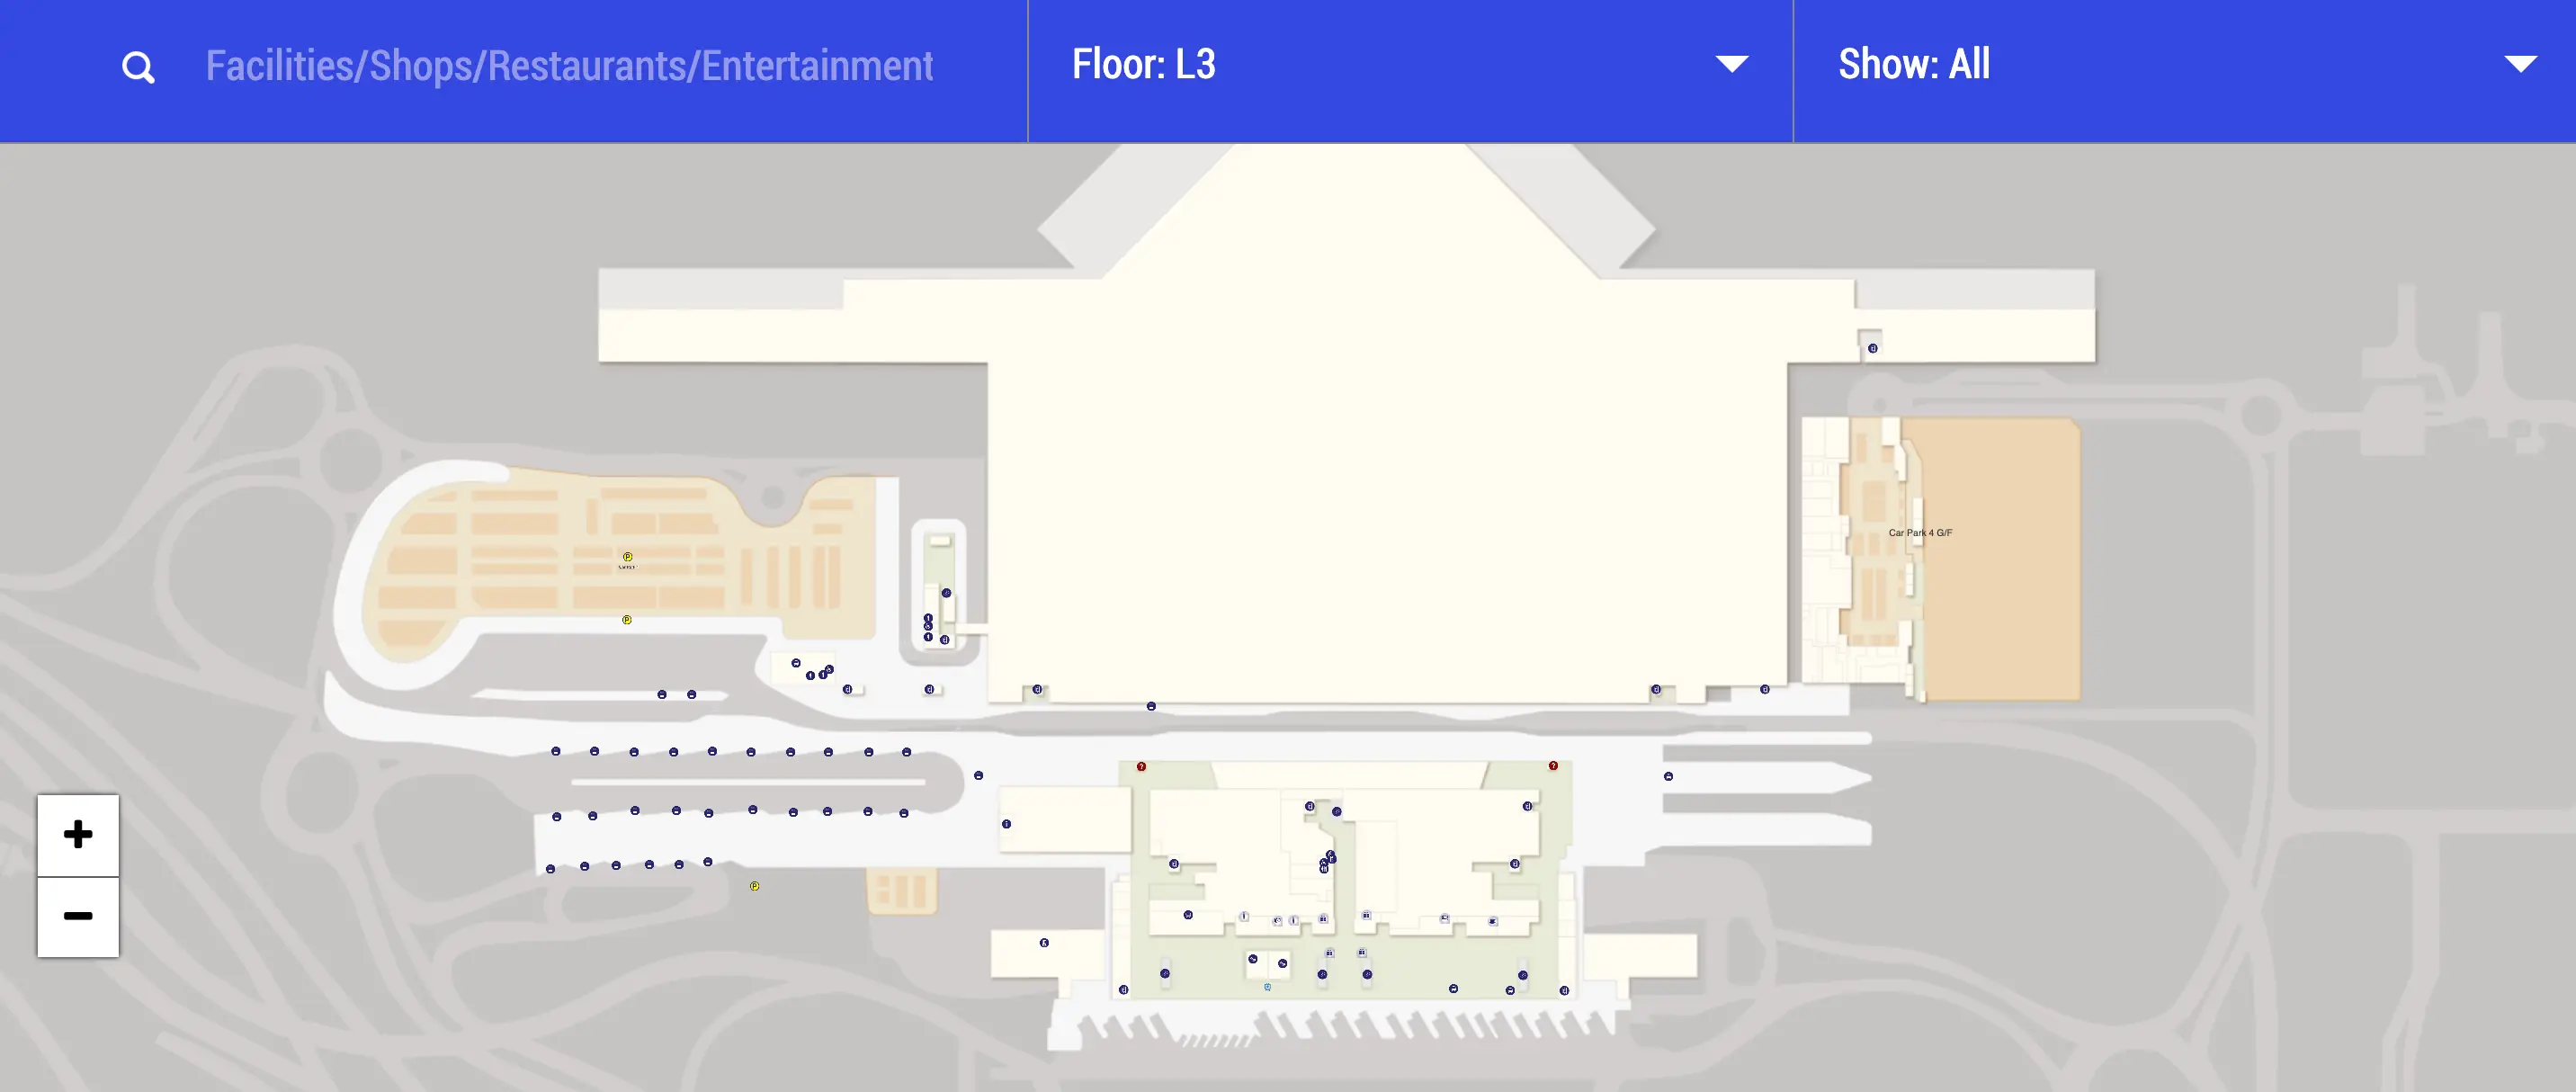
Hong Kong International Airport Terminal 1 L3 Map 2025
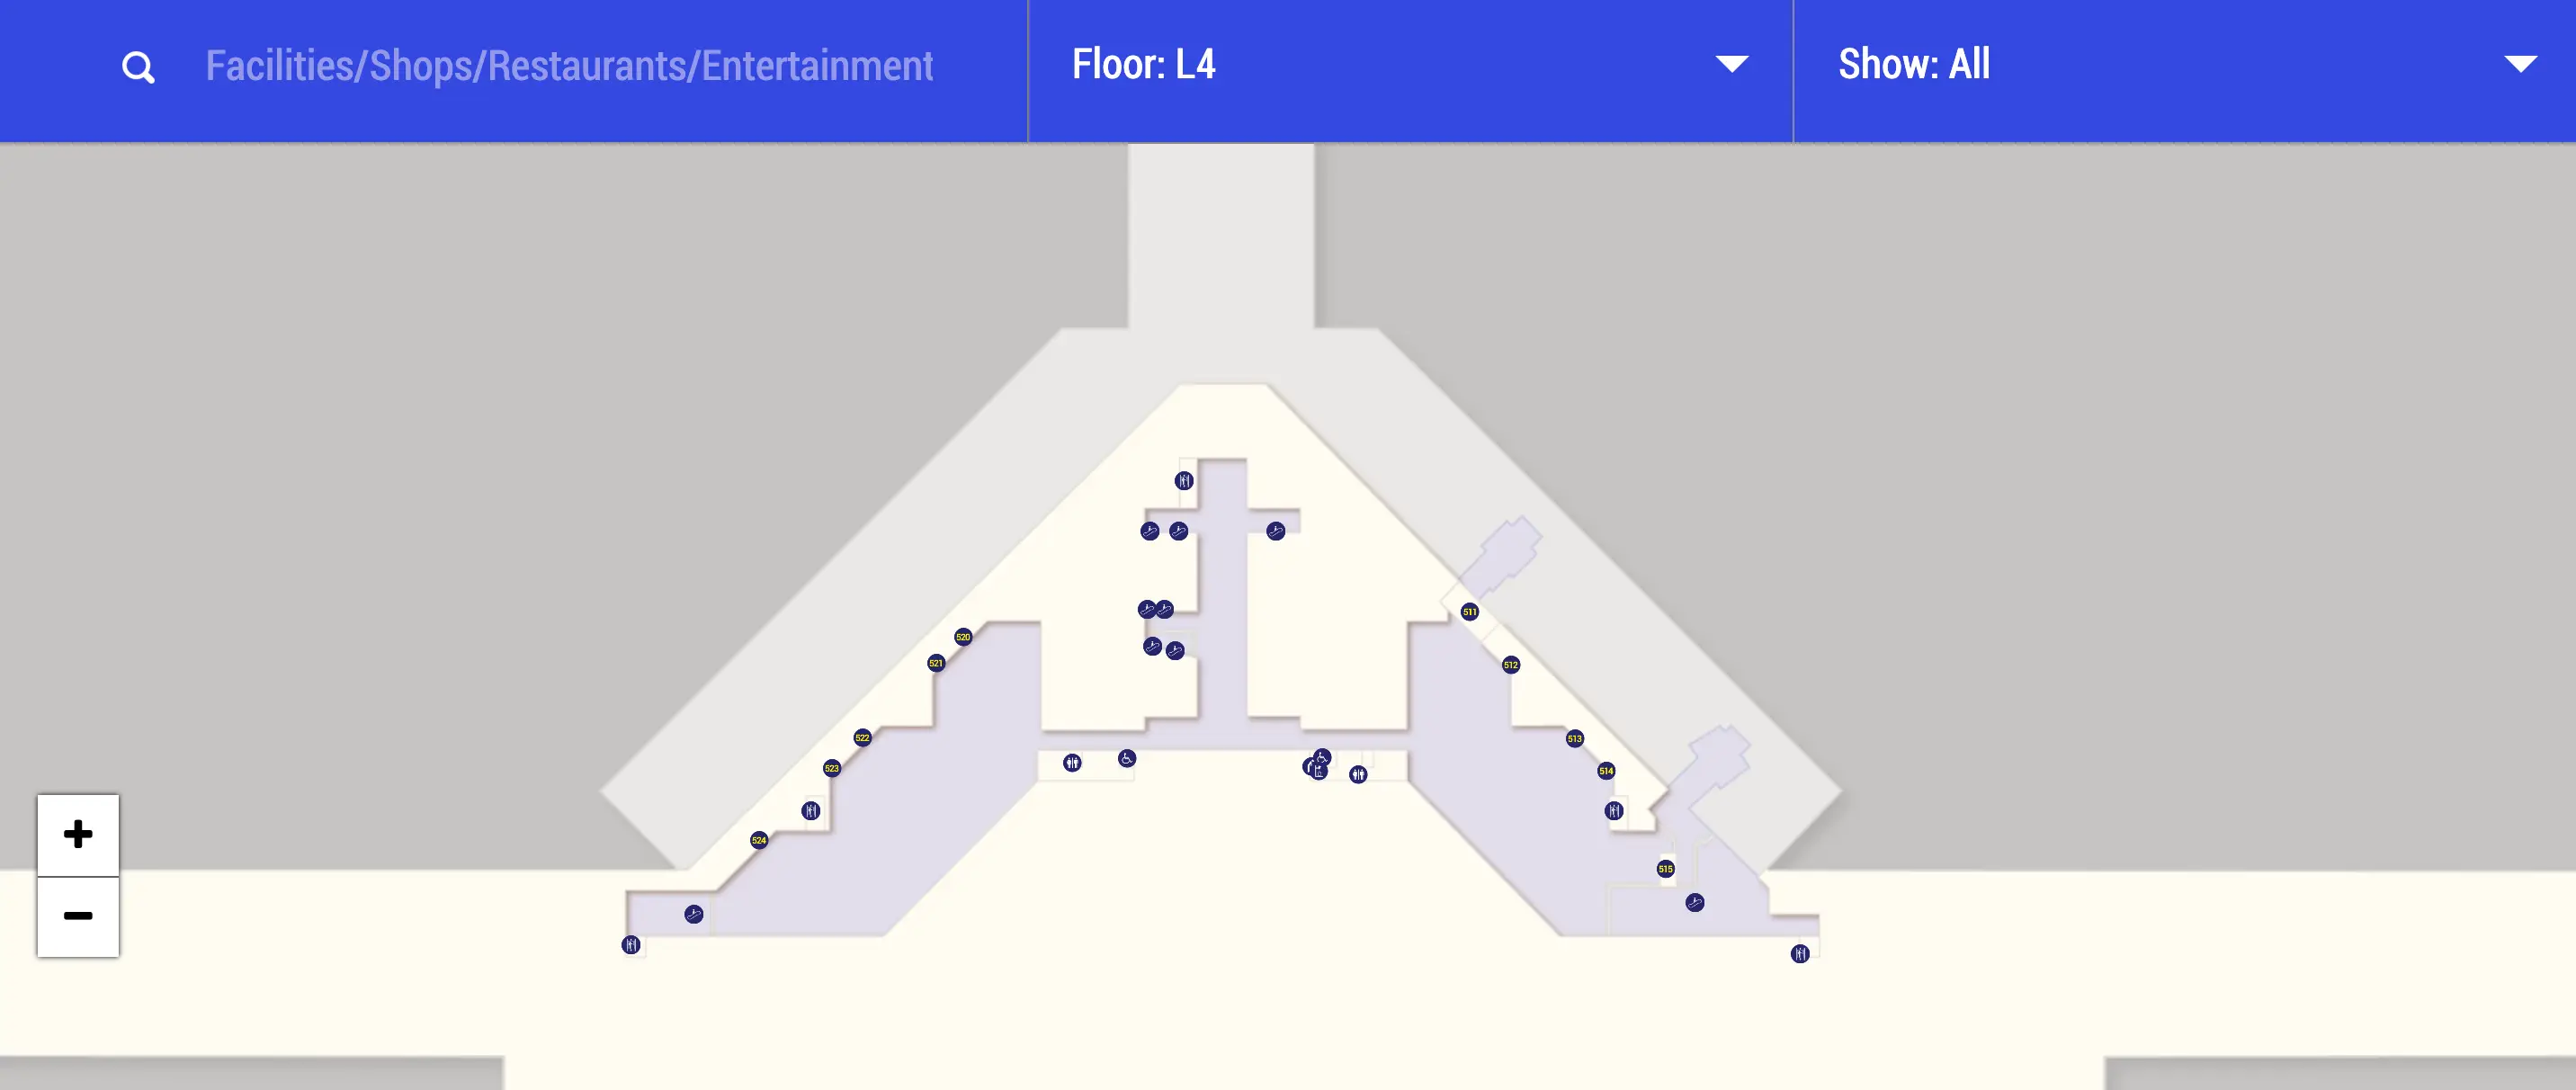
Hong Kong International Airport Terminal 1 L4 Map 2025
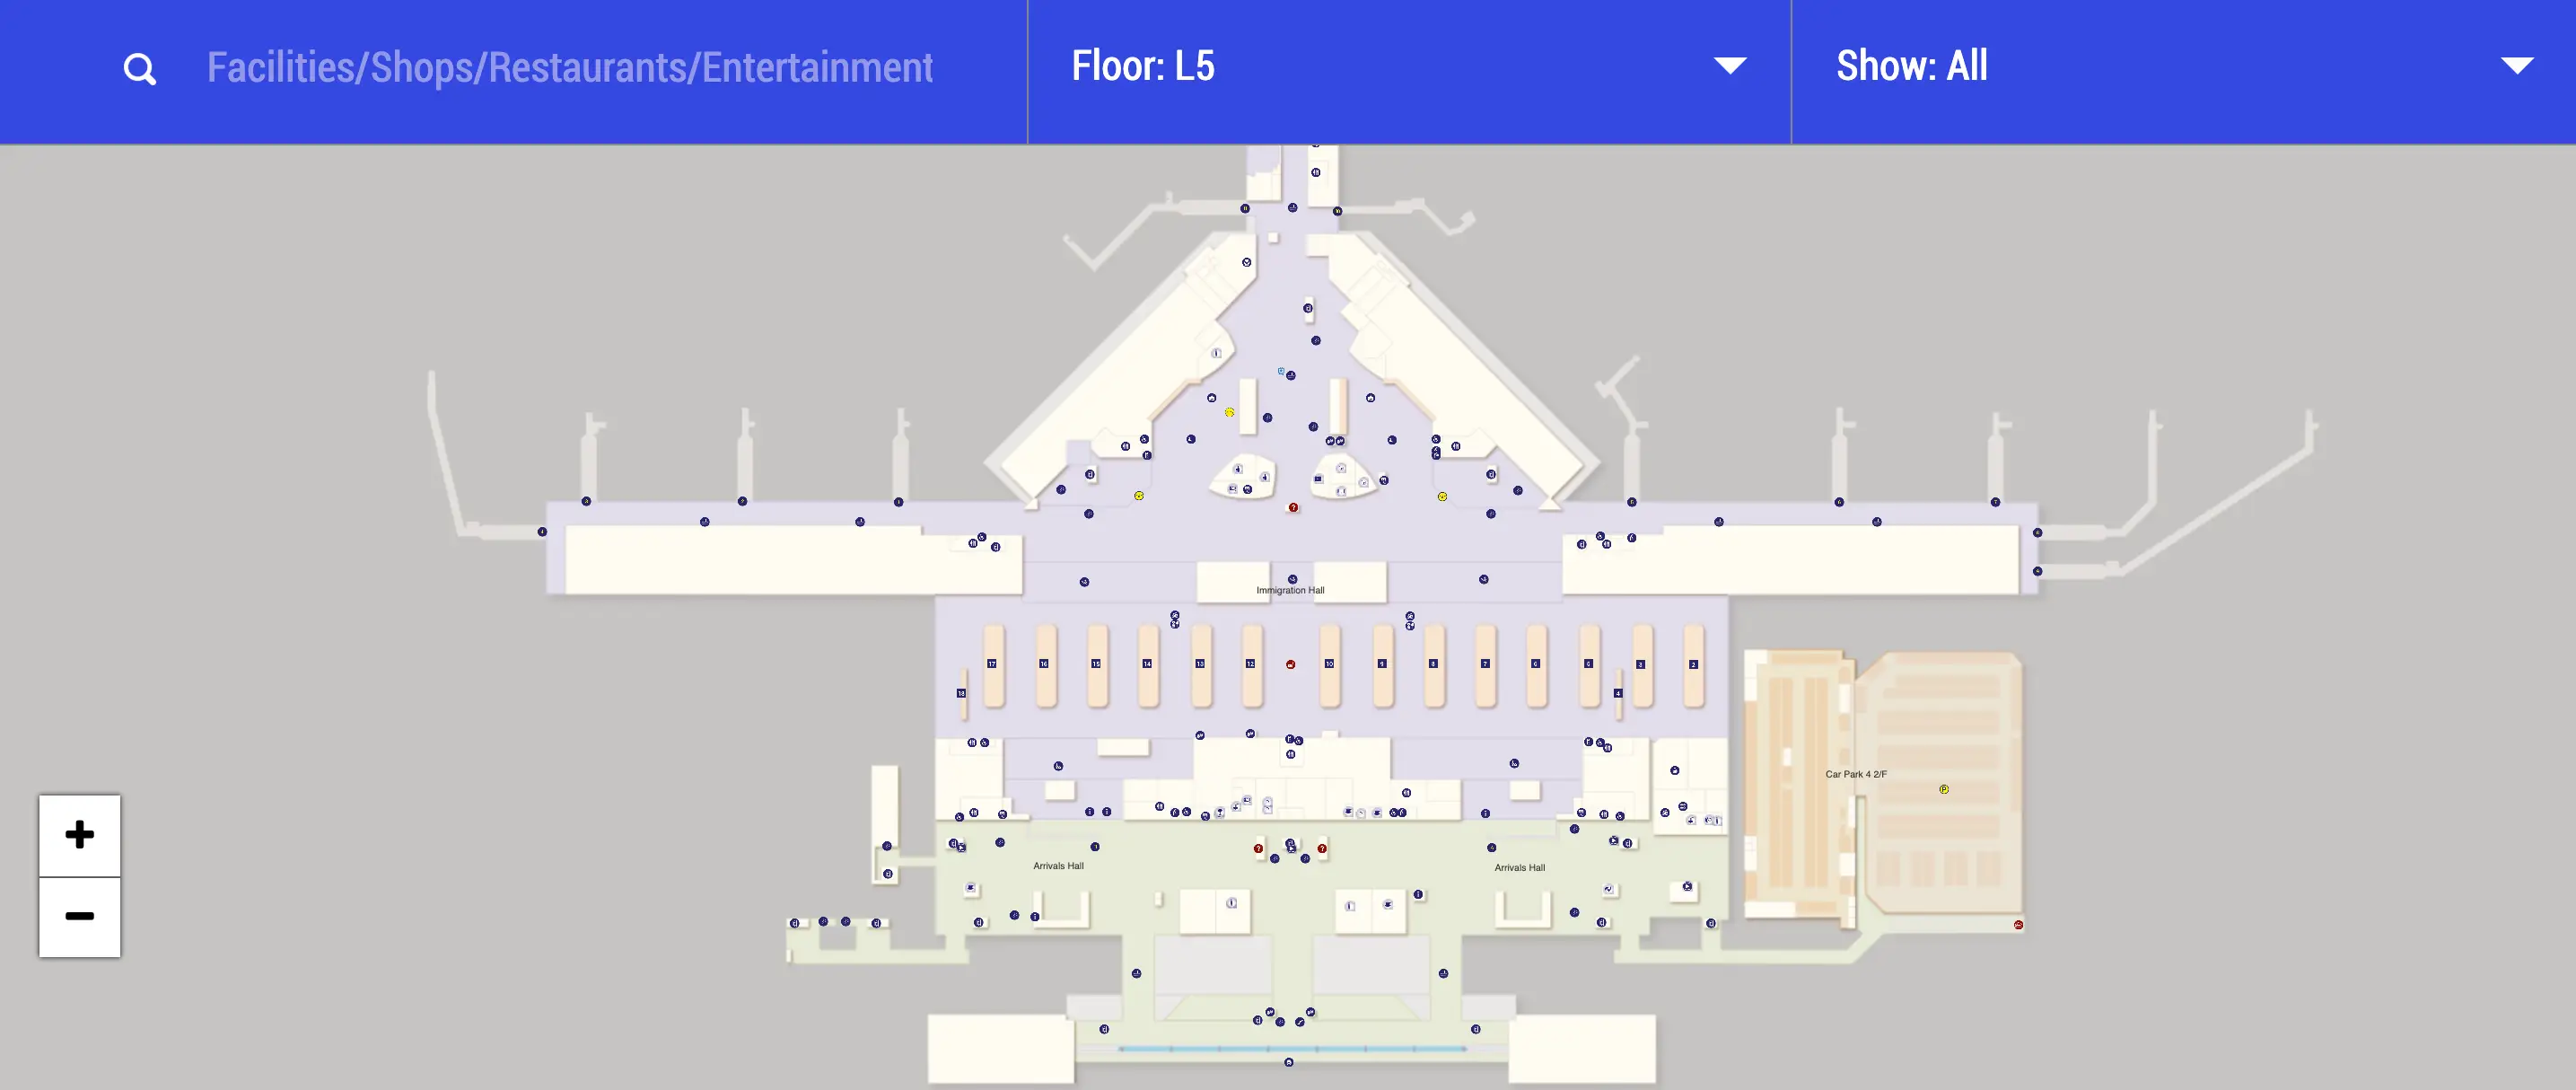
Hong Kong International Airport Terminal 1 L5 Map 2025
Hong Kong International Airport Terminal 1 L6 Map 2025
Hong Kong International Airport Terminal 1 L7 Map 2025
2026 Hong Kong International Airport Terminal 1 Map Guide
What are the exact map locations of each Transfer Security checkpoint in Terminal 1 (e.g., near Gate 34, near Gate 1/5, midfield), as labeled on the terminal map?
Transfer Security in Hong Kong International Airport Terminal 1 is concentrated on the Arrivals level (Level 5) at a small set of labeled checkpoints: E1 and E2 in the East Hall, W1 at the West Hall fork, plus auxiliary points near Gate 29, Gate 42, and Gate 63, with M1 inside the Midfield Concourse.
The map-labeled nodes align to gate clusters and the Y-shaped geometry. E1 and E2 sit together in the East Hall near the Gate 1–4 area, adjacent to the Immigration Hall edge. W1 sits in the West Hall at the Y-junction near Gate 40. The Gate 29 checkpoint sits mid-spine on Level 5 between the East Hall and West Hall. Gate 42 and Gate 63 checkpoints sit on the two prongs of the West Hall fork. M1 is within the Midfield Concourse complex serving Gates 201–230.
What is the shortest walking route and distance from Gate 1-area to Gate 60-area (end-to-end), including whether the train segment is optional on that route?
Walking the departures spine on Level 6 is the shortest all-pedestrian route from the Gate 1 area to the Gate 60 area at roughly 750–850 meters end-to-end. The train segment is optional in this direction because the Automated People Mover is a forward-flow accelerator, not a required link.
The direct route stays airside on Level 6: start at the East Hall by Gates 1–4, follow the central concourse westbound past the mid-gates (roughly Gates 23–36), then continue into the West Hall fork toward the Gate 60 zone. Moving walkways are sequenced for East-to-West flow, so this direction is usually smoother than the reverse. If you choose the Automated People Mover instead, the ride cuts the long middle section, but you still need access and egress time at the stations.
Where is the nearest train (APM) station on the arrivals/transfer path immediately after deplaning, and what is the map-verified path to reach it?
The nearest Automated People Mover station after deplaning depends on whether you arrive in the main terminal gate piers or the Midfield Concourse, because Midfield is APM-only while the main terminal’s arrival corridor can route you to transfer security without using the train.
From West Hall arrival gates (roughly Gates 40–80), the closest APM access is at the West Hall hub reached by following Level 5 arrivals signage toward Immigration or Transfer and then descending by escalator or elevator to the APM platform level. From Midfield arrival gates (Gates 201–230), the APM station is effectively the only exit node: follow the main corridor to the Midfield APM platform, ride to the main terminal, then rejoin the Level 5 arrivals spine toward the East Hall or West Hall processing areas depending on your transfer path.
Which specific escalator/elevator cores (by map label) connect the Arrivals level transfer corridor to the Departures level after clearing transfer security?
The escalator and elevator cores that matter are the ones immediately behind the labeled transfer-security checkpoints, because clearing transfer security on Level 5 deposits you directly into a dedicated vertical core up to Level 6 departures. The map-referenced cores are the E1/E2 core in the East Hall and the W1 core in the West Hall.
| Transfer Security node | Vertical core location | Level 6 exit landmark |
|---|---|---|
| E1 / E2 | directly behind E1/E2 screening lanes | East Hall departures atrium near Gates 1–4 |
| W1 | directly behind W1 screening lanes | departures level near Gate 40 junction |
| M1 (Midfield) | within Midfield complex, tied to the APM vertical stack | Midfield departures gates zone (201–230) |
On the terminal map, where is the physical queue footprint of the main transfer security area that travelers describe as cramped, and what adjacent corridors does it spill into?
The cramped transfer-security queue footprint is the East Hall E1/E2 nexus on Level 5, where the line is constrained by structural columns and the edge of the Immigration Hall partitions. That footprint is the one that most often overflows into the main Level 5 arrivals corridor.
Queueing at E1/E2 forms immediately in front of and alongside the screening lanes, then spills laterally into the East Hall arrival corridor that also carries passengers walking toward Immigration. When multiple widebody arrivals hit the low-number gates at once, the queue expands perpendicular to the primary flow, forcing weaving between transfer queues and the immigration-bound stream. The key triangulation on the map is “E1/E2 on Level 5” sitting right at the Immigration Hall edge rather than in a deep, dedicated pen—so the corridor becomes the buffer space.
Where is the airside transfer desk area that can issue a boarding pass / handle onward-flight logistics for separate tickets (without you going landside), as shown on the map?
Airside boarding-pass and onward-logistics help for separate tickets is centered at the transfer desk nodes on the Arrivals level (Level 5): E1 and E2 in the East Hall, W1 in the West Hall, and M1 in the Midfield Concourse. These sit before the transfer-security screening lanes so you can resolve documentation issues before going up to departures.
These desks are positioned to intercept passengers coming off the Level 5 arrivals corridor. E1/E2 sit in the East Hall near the Gate 1–4 area at the Immigration Hall edge, which is why the area feels congested during arrival banks. W1 sits at the West Hall Y-junction near Gate 40 to serve Gates 40–80 without forcing backtracking to the East Hall. M1 sits inside the Midfield complex serving Gates 201–230, and it’s the only “clean” way to handle Midfield connections without getting dumped into the main terminal’s busier checkpoints.
What is the map-verified walking distance from the Centurion/Chase Sapphire lounge cluster to the Gates 1–10 zone (shortest path)?
Walking from the West Hall lounge cluster back to Gates 1–10 is roughly 800 meters from the Chase Sapphire Lounge area and about 1.1 kilometers from the Centurion Lounge area on the shortest path. The dealbreaker is that West-to-East on departures is walk-only, so you cannot use the Automated People Mover to shorten this direction without dropping into arrivals.
The shortest route stays airside and uses the departures-level concourse: descend from the lounge level back to Level 6, then follow the central spine eastbound all the way to the East Hall gates. The Chase Sapphire Lounge cluster is anchored near Gate 40 on Level 7, so the walk starts closer to the mid-terminal. The Centurion Lounge is anchored near Gate 60 on Level 7, so you add the extra West Hall distance before you even reach the long central spine back toward Gates 1–10.
What is the map-verified walking distance from The Pier lounge area to the Gate 60+ zone, including whether the APM/train is part of the shortest route?
Walking from The Pier lounge area to the Gate 60+ zone is under 200 meters on the shortest path. The train is not part of the shortest route because The Pier lounges sit in the same West Hall gate neighborhood as the 60-series gates.
The Pier Business Lounge is anchored near Gate 65 and The Pier First Lounge is anchored near Gate 63 on the departures level, so reaching Gate 60–69 is a short same-level walk along the West Hall concourse. If your target is farther out on the West Hall fork (for example, deeper into the 70s), you still stay on foot; the Automated People Mover is designed to move passengers between major terminal nodes, not for these short within-zone hops.
If a passenger mistakenly enters the transit/departures side, where is the specific escorted exit handoff point (airside-to-immigration route) located on the map?
An unescorted exit is the dealbreaker: once you clear transfer security into the departures side, you cannot freely walk back to immigration and must be escorted via staff channels. The map-referenced handoff point that’s repeatedly cited on the landside output is the “Exit 5” area in the Arrivals Hall on Level 5.
The practical route is airside service desk → staff-controlled back-channel → immigration processing → release to the public Arrivals Hall. The input point is not a public “exit door” on the map; it’s the airline service desk or airside assistance counter where staff can cancel your departing status and trigger an escort. The escort then brings you down through restricted doors or a staff elevator to rejoin the Level 5 immigration/arrivals environment, with Exit 5 commonly named as the public-facing emergence point for special handling.
Where is the decision fork (map location) where passengers must choose Arrivals vs Transfer/Transit after deplaning to avoid the stuck airside scenario?
The decision fork is on Level 5 at the point where each gate’s arriving passenger stream joins the main arrivals spine, where overhead signage splits “Immigration” from “Transfer/Transit.” This is the dealbreaker node because committing to the wrong stream turns your movement into a one-way valve and makes backtracking to the correct transfer checkpoint costly.
On the map, treat it as a repeated junction: immediately after you leave the jet bridge corridor and enter the broader Level 5 arrivals corridor, you hit the first major signage bifurcation. The “Transfer/Transit” routing pulls you toward transfer desks and transfer security (East Hall E1/E2, West Hall W1, or auxiliary points depending on gate zone). The “Immigration” routing carries you eastbound toward the Immigration Hall and exits, and reversing that choice later—especially from the West Hall side—can force a long walk to reach the next viable transfer-security entry.
What is the map-confirmed route from Terminal 1’s main core to the Satellite/Midfield concourse gates, including the exact train entry/exit points?
The Midfield Concourse requires the Automated People Mover because there is no walking bridge, so the train entry and exit points define your minimum transit time. The Satellite Concourse for Gates 13–21 is walkable via the Sky Bridge, so it behaves like a predictable pedestrian link instead of a rail dependency.
| Destination | Route from Terminal 1 core | Train entry/exit points |
|---|---|---|
| Satellite Concourse (Gates 13–21) | Departures level walk to Sky Bridge entrance near Gate 24, cross bridge, descend into Gates 13–21 zone | none |
| Midfield Concourse (Gates 201–230) | Departures level to APM access near the West Hall fork, descend to APM platform, ride to Midfield, ascend to gate level | enter at Terminal 1 APM platform near West Hall; exit at Midfield APM station, then escalators up to gates |
Where on the map are the mezzanine-level amenities travelers say are easy to miss, and which stairs/escalators access that mezzanine from the main departures level?
Mezzanine-level amenities sit on Level 8 above the East Hall core, and the miss factor comes from sightlines that make the balcony read like non-public space from the main departures areas. The access points are concentrated at escalator cores tied to the East Hall retail and food atrium rather than out in the gate wings.
From the map anchors, look for Level 8 directly above the East Hall departures and check-in core, with tenants like Maxim’s Chinese Restaurant and the 24-hour McDonald’s marked as mezzanine dining. The primary vertical access is via escalators in the East Hall airside retail zone above the main food court area, plus landside escalators near Check-in Aisle F that climb to the mezzanine. If you’re already airside on the departures level, the reliable tactic is to triangulate from the East Hall atrium retail cluster (near the low-number gates) and take the dedicated escalators up rather than hunting for mezzanine access in the West Hall fork.