Alicante Elche Airport Map (Most Up-To-Date)
Alicante–Elche Miguel Hernández Airport’s terminal is a long, mostly linear building with Departures on Level 2 (check-in → central security), then an airside commercial atrium feeding the Non-Schengen “Module C” passport-control funnel into the C-gate pier. Most missed-flight risk concentrates within the main ALC airport grounds at the post-security border-control connector where queues can spill backward onto stairs and landings.
Map Table
| Zone | Connection | Walk Time |
|---|---|---|
| Departures Hall (Level 2) | Central doors → check-in rows | 1–3 min |
| Jet2 check-in sector (East) | Desk range 130–160 area | 0–2 min |
| Security interface (central) | FIDS screens, e-gates | 2–4 min |
| Airside commercial atrium | Duty-free exit → Modules B/C corridor | 1–3 min |
| Border Control (Module C) | Connector corridor + stair/escalator core | 2–4 min |
| C-Gate Pier (C37–C50) | Post-control release → gates | 2–8 min |
| Arrivals (Level 0) / P1 | terminal exit → VTC/Bolt bays | 3–7 min |
Alicante Elche Airport Map Strategy
- Treat the post-security “Modules B/C” corridor as a live risk gauge: the moment you can see stalled bodies before C-module signage, commit to border control immediately and skip stops.
- Use the stairwell/landing area beside the Module C entry as the failure indicator: if the queue reaches the stairs or blocks mezzanine access, plan around a 45–60 minute stand and move to the left flank early.
- Assume the EU vs non-EU separation happens late: stay left in the combined backup so you’re positioned to exploit the split only when the hall barrier geometry opens near the booths/e-gates.
- For families/PRM, ignore the main “cattle pen” and hunt the elevator core on the flank (wheelchair / “Sin Barreras” signage); go directly there rather than waiting in-line to ask.
2026 Alicante Elche Airport Map + Printable PDF
Peak leisure and Non-Schengen waves still make Module C border control the dominant delay driver in 2026, with the “single-channel” backup capable of extending out of the hall and into the connector corridor near the stair/escalator cores. Ground pickup rules also keep VTC (Bolt/Uber/Cabify) constrained to Arrivals-level collection, so wrong-level pin drops remain a repeat time-loss pattern.
Alicante Elche Airport Ground Level Map 2026

Alicante Elche Airport Level 1 Map 2026
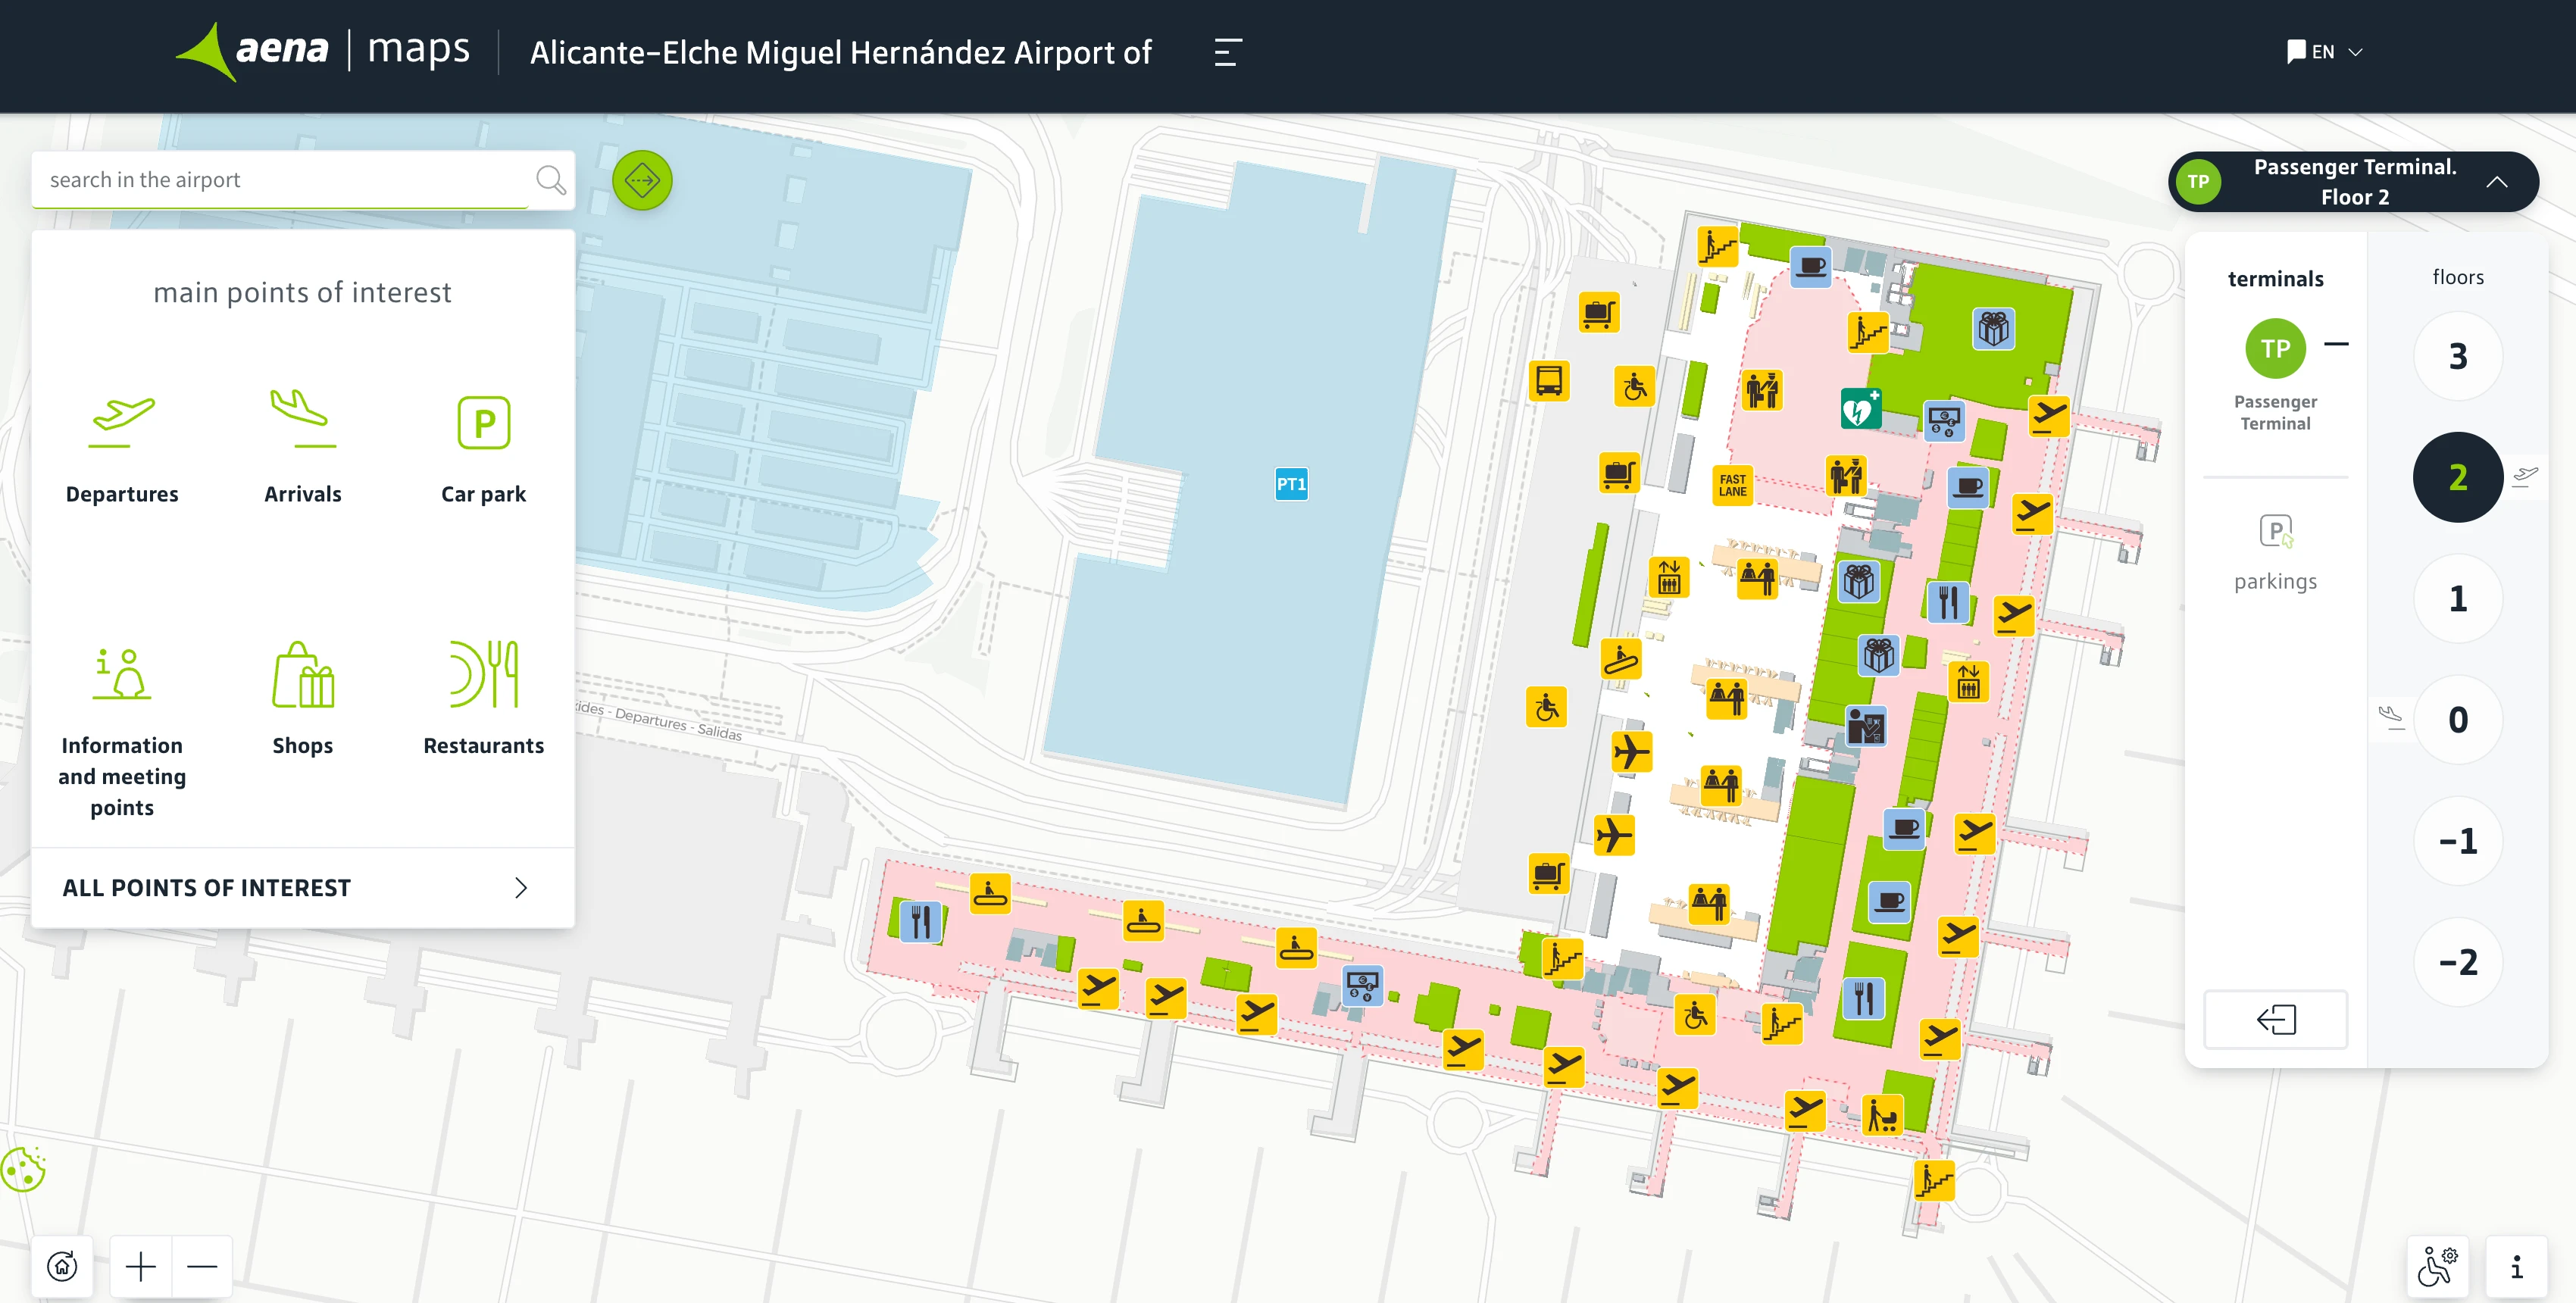
Alicante Elche Airport Level 2 Map 2026
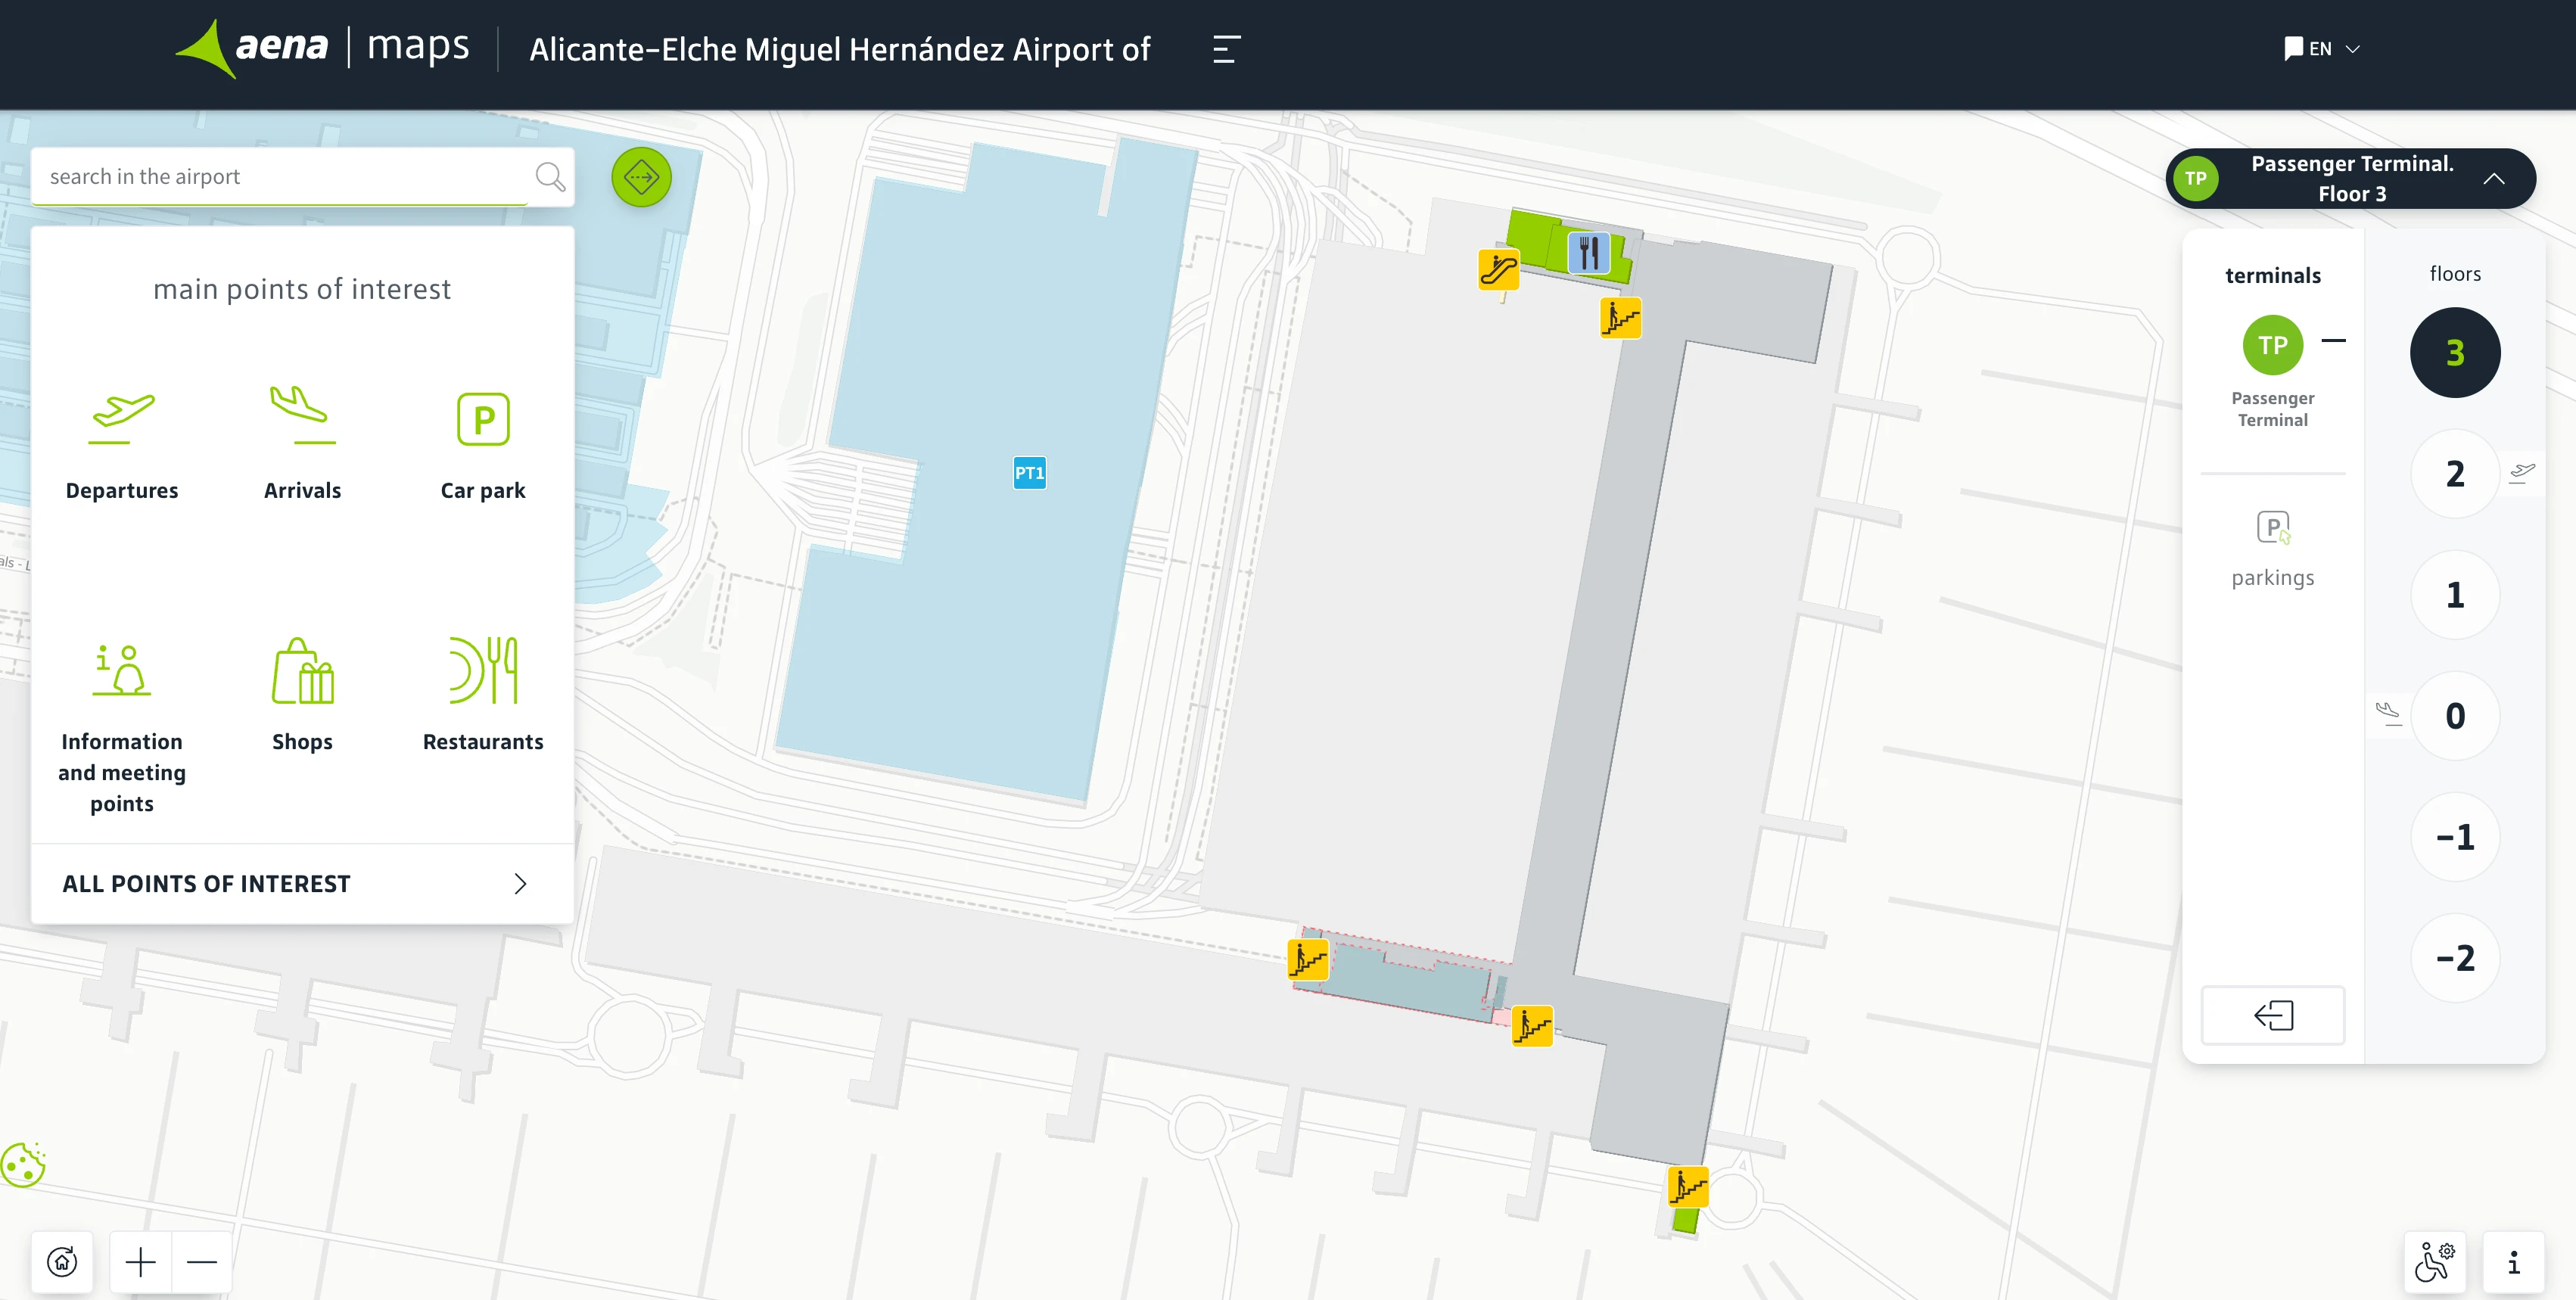
Alicante Elche Airport Level 3 Map 2026
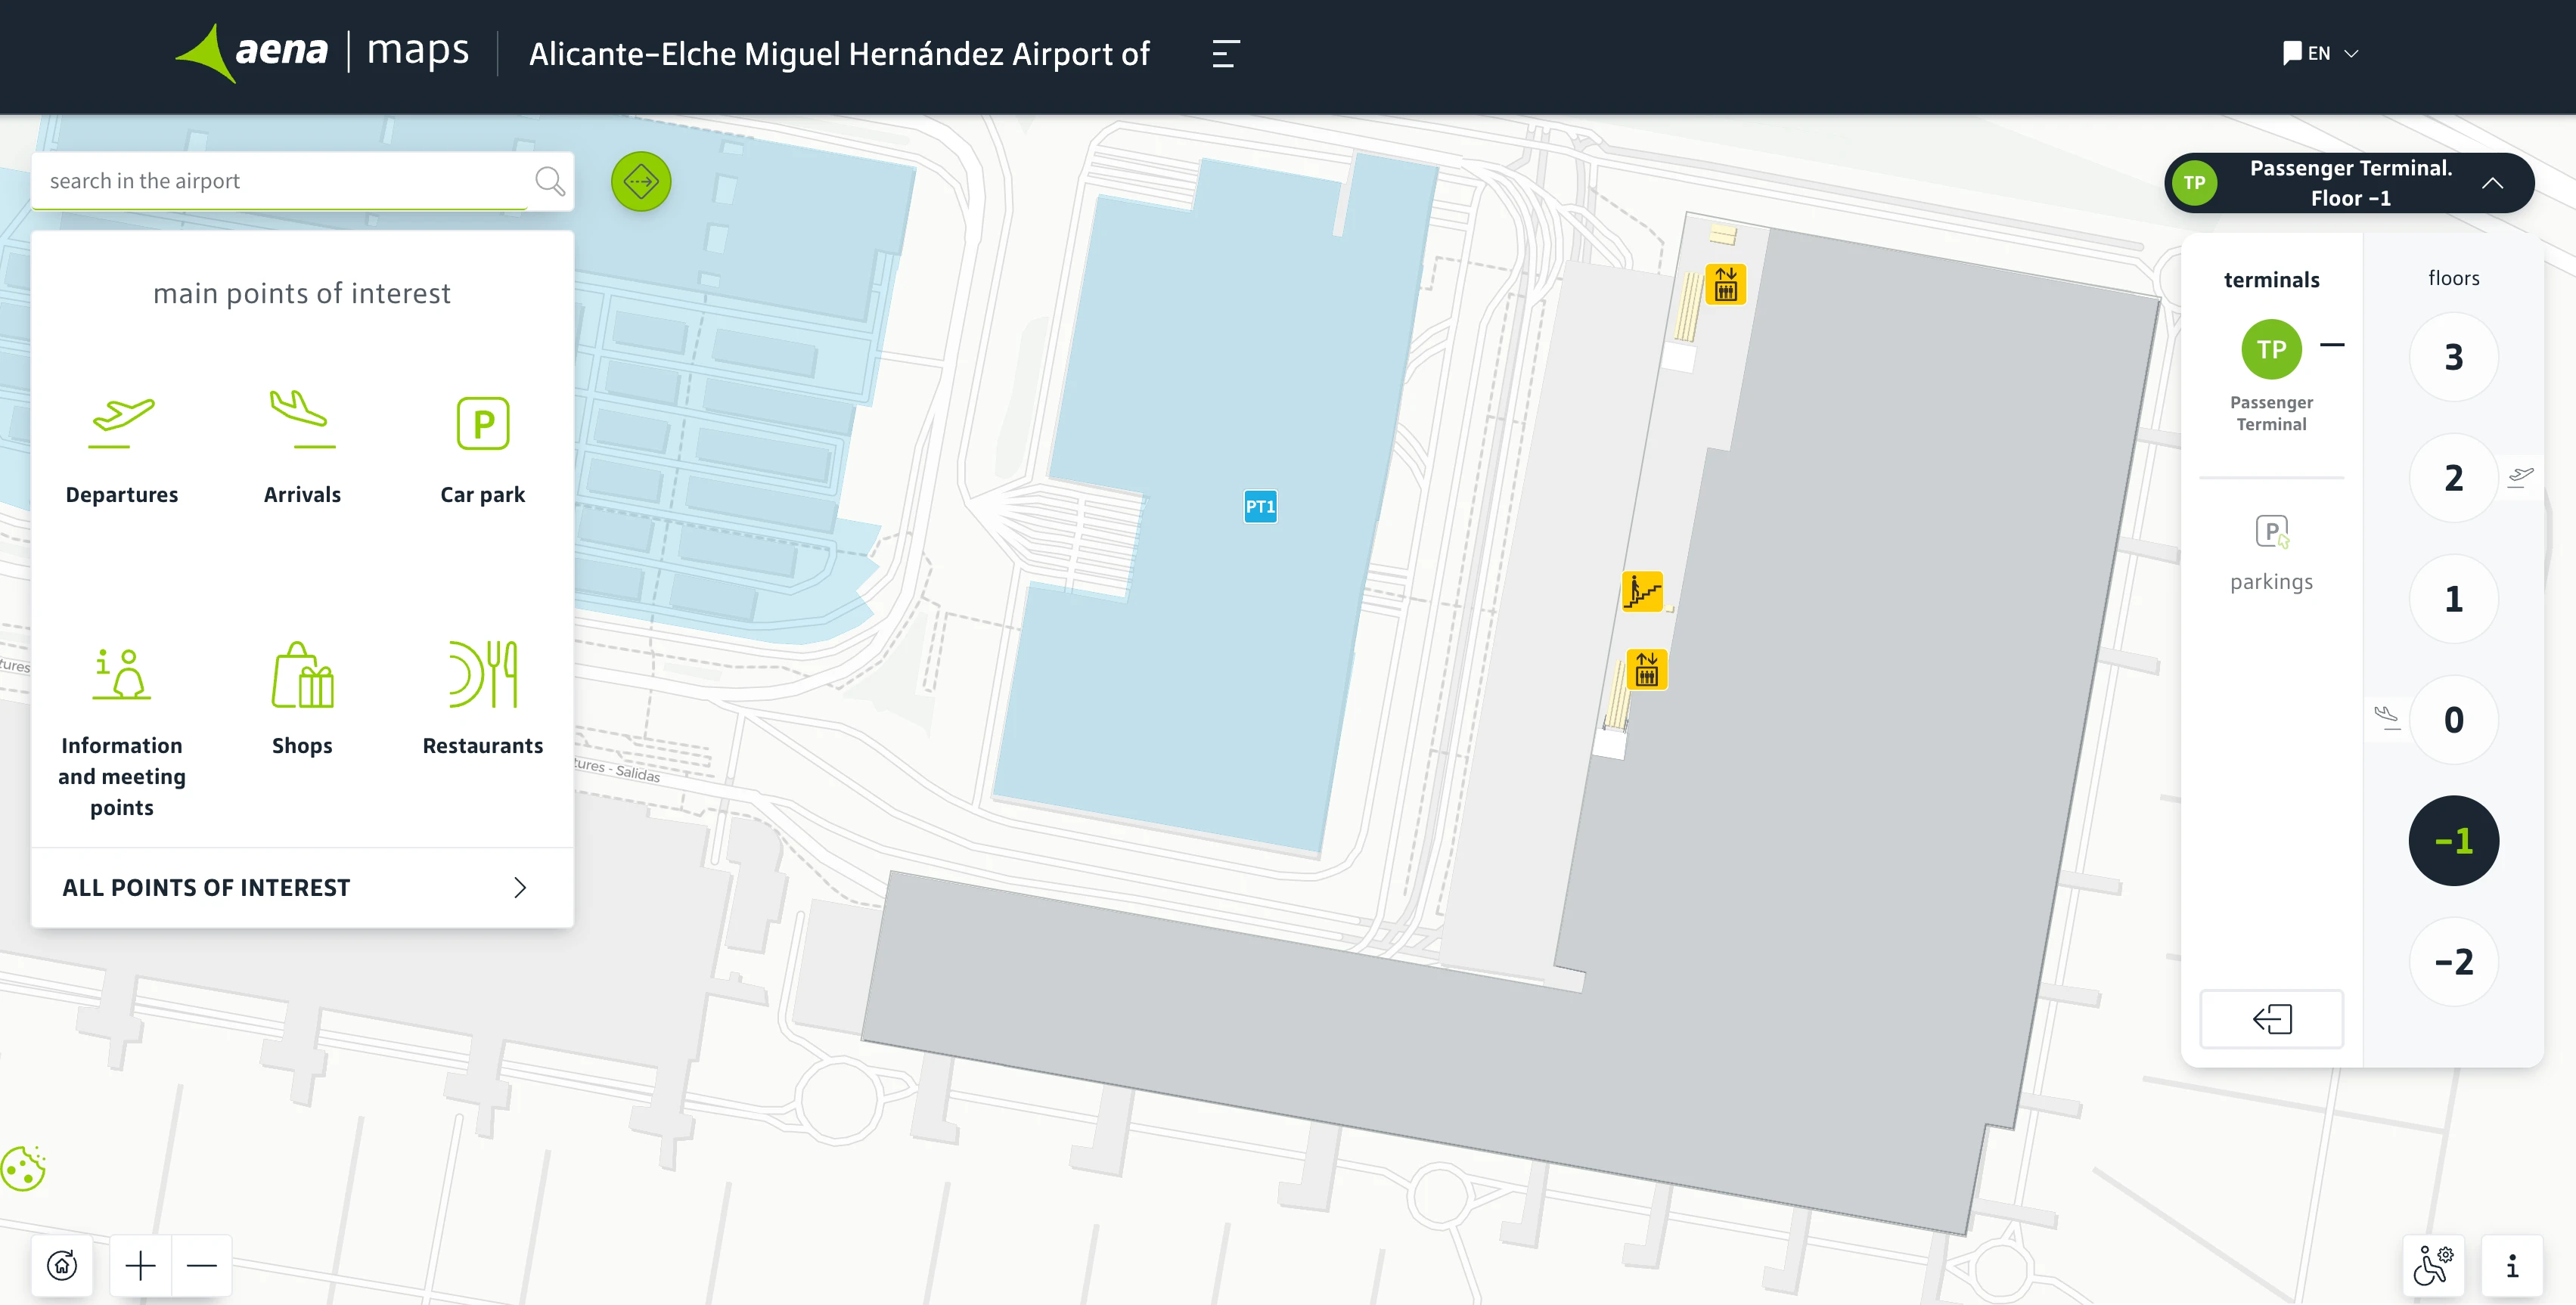
Alicante Elche Airport Level Basement 1 Map 2026
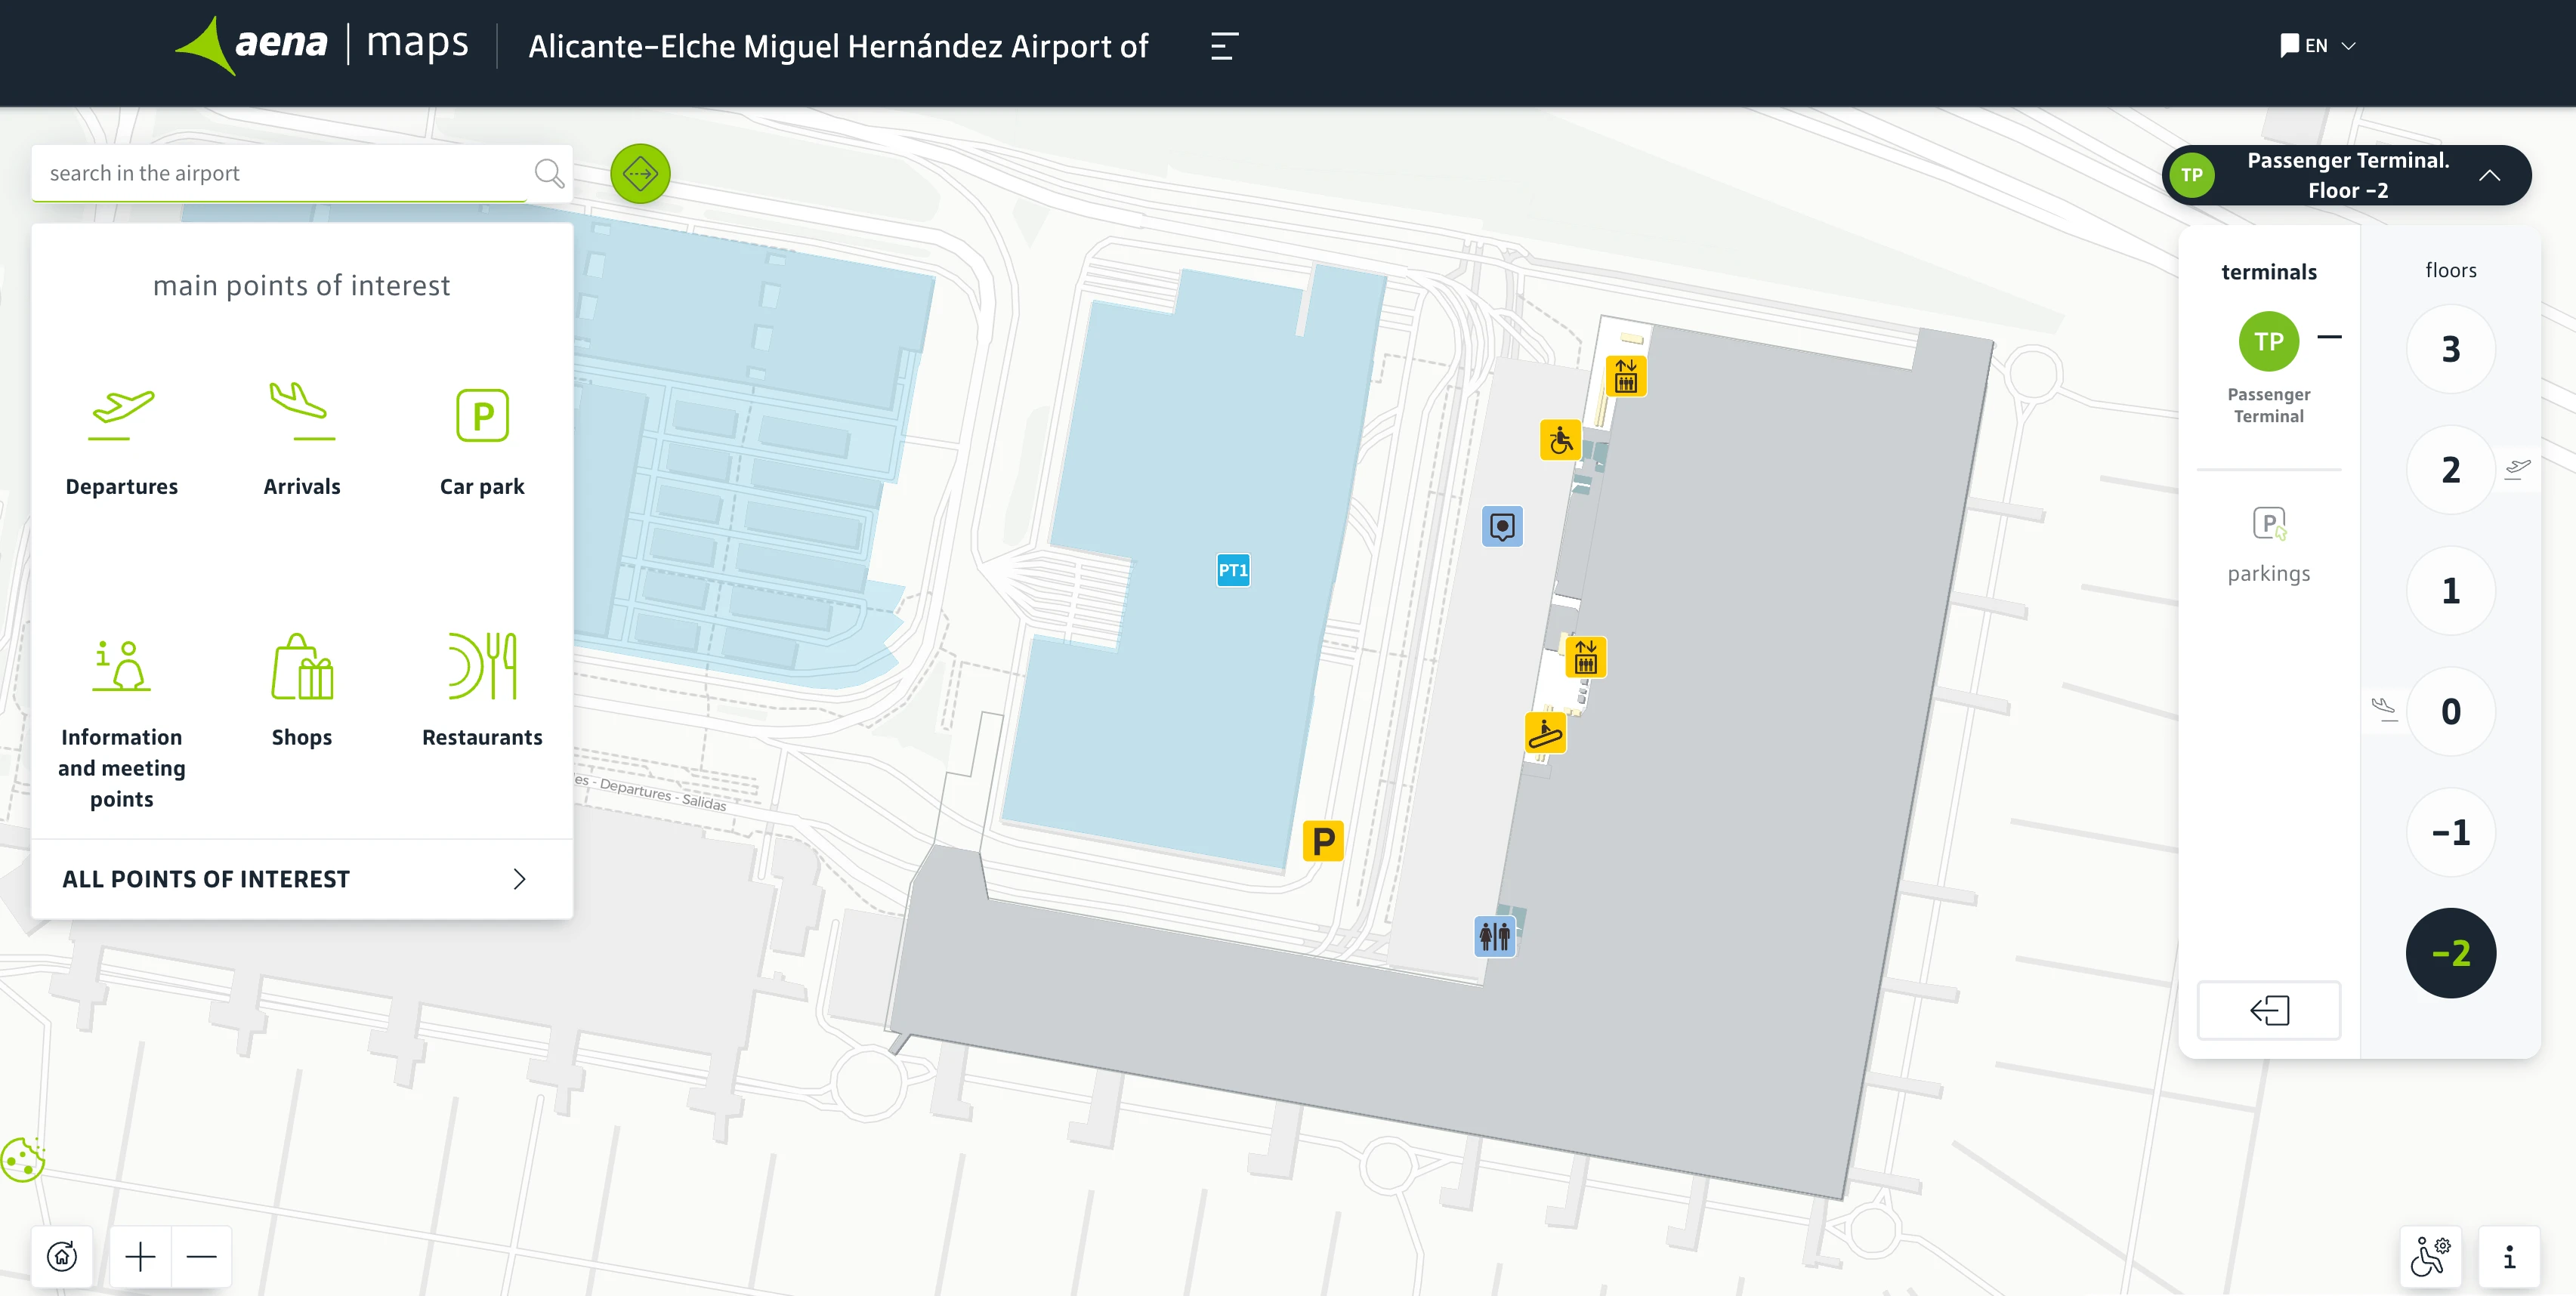
Alicante Elche Airport Level Basement 2 Map 2026
2026 Alicante Elche Airport Map Guide
What is the exact physical choke point location where the passport-control queue backs onto the stairs after security (which stairwell/landing)?
The choke point is the stair/escalator core immediately beside the Module C passport-control entrance on the post-security connector corridor to the Non-Schengen C-gates. The backup spills out of the border hall, fills the connector, and then wraps around the vertical circulation landings that serve the VIP lounge level (up) and the bus-gate levels (down).
The tell is the first stair landing adjacent to the passport-control entry where people start standing still on steps rather than in barriers. That landing sits right at the corridor’s pinch point between the Module C doorway and the mezzanine stair/escalator bank, so once it’s occupied you’re no longer “near the line”—you’re inside the failure overflow.
Where is the EU vs non-EU split decision point (the exact point where the queue should separate), relative to the start of the passport-control line?
The EU vs non-EU split is inside the passport-control hall, typically only about 10–15 meters before the booths/e-gates, not at the start of the backed-up corridor line. The initial “stairs-backed” queue usually functions as a single combined channel until you reach the interior barrier geometry close to processing.
During heavy congestion, the corridor outside Module C traps everyone together, so the first real separation opportunity appears only after you’ve crossed the Module C threshold and can see the banks of lanes. Positioning on the left side of the corridor before entry puts you closest to where EU/e-gate lanes are commonly set and where staff can pull eligible passengers out once the split becomes physically possible.
Where is the earliest point you can visually confirm whether the passport-control queue is stairs-backed (the first vantage point that reveals true queue length)?
The earliest reliable vantage point is the main airside commercial atrium right after the duty-free walkthrough exit, looking down the corridor signed for “Modules B & C.” The queue state becomes obvious there because you can see whether the corridor itself is flowing or filled with static bodies before the C-module signage is even prominent.
Stand at the duty-free exit edge where the atrium opens into the shop-lined corridor, then sightline straight toward the Modules B/C direction. If you see a stationary mass occupying the corridor approach (rather than a moving stream), the backup has already propagated out of the passport-control hall toward the stair/escalator core area, and any stop for retail or toilets is a direct risk trade.
Where is the priority-family routing (the lift/elevator entrance people are told to use), relative to the main passport-control line?
The priority-family/PRM routing is at the elevator core on the flank of the Module C passport-control entry, offset from the main “cattle-pen” queue rather than inside it. The access point sits near the structural pillar line beside the main escalator/stair bank, so you typically have to step out of the central flow toward the wall to reach it.
Look for wheelchair or “Sin Barreras” signage mounted flat on or above the lift doors, not projecting into the corridor, which makes it easy to miss from the back of the line. The practical reference is this: the main passport-control queue occupies the center of the connector corridor, while the priority lift is reachable by moving laterally to the side where the vertical circulation core begins, then presenting eligibility to the staff controlling the barrier at the lift-side entry.
Where is the special-assistance / wheelchair staging point at the gate area (the exact meeting spot used before boarding)?
The special-assistance staging point is the “Sin Barreras” meeting zone on the C-gate pier, marked by a large blue totem with the wheelchair icon, positioned centrally along the pier rather than at an individual gate podium. Assistance staff use this node to collect PRM passengers and then move them to the correct gate only when boarding starts.
The key triangulation is that it’s not “at C39/C41” or any single lectern; it’s a dedicated marked area in the middle circulation spine of the C-pier. If you’ve exited passport control and walked into the C37/C38 end of the pier, continue along the main walkway until you spot the prominent blue accessibility totem—checking in there prevents being treated as a no-show if crews are managing multiple gates at once.
Where is the Jet2 / major carrier check-in desk zone, and what is the exact queue footprint (which row/aisle area it spills into) when only a few desks are open?
The Jet2 check-in zone is typically in the eastern sector of the Level 2 Departures Hall, commonly around the desk band in the 130–160 range. The queue footprint at peak times expands sideways into the main longitudinal aisle that runs parallel to the check-in rows, rather than extending neatly back toward the façade.
When only 3–4 Jet2 desks are active for multiple departures, the line “snakes” laterally and can push all the way toward the entrance-door area, creating a blockade right where passengers try to cross the hall toward central security. The most reliable read is to approach from the central doors so you see the queue’s side profile across the main transit aisle before you commit—coming in from the eastern doors tends to drop you behind the tail where the spillover is worst.
What is the exact walking route from the main departures entrance to the first security checkpoint lanes (including any turns that commonly cause hesitation/backtracking)?
The fastest route runs from the central Departures doors straight into the main hall, then directly toward the central security area under the mezzanine, marked by large FIDS screens and big advertising panels. The first hesitation zone is the automated boarding-pass e-gates at the security interface, where passengers bunch up while scanning phone barcodes.
From the central doors, hold a straight line along the primary aisle until you’re aligned with the security e-gates (you’ll see the gate “V” funnel forming). After scanning, don’t default to the middle screening lanes: angle hard left immediately after the e-gates to check the far-left lanes, which often run lighter because most people follow the straight-ahead flow into the central 4–6 gates. This left-turn is the most common “missed” efficiency move.
Where is the post-passport-control transition point to the departures/gate seating area, and which nearby zones have the highest seat density vs standing-only areas?
The transition point is the exit of Module C passport control where you’re released directly into the proximal end of the C-gate pier, immediately around Gates C37/C38. The area right at this release point is effectively standing-only because it functions as a high-traffic valve, with almost no seating and constant cross-flow.
| Zone | What it’s next to | Seating reality |
|---|---|---|
| Passport-control exit → C37/C38 | immediate post-control release | near-zero seating, high circulation |
| C37–C40 block | first gates after release | seats overwhelmed, crowd clusters |
| C40–C42 belly | mid-pier pinch with adjacent boardings | frequent floor-sitting, queues cut walkway |
| C45–C50 distal end | far end of the pier | best odds of open seats, lower density |
Which specific gate/holding areas are most likely to become floor-sitting zones due to seat scarcity (identify by gate range/section)?
Gates C40–C42 are the most reliable floor-sitting hotspot in the C-pier during peak waves. The boarding lines there tend to project out from the podiums and cut across the central walkway, pushing waiting passengers to the window wall where people end up sitting on the floor in a continuous strip.
The worst “spill” pattern happens when adjacent high-capacity flights board close together, because the seating math breaks and the queues steal the standing space that would normally absorb overflow. If you’re assigned anywhere in that band, the practical move is to sit farther down-pier (toward C47–C50) and watch the screens, then walk back only when boarding is called—trying to camp at C41 usually puts you inside the floor-sitting line instead of in a seat.
Where is the first reliable restroom immediately after passport control (closest toilets from the exit of the control point)?
The closest toilets are immediately after you exit passport control into the start of the C-pier near Gates C37/C38. That first restroom block absorbs almost all post-queue demand, so it’s often crowded and can itself form a short line.
A more reliable option is the next restroom block roughly 50–70 meters farther down the pier, around the C42/C43 area. The simplest navigation rule is: if you can walk past the initial C37–C40 gate cluster, do it, then use the second toilets between C42 and C43 where traffic disperses and cleanliness/availability is usually better than the “first-stop” block right at the release point.
Where is the baggage reclaim carousel cluster most associated with multiple flights on one belt congestion, and how do you navigate from arrivals exit to the correct belt area fastest?
The highest congestion cluster is the Non-Schengen arrivals baggage zone where high-number carousels (commonly around belts 10–14) get assigned multiple UK flights onto one belt. The fastest “correct belt” navigation is to move straight from the arrivals corridor into the Non-Schengen baggage hall section, then go to the belt’s feeder mouth (where bags first appear) instead of stopping at the crowded curve.
The quickest path is: follow baggage reclaim signs into the hall, confirm your flight/belt on the overhead screens, then walk directly to the upstream side of that carousel where the bags emerge from the airside opening. That position lets you identify your bag earlier and avoids the wall-side choke where people stack shoulder-to-shoulder, which slows retrieval and delays your exit toward the customs channels.
Where is the Bolt / rideshare pickup zone relative to departures (which exit/curb section), to minimize time lost to wrong-door pickups at peak crowding?
The Bolt/VTC pickup is on Arrivals level (Level 0) tied to the P1/parking-structure interface, not on the Level 2 Departures curb. The time-loss trap is exiting arrivals and then going upstairs to Departures out of habit, because drivers are not permitted to collect there and will wait at the legal bay while you’re two floors above them.
From the Arrivals Hall exit, stay on Level 0 and follow signs for Parking/VTC, then cross toward the parking-structure side where pickup bays are numbered. The “right door” is the arrivals-side exit that feeds the parking interface and service road crossing, not any upstairs departures doors—if your app pin is set to Departures, reset it to the designated VTC pickup area before you step outside.
Where is the car-rental pickup cluster (e.g., Parking 4 / shuttle pickup points) relative to arrivals exit, and what is the exact pedestrian path to it?
The car-rental shuttle pickup cluster is at the bus station loops (dársenas) beyond the main terminal frontage, typically reached from Arrivals (Level 0) by following “Autobuses Cortesía” signs rather than stopping at the curb directly outside the doors. The walk is usually 5–8 minutes and feels “too far” only because it runs along the length of the building.
Exit the Arrivals Hall to the landside frontage, then follow the courtesy-bus icons toward the bus-bay area with numbered stands (often a long row like 1–20) and a digital totem showing bay assignments. If you’re seeing regular taxi/private-car curb activity instead of numbered dársena bays, you’re still too close to the main doors—keep moving toward the dedicated bus loop until the stand numbers and the bay-information display are in view.
Where is the car-rental return entry (the exact roadway/turn-in) that most drivers miss on first approach, and what landmark confirms you’re in the correct return lane?
The car-rental return turn-in is the “P1 / Car Rental” split off the N-338 service-road approach that happens before you commit to the upward Departures ramp to Level 2. The miss occurs when drivers follow the visually dominant “Departures/Terminal” ramp; once you’re up on Level 2, there’s no quick correction and you’re forced into a loop-around re-approach.
The confirming landmark is the Galp/Repsol service station on the approach vector: once you sight it and the terminal mass ahead, move into the far-left lane to prepare for the lower-level deviation signed for P1 and car-rental return (“Devolución de Vehículos”). The correct move is the sharper drop/peel into the parking-structure access, not the rightward rising ramp that feeds the departures curb.