Haneda International Airport Terminal 2 Map (Most Up-To-Date)
Haneda Airport Terminal 2 is a large, multi-level crescent-shaped terminal with a “South Wing” international enclave attached at one end, so most long walks happen when you’re moving down the concourse toward higher-numbered gates. Within Tokyo’s main Haneda hub, the key orientation is vertical: rail arrives in the basement (B1F), international departures run on 3F, and the inter-terminal shuttle operates curbside on 1F—so your route is usually “find the right floor first,” then walk.
Map Table
| Zone | Connection | Walk Time |
|---|---|---|
| 2F International Arrivals | Immigration → baggage claim → customs → landside exit | queue-variable |
| 1F Arrivals curbside | T2 → T3 free shuttle bus (Stop 9 area) | 2–3 min / ~50 m |
| B1F Rail station | Keikyu / Monorail → elevators/escalators to 3F Intl Departures | vertical move |
| 3F International Departures | check-in → Intl Security → South Wing gates 71–73 / remote 700–702 | 3–15 min (gate-dependent) |
Haneda International Airport Terminal 2 Map Strategy
- Terminal 2 ↔ Terminal 3 is a landside transfer only, and the hidden time sink inside Terminal 2 is the long walk to distant/remote gates (700–702). Treat both as schedule-critical, not “extra buffer.”
- From Terminal 2 Arrivals, lock onto the first decision point: landside exit to 1F curbside for the free shuttle bus zone, then confirm you’re aimed at the inter-terminal stop before you start walking the curb.
- From rail (B1F), solve the vertical problem immediately: pick elevators/escalators that take you straight to 3F International Departures so you don’t drift into domestic flows on 2F.
- After International Security, check your gate range first: if you see 700–702, skip browsing and push directly down the concourse to the bus-gate area; if you’re 71–73, you can budget a normal airside walk.
2026 Haneda International Airport Terminal 2 Map + Printable PDF
Terminal 2 continues operating as a hybrid terminal with international departures centered on 3F and an international airside concourse in the South Wing. The main “gotchas” remain unchanged for 2026: Terminal 2 and Terminal 3 are not walk-connected for transfers, and some international flights use remote bus gates (700–702) that add a real time penalty. Plan your route around floors and gate ranges, not instinct.
Haneda International Airport Terminal 2 1F Domestic Arrival Map 2026
Haneda International Airport Terminal 2 2F Domestic Departure and International Arrival Map 2026
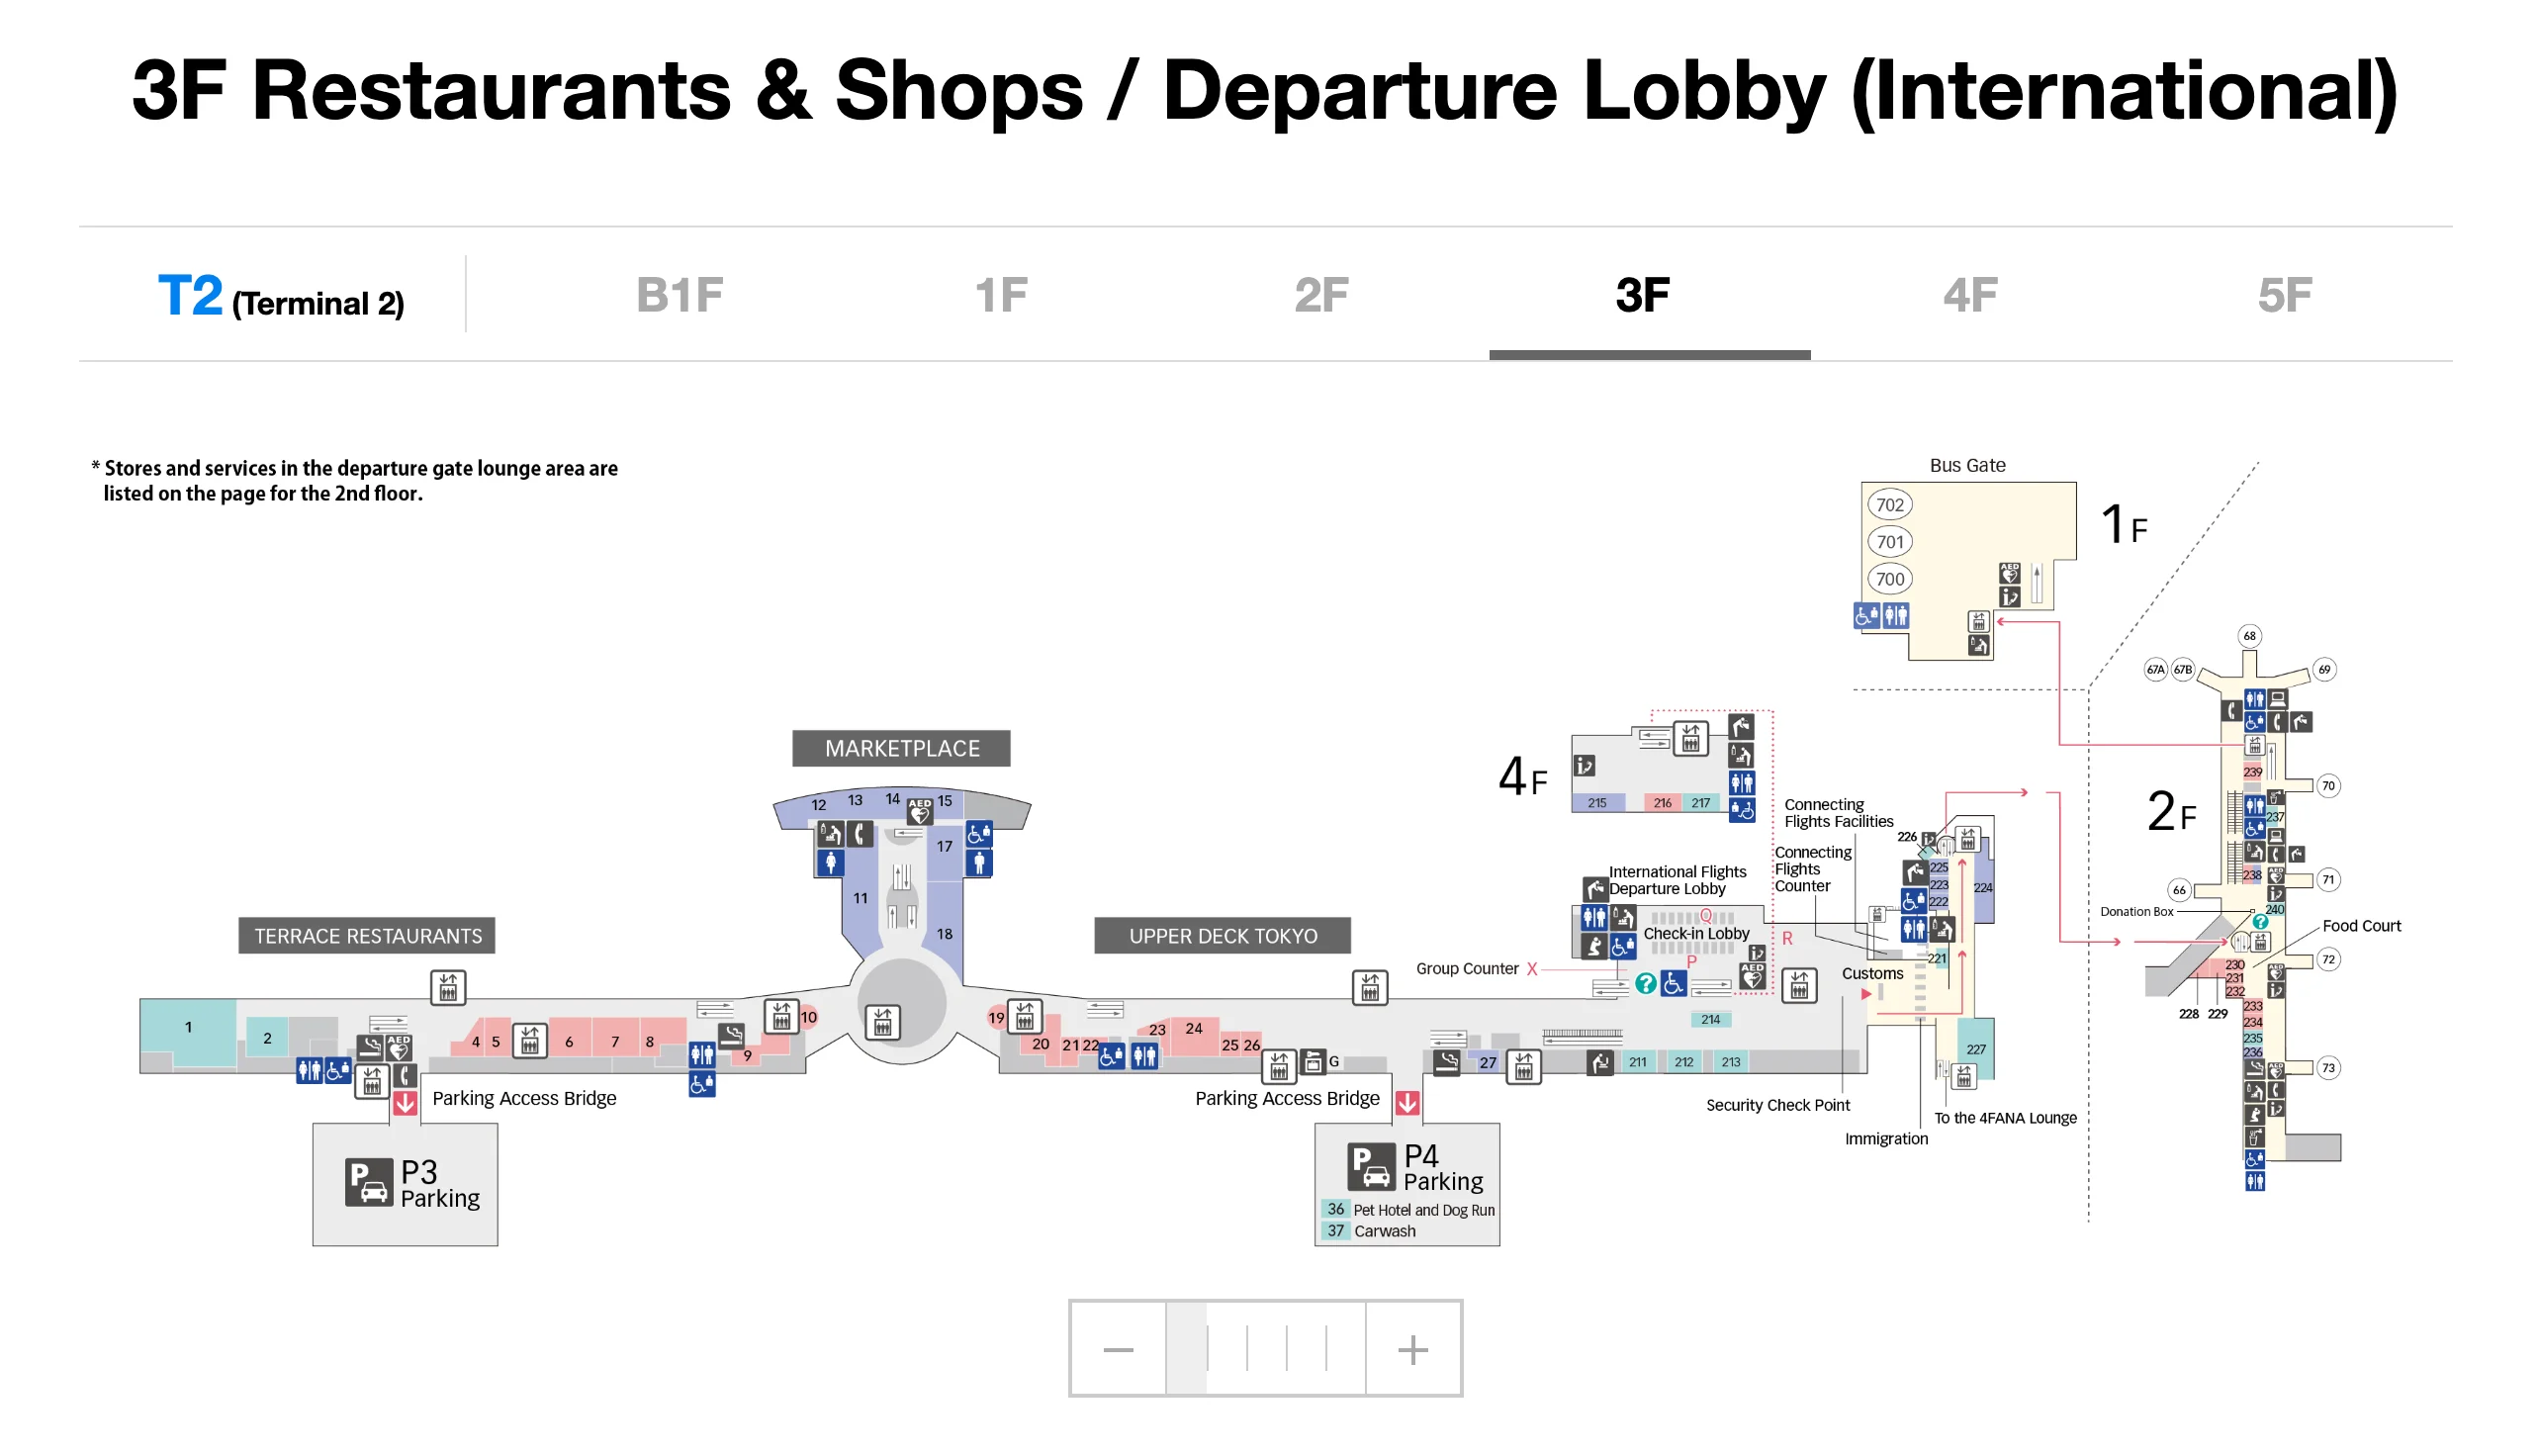
Haneda International Airport Terminal 2 3F International Departure Lobby Map 2026
Haneda International Airport Terminal 2 4F Restaurants and Shops Map 2026

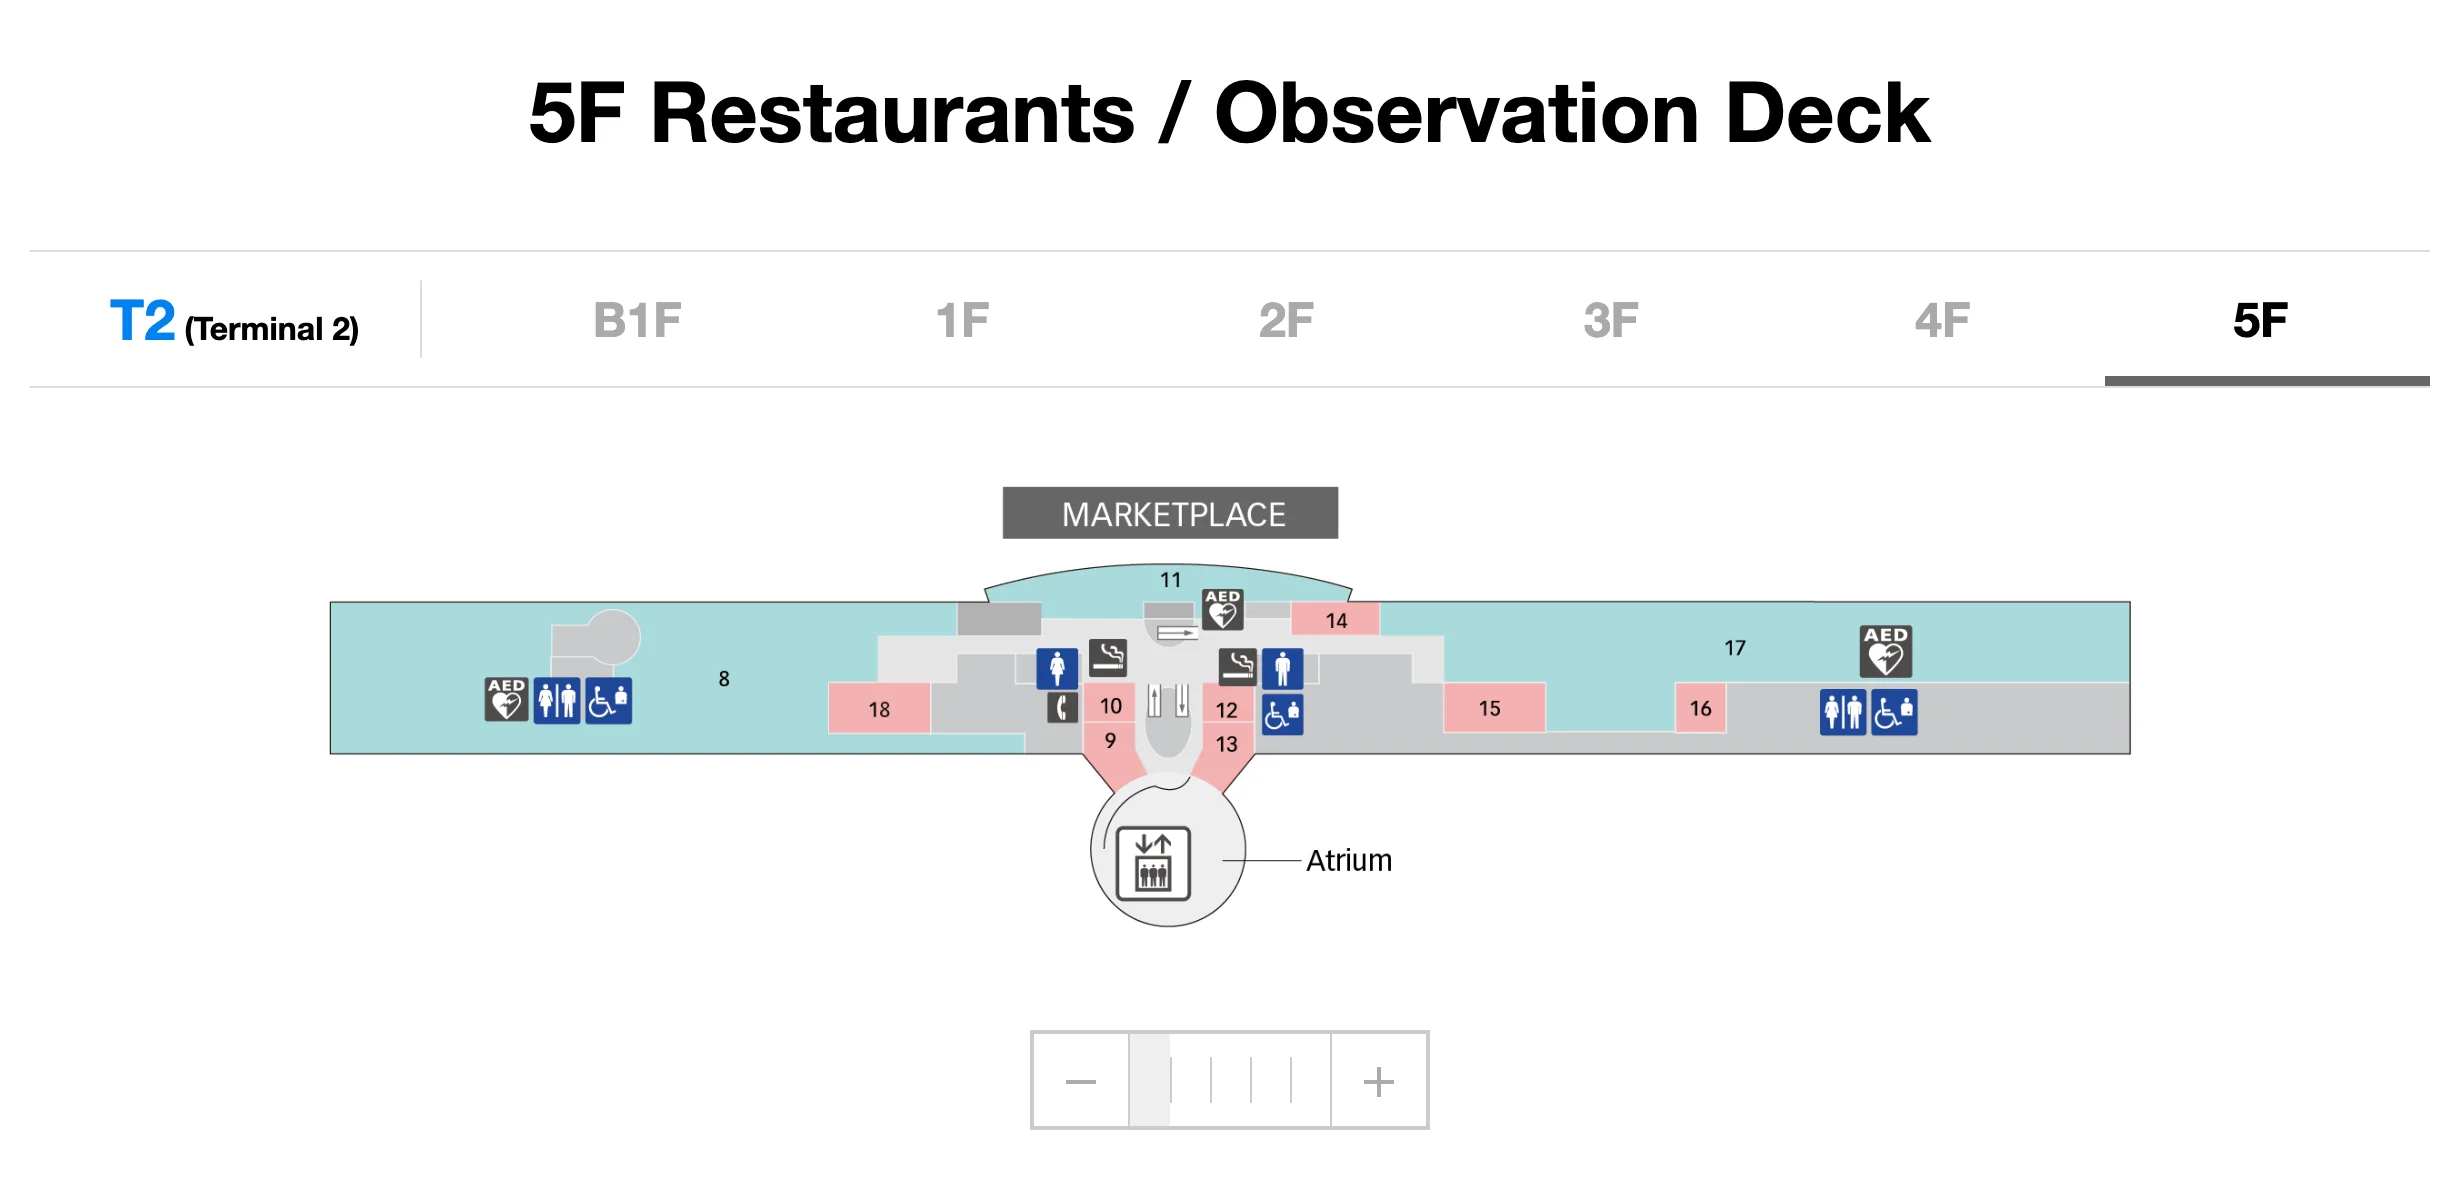
Haneda International Airport Terminal 2 5F Restaurants and Observation Deck Map 2026
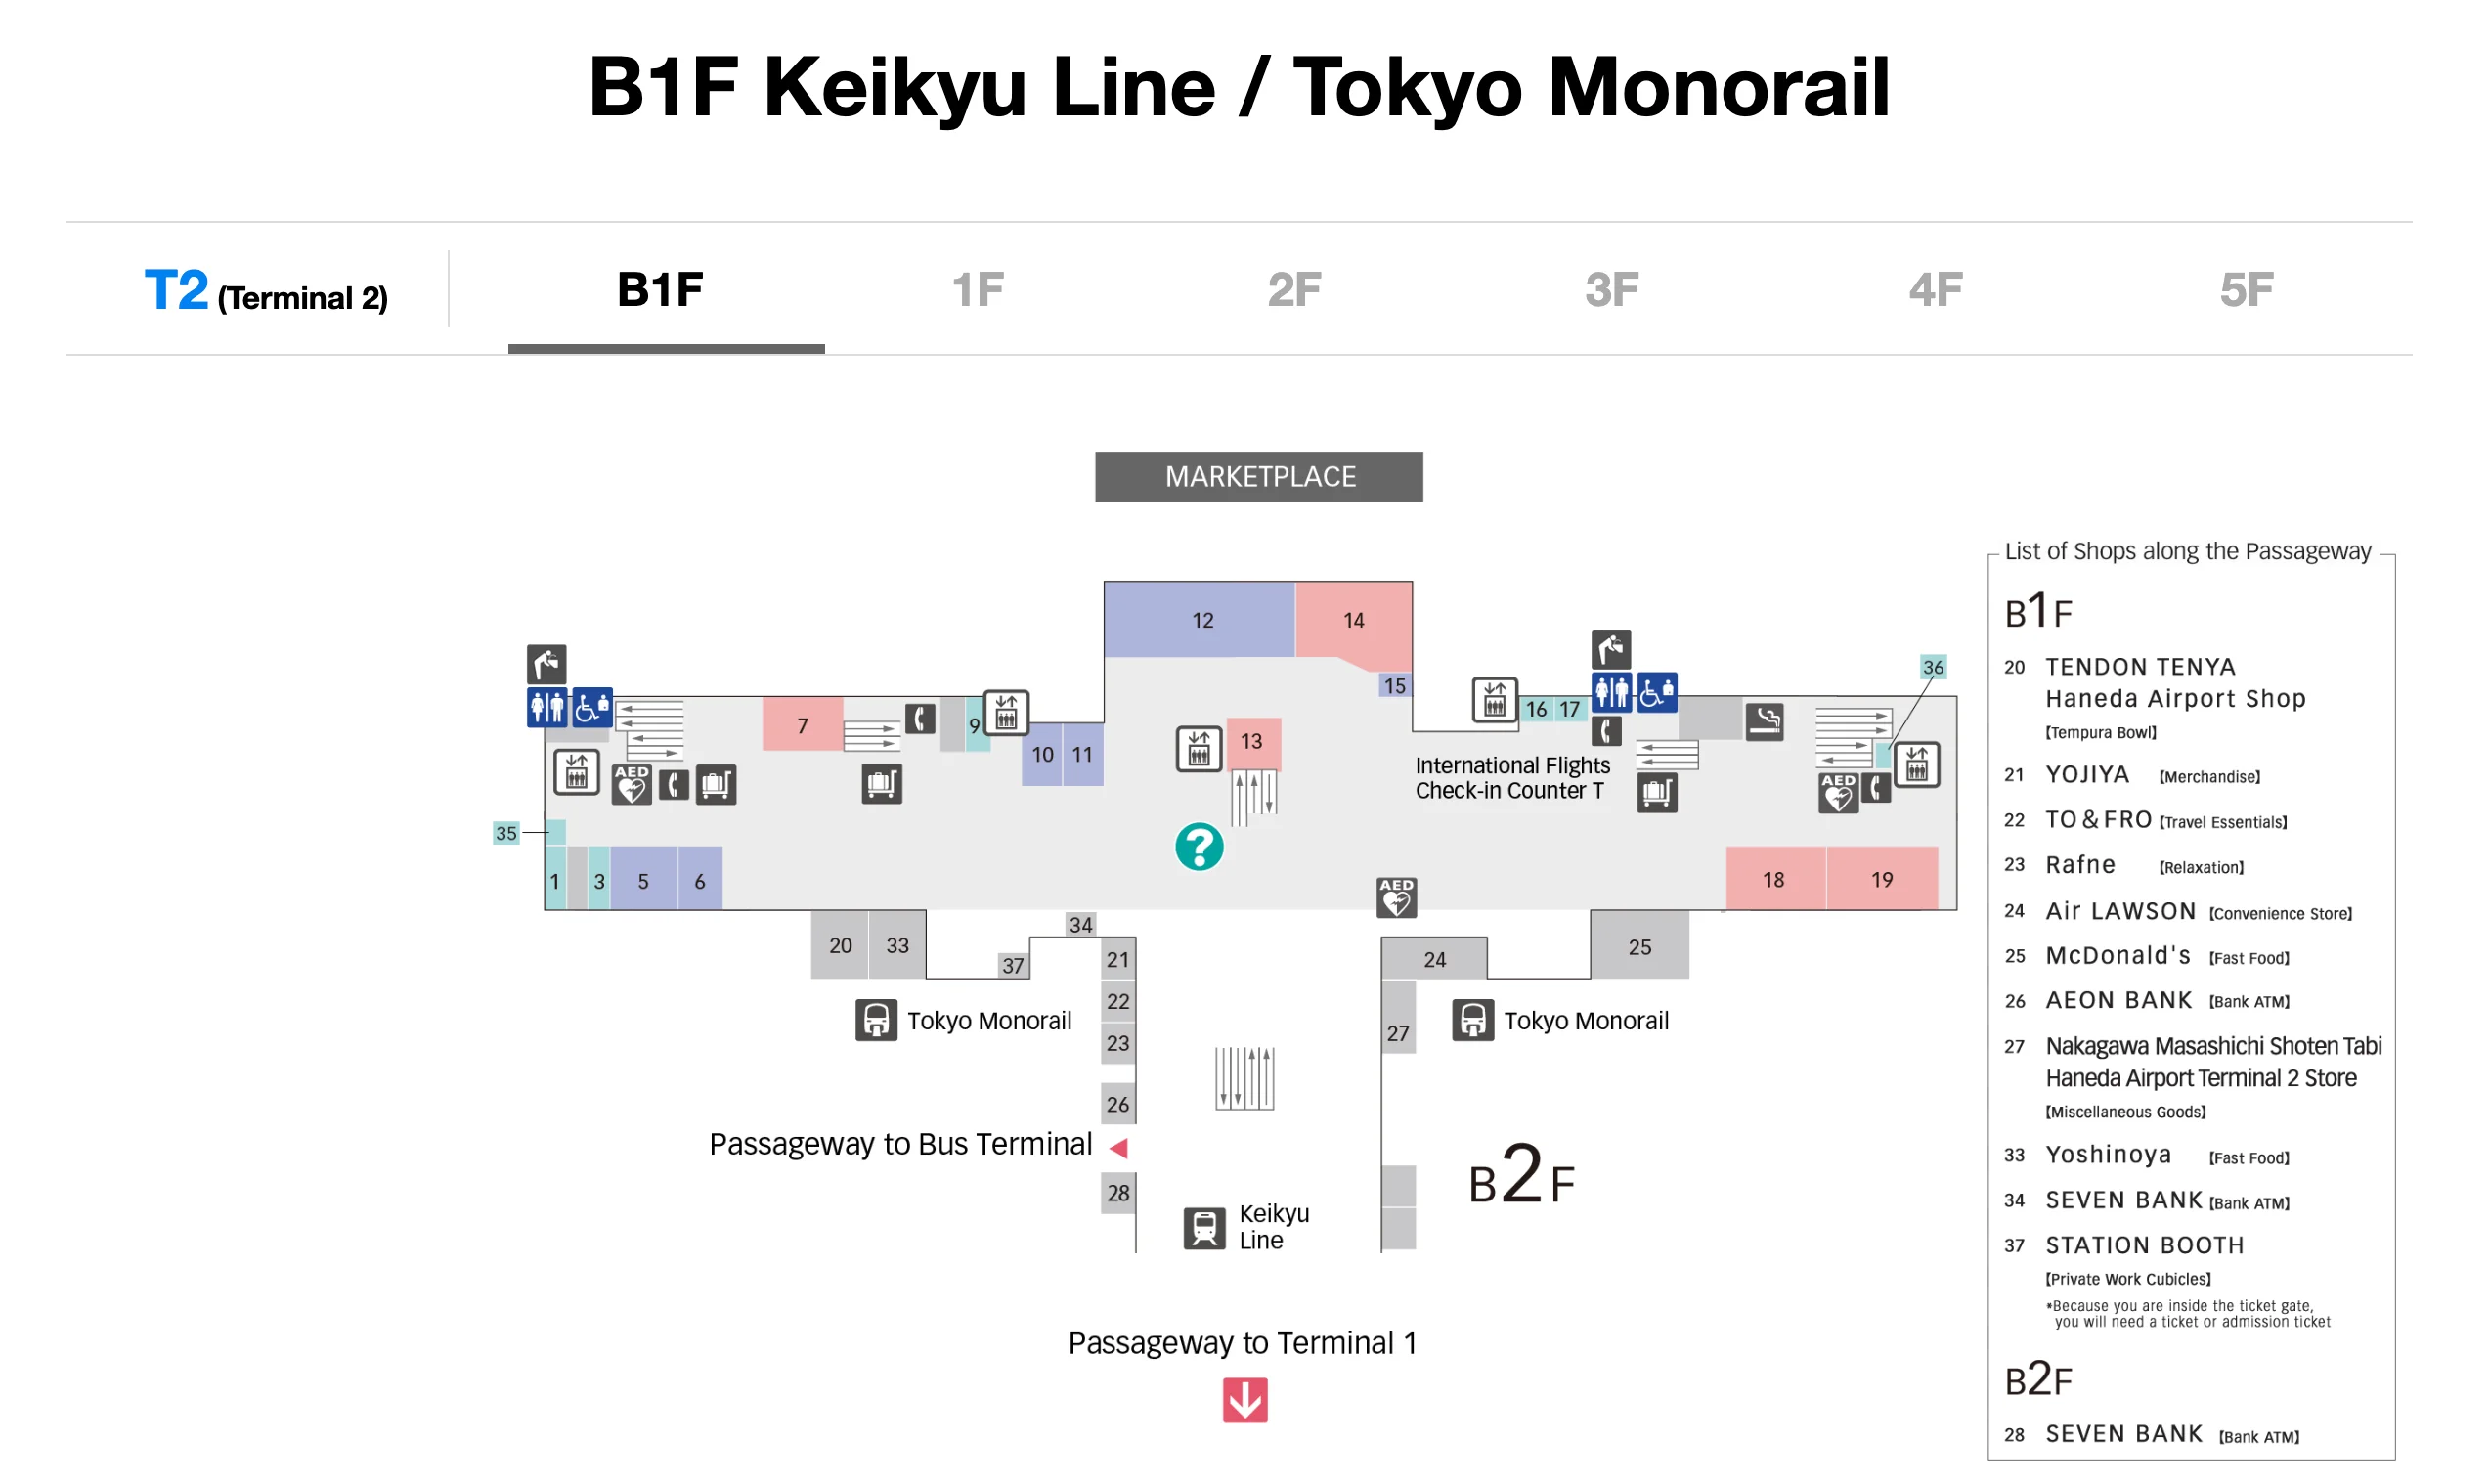
Haneda International Airport Terminal 2 B1F Keikyu Line and Tokyo Monorail Map 2026
2026 Haneda International Airport Terminal 2 Map Guide
Where is the Terminal 2 → Terminal 3 free shuttle bus stop located (floor + nearest landmark) from Terminal 2 Arrivals?
The Terminal 2 → Terminal 3 free shuttle bus stop is on 1F at the Terminal 2 Arrivals curbside, signed as the inter-terminal “Free Shuttle Bus” stop (Stop 9). From the arrivals exit, it’s outside at the covered curb lane rather than inside the terminal.
Follow the 1F Arrivals “bus/taxi” exit to the curb, then orient yourself along the frontage road and look for the numbered bus-stop posts and “Terminal Shuttle / Free Shuttle Bus” signage. The key landmark is the Arrivals curb itself: you’re not heading to the rail station (B1F) or departures (2F/3F)—you’re staying at ground-transport level and walking along the curb to the Stop 9 boarding point.
What is the exact walking distance from Terminal 2 Arrivals exit to the Terminal 2 → Terminal 3 shuttle bus stop?
The walking distance is about 50 meters from the Terminal 2 Arrivals exit to the Terminal 2 → Terminal 3 free shuttle bus stop (Stop 9). The path stays on 1F at the curb, so there’s no vertical transition.
From the 1F arrivals doors, step out to the covered curbside and follow the “Free Shuttle Bus” signage along the terminal frontage to the Stop 9 post. The distance is short but easy to overshoot when tired because you’re walking parallel to the curb lanes—use the numbered stop markers as your “hard” confirmation that you’re in the right loading zone.
From the Terminal 3 shuttle bus drop-off point, what is the exact walking distance to Terminal 3 Departures check-in hall?
The walking distance is about 250 meters from the Terminal 3 shuttle bus drop-off (Stop 0 on 1F) to the Terminal 3 Departures check-in hall (3F). The route includes a vertical climb from curb level to departures.
Enter Terminal 3 directly from the Stop 0 curbside doors, then take the first major escalator/elevator bank up to 3F Departures. Once you reach 3F, follow the main open hall to the check-in island area. The “tell” that you’re on the correct line is switching from 1F curbside signage to 3F airline counter overhead boards—if you’re still seeing ground-transport icons, you haven’t gone up yet.
What is the exact walking distance from Terminal 2 International Security to the bus/remote boarding gates (700–702 area)?
The walking distance is 650 meters or more from Terminal 2 International Security to the remote bus/boarding gates in the 700–702 area. The route also includes a required vertical transition down to the bus-gate holding zone, which is why it feels longer than the same-length walk to jet-bridge gates.
| Segment | Landmark triangulation | Distance / time |
|---|---|---|
| Exit security → main airside spine | duty-free retail corridor after the checkpoint | ~8 min walk |
| Continue toward higher gate numbers | past the far concourse toward Gate 73 direction | included above |
| Descend to bus-gate level | escalator/elevator down to the 700–702 lobby | ~2 min |
| Bus-gate holding area | remote gate lounge/boarding point | ~2–3 min |
Plan 12–15 minutes total from security to the 700–702 lounge, and treat the printed boarding time as “arrive at the lounge by,” not “reach the aircraft by.”
Which Terminal 2 security checkpoint (A/B/C) yields the shortest walk time to Gate 500 (per the published walk-time grid)?
Security checkpoint B yields the shortest walk time to Gate 500 on the published walk-time grid. It lines you up on the most direct concourse spine toward the 500-gate zone without forcing a backtrack across the checkpoint bank.
After clearing checkpoint B, keep to the main airside corridor and follow overhead gate-number signage toward the 500s rather than drifting into the retail frontage. If you enter through A or C, the walk-time penalty usually comes from an extra lateral cross-corridor move before you can rejoin the 500-direction flow, which is easy to miss when the concourse is busy.
Where exactly is the Terminal 2 International Departures lobby (3F) relative to the Keikyu/Monorail station entrance inside Terminal 2?
The Terminal 2 International Departures lobby (3F) is directly above the Keikyu/Monorail station level (B1F) via the main “Marketplace” vertical core, reached by the central elevator bank and escalator cascade from the rail concourse. From the station entrance area, you’re aiming for the straight vertical move to 3F rather than drifting into 1F ground transport or 2F domestic check-in.
From B1F, follow Terminal 2 exit signage into the main atrium/Marketplace zone, then take the first major up route that offers continuous access to 3F. You’ll know you’re arriving correctly when overhead signs switch to “International Departures / Check-in” and you hit the 3F check-in lobby edge before the restaurant-heavy 4F layer—if you end up surrounded by 4F dining, you’ve gone one level too far.
Where is the Terminal 2 international-to-domestic baggage re-check / transit counter located relative to baggage claim (T2), and what is the walking distance between them?
A dedicated “international-to-domestic” baggage re-check/transit counter is not reliably available as a standard, always-in-the-same-place facility inside Terminal 2; the dealbreaker is that most international-to-domestic connections at Haneda require a landside reset (baggage claim, customs exit, then moving into the domestic departure flow). That means the “re-check” function often behaves like a normal landside bag drop rather than a quick belt-side handoff.
In practical routing terms, treat baggage claim on 2F as your anchor: clear immigration, collect bags, pass customs, then follow landside signs toward domestic departures/check-in for your airline rather than assuming a short, signed “transit counter” immediately beside the carousels. Because the counter location can vary by airline/operation, the walking distance is not a fixed map value in the provided audit data—budget several minutes plus queue time after customs to reach the domestic check-in/bag drop zone.
What is the exact walking distance from Terminal 2 International Security to the nearest food option airside in the international area?
The walking distance is about 1–2 minutes from Terminal 2 International Security to the nearest food option airside in the international area, because the first cluster of airside retail/food services begins immediately after the checkpoint in the duty-free corridor. The closest reliable option in the audit is the international-gate-area Starbucks.
After you clear security, stay on the main flow through the duty-free walkway and look for the first branded food counter rather than walking deep toward the far gates. This is also where the “airside scarcity” problem shows up: you’ll find something quickly, but choices thin out fast compared with landside (4F/5F), so it’s smarter to eat landside first unless you’re timing it tightly.
Where is the closest elevator-only route from Terminal 2 Arrivals to the Terminal 2 → Terminal 3 shuttle bus path (for luggage/mobility constraints)?
The closest elevator-only route keeps you on the arrivals/ground-transport levels and uses the main public elevator bank that connects arrivals circulation to 1F curbside without forcing escalators. The key is to anchor on the central “Marketplace” vertical core rather than drifting toward rail (B1F) or departures ramps.
From Terminal 2 Arrivals, follow accessible route signage toward the main elevator bank (the large public lifts used by families with luggage), ride down to 1F, then exit to the covered Arrivals curb and proceed along the curbside shuttle path to the “Free Shuttle Bus” Stop 9 area. If you find yourself funneled toward Keikyu/Monorail, you’ve gone the wrong direction—backtrack to the central lifts and stay aimed at 1F ground transport.
Where is the fastest floor-line/signposted route from Terminal 2 Arrivals to the inter-terminal transfer wayfinding (the first ‘T3 / International Connections’ decision point)?
The fastest route is the straight shot from the Terminal 2 Arrivals exit to 1F curbside, then immediately locking onto the first overhead/column signage for the “Free Shuttle Bus / Terminal Shuttle” before you start walking the curb lanes. That first decision point happens at the landside exit zone where you choose curbside shuttle versus rail (B1F) versus departures (2F/3F).
Exit arrivals to the public area, follow ground-transport icons to 1F (not the Keikyu/Monorail descent), then use the curbside stop-number markers to confirm you’re aimed at the inter-terminal shuttle loading zone (Stop 9). If you reach taxi ranks or general city buses without seeing “Free Shuttle Bus,” you’ve drifted past the correct fork—turn back toward the stop posts and re-acquire the shuttle signage.