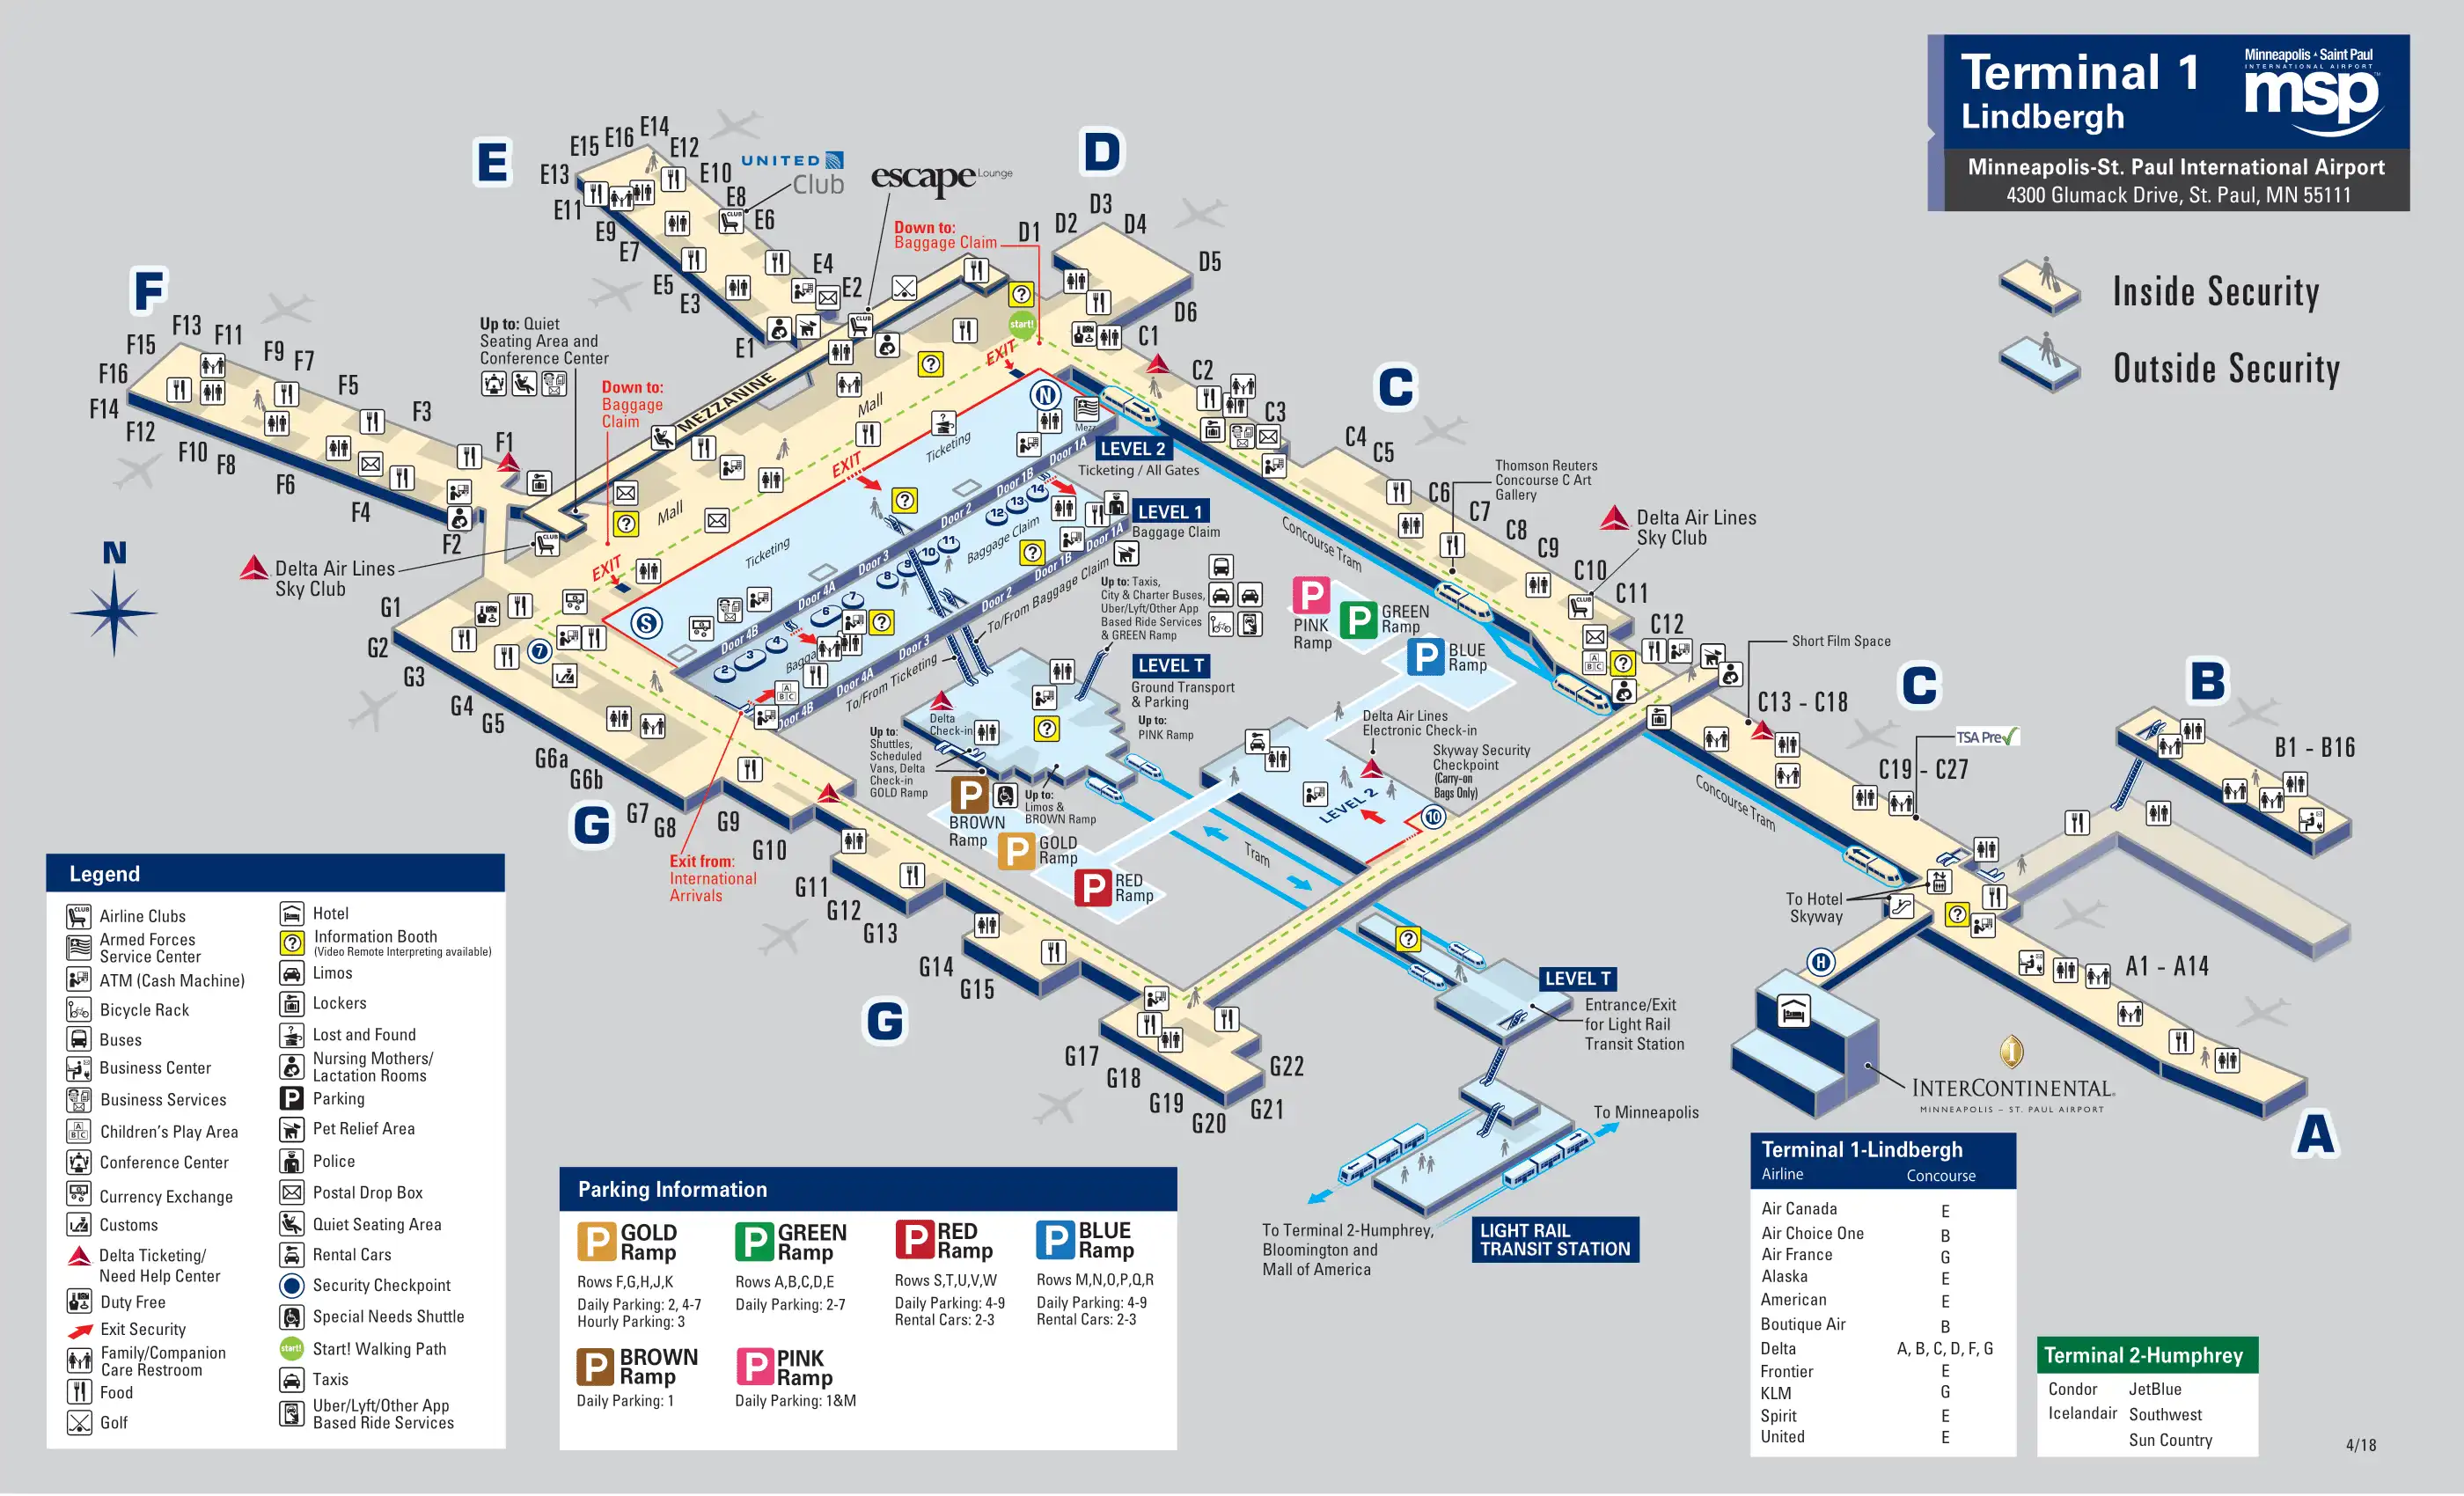
Minneapolis–Saint Paul International Airport Terminal 1 Map (Most Up-To-Date)
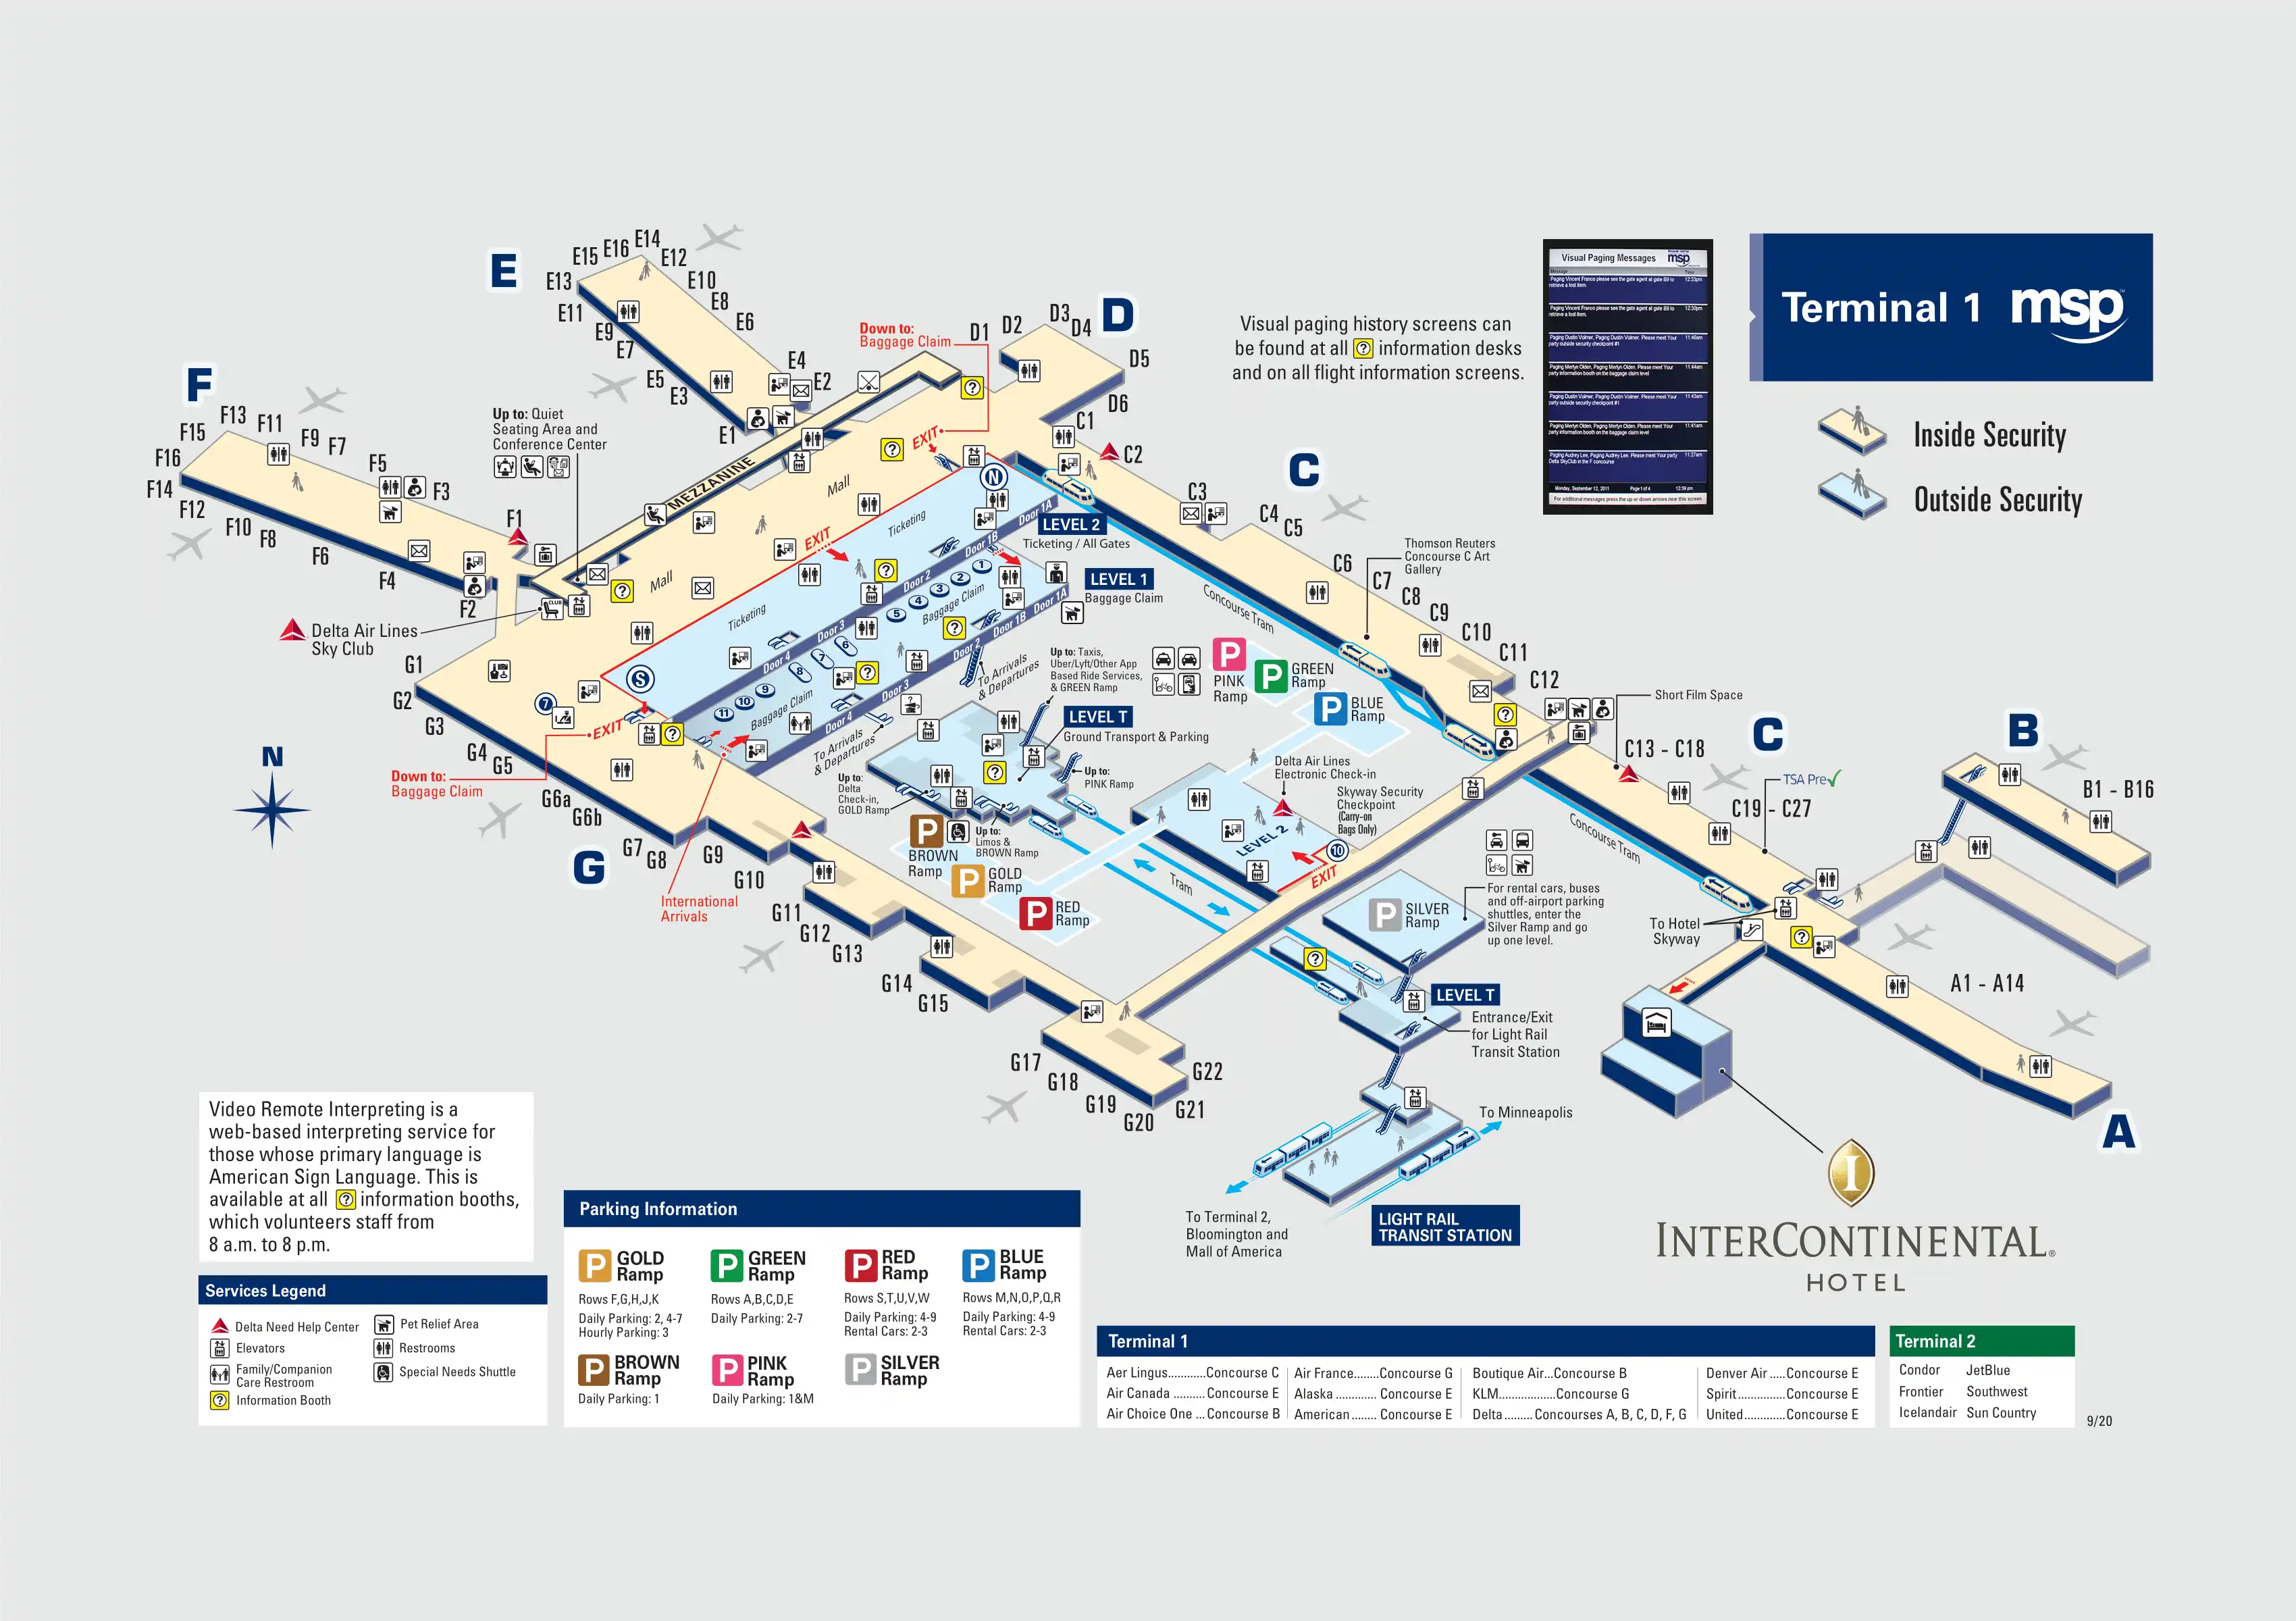
Terminal 1 (Lindbergh), inside the Twin Cities airport hub, uses a tuning-fork shape: a central hub (“The Mall”) with two long parallel piers—Concourses C and G—running south. The high-value shortcut is the C to G Connector (Skyway), a cross-link that prevents long backtracks via The Mall. Wayfinding is also vertical: Level 2 (ticketing/TSA), Level 1 (baggage), Level T (tram), Level -1 (light rail).
Map Table
| Zone | Connection | Walk Time |
|---|---|---|
| The Mall | C1 node, G1 node, D/E nodes | C1 to G1 3–6 min |
| Concourse C mid | C12/C13 rotunda, Connector entry, C-Tram mid | rotunda to entry 0–2 min |
| Concourse G mid | G17/G18 node, Connector entry, Sky Club node | gates to entry 0–2 min |
| Transit stack | Level T Hub Tram, Level -1 Blue Line | Terminal 1 to Terminal 2 20–30 min |
Minneapolis Saint Paul International Airport Terminal 1 Map Strategy
- Treat Terminal 1 and Terminal 2 as separate islands: no normal airside link and no practical walk, so any switch triggers a landside reset plus re-screening.
- Decide on a checkpoint before you commit: North vs South changes where you enter The Mall, and a wrong choice can force a long backtrack when queues or openings shift.
- Lock onto the Connector anchors early: C12/C13 rotunda on the C side and G17/G18 on the G side prevent the U-shape detour through The Mall.
- Ground transportation is level-specific: rideshare pickup is in the Green/Gold ramp Ground Transportation Center, not at the curb, so use the correct baggage-claim doors and crosswalks.
2025 Minneapolis–Saint Paul International Airport Terminal 1 Map + Printable PDF
Operational navigation in 2026 still hinges on three make-or-break nodes: the Level T tram access core for the cleanest terminal-to-terminal transfer, the C to G Connector for cutting cross-pier walking time, and the Ground Transportation Center in the Green/Gold ramps for rideshare. Checkpoint availability can shift, so checkpoint choice needs an intentional plan.
Minneapolis–Saint Paul International Airport Terminal 1 Level 1 Baggage Claim and Arrivals Map 2025
Minneapolis–Saint Paul International Airport Terminal 1 Level 2 Concourse D E Map 2025
Minneapolis–Saint Paul International Airport Terminal 1 Level 2 Concourse F G Map 2025

Minneapolis–Saint Paul International Airport Terminal 1 Level 2 Ticketing Map 2025
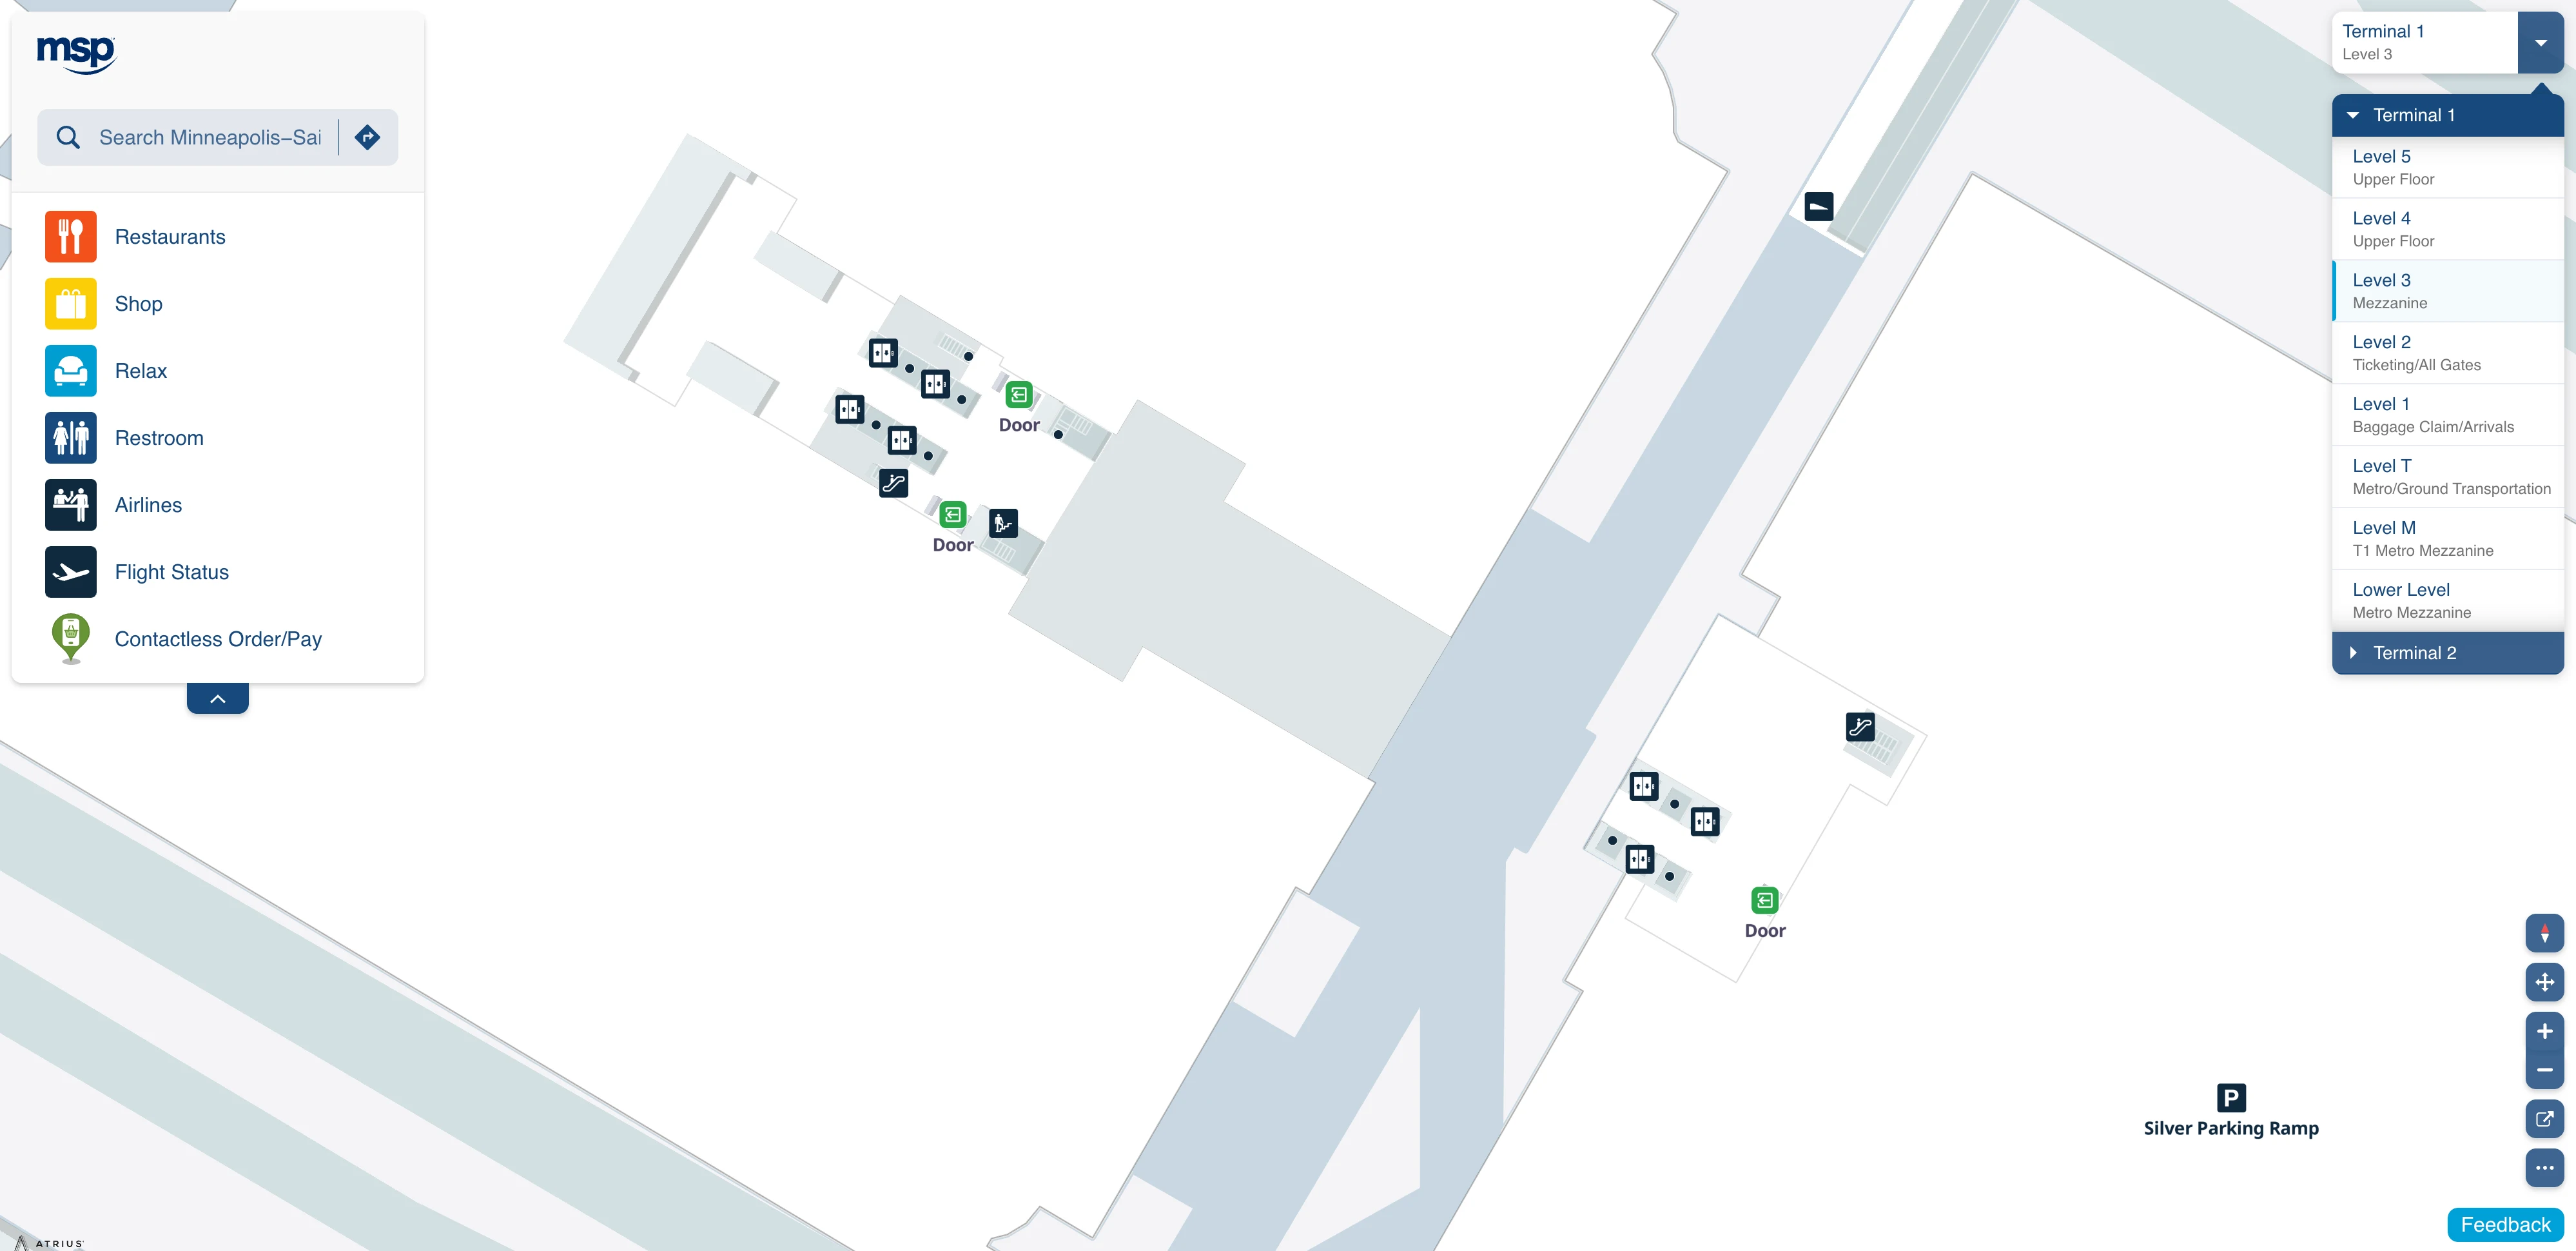
Minneapolis–Saint Paul International Airport Terminal 1 Level 3 Mezzanine Map 2025
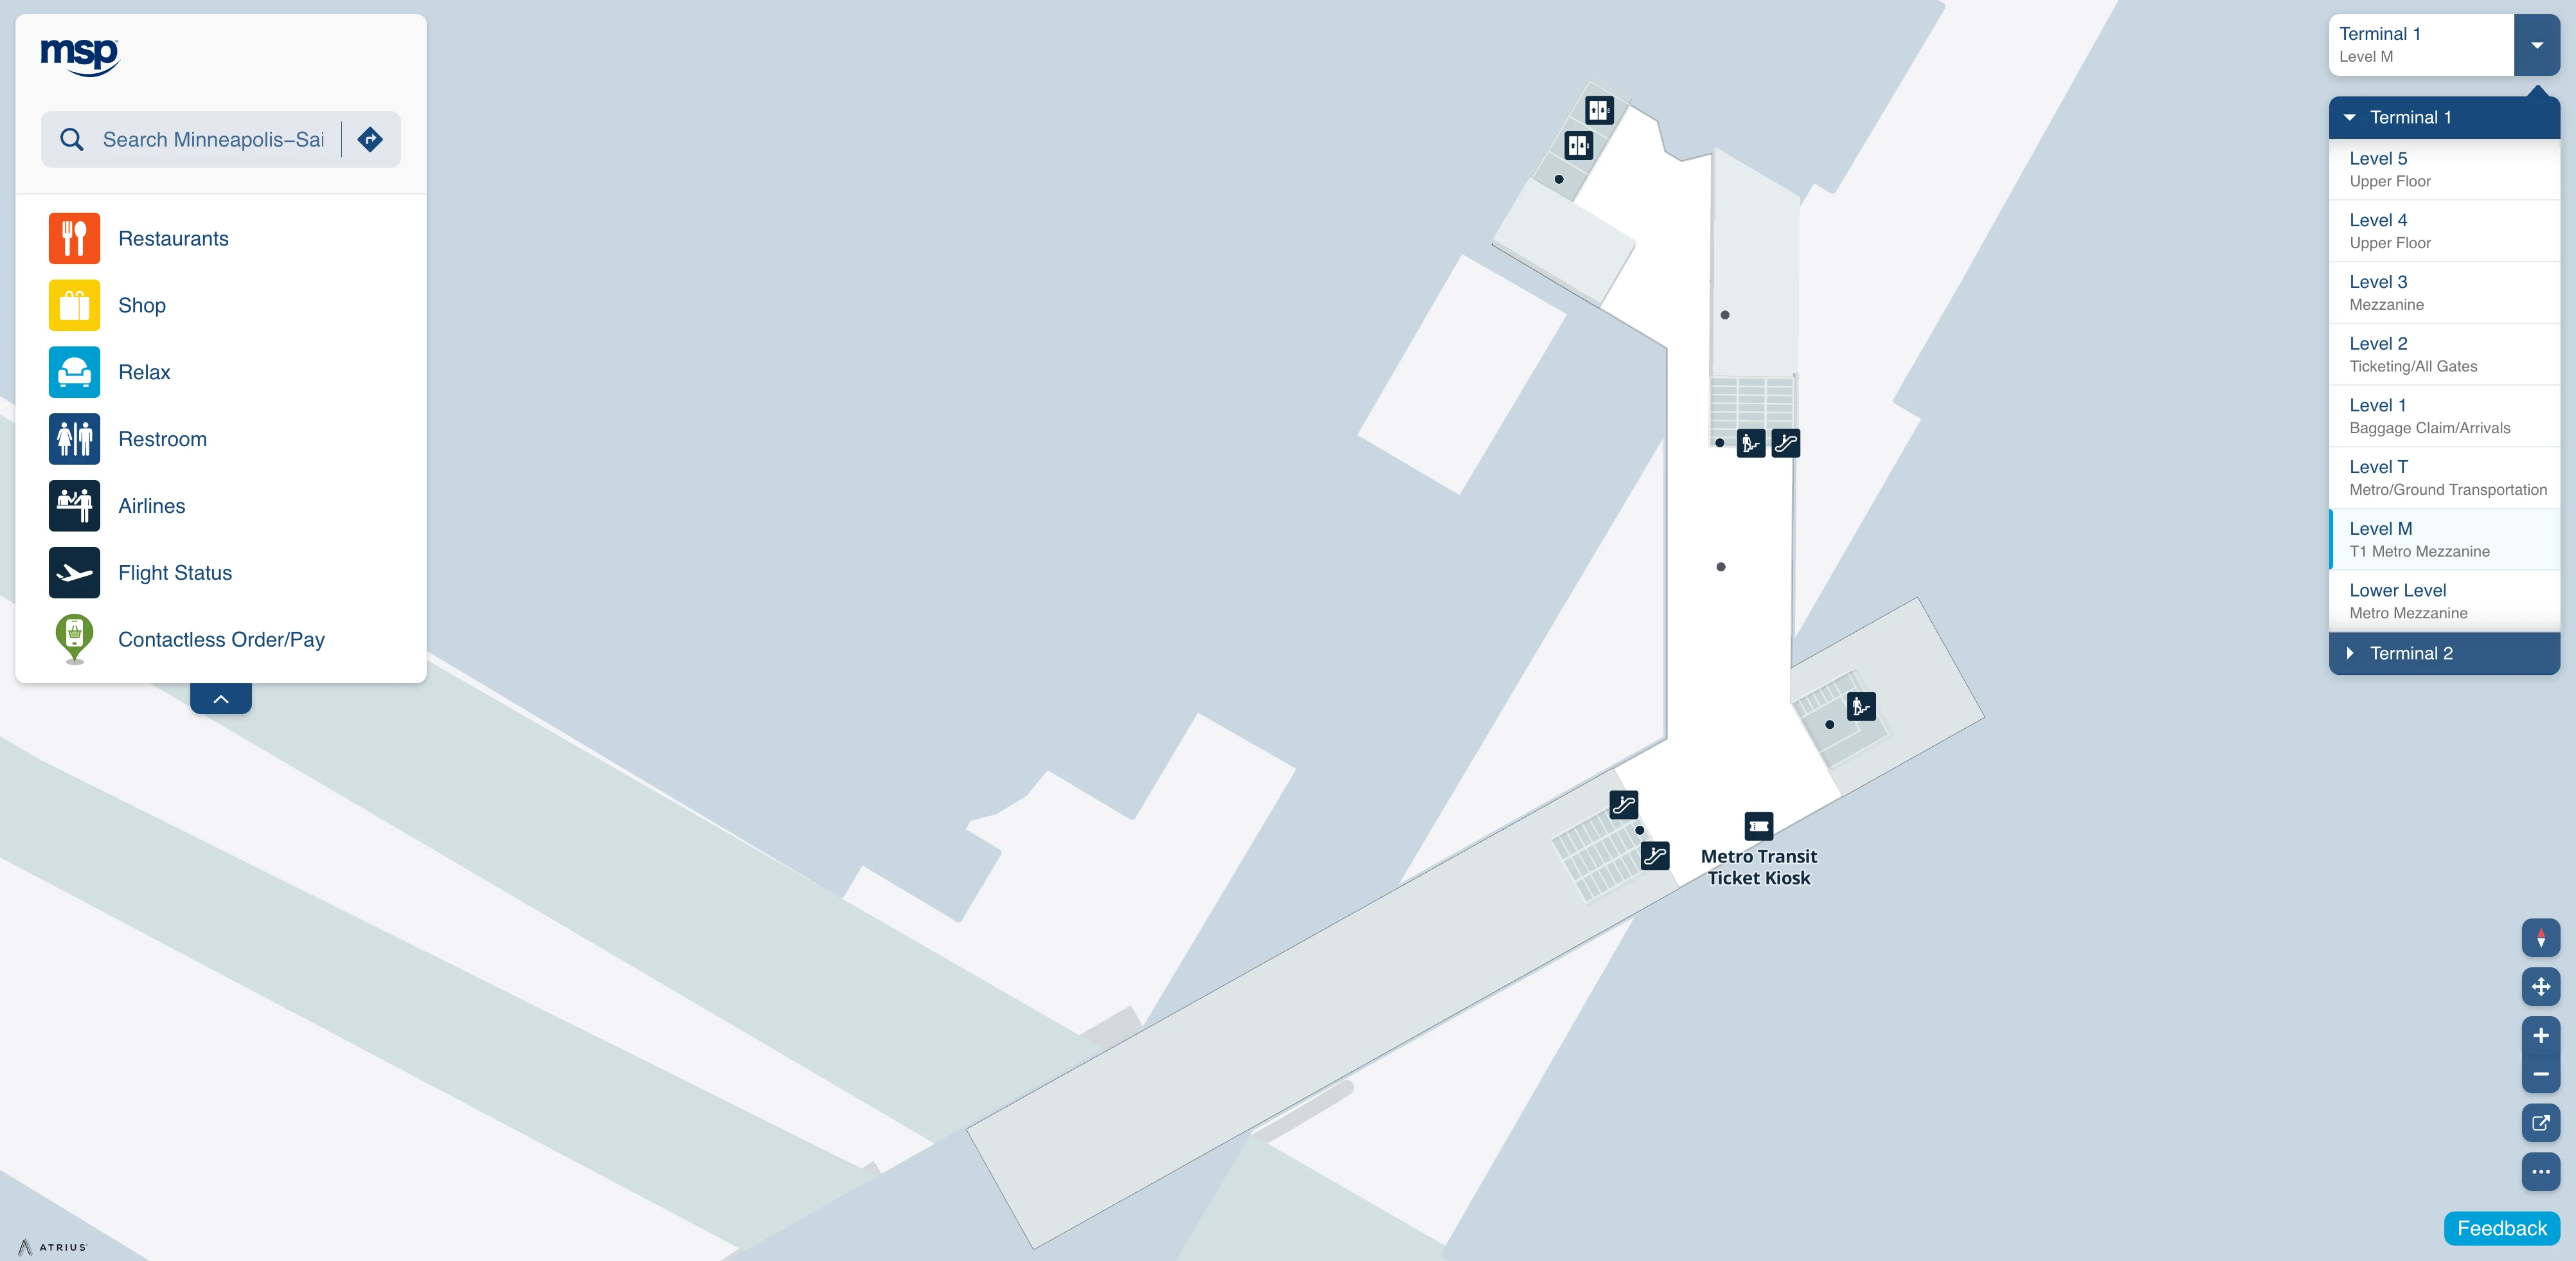
Minneapolis–Saint Paul International Airport Terminal 1 Level M T1 Mezzanine Map 2025
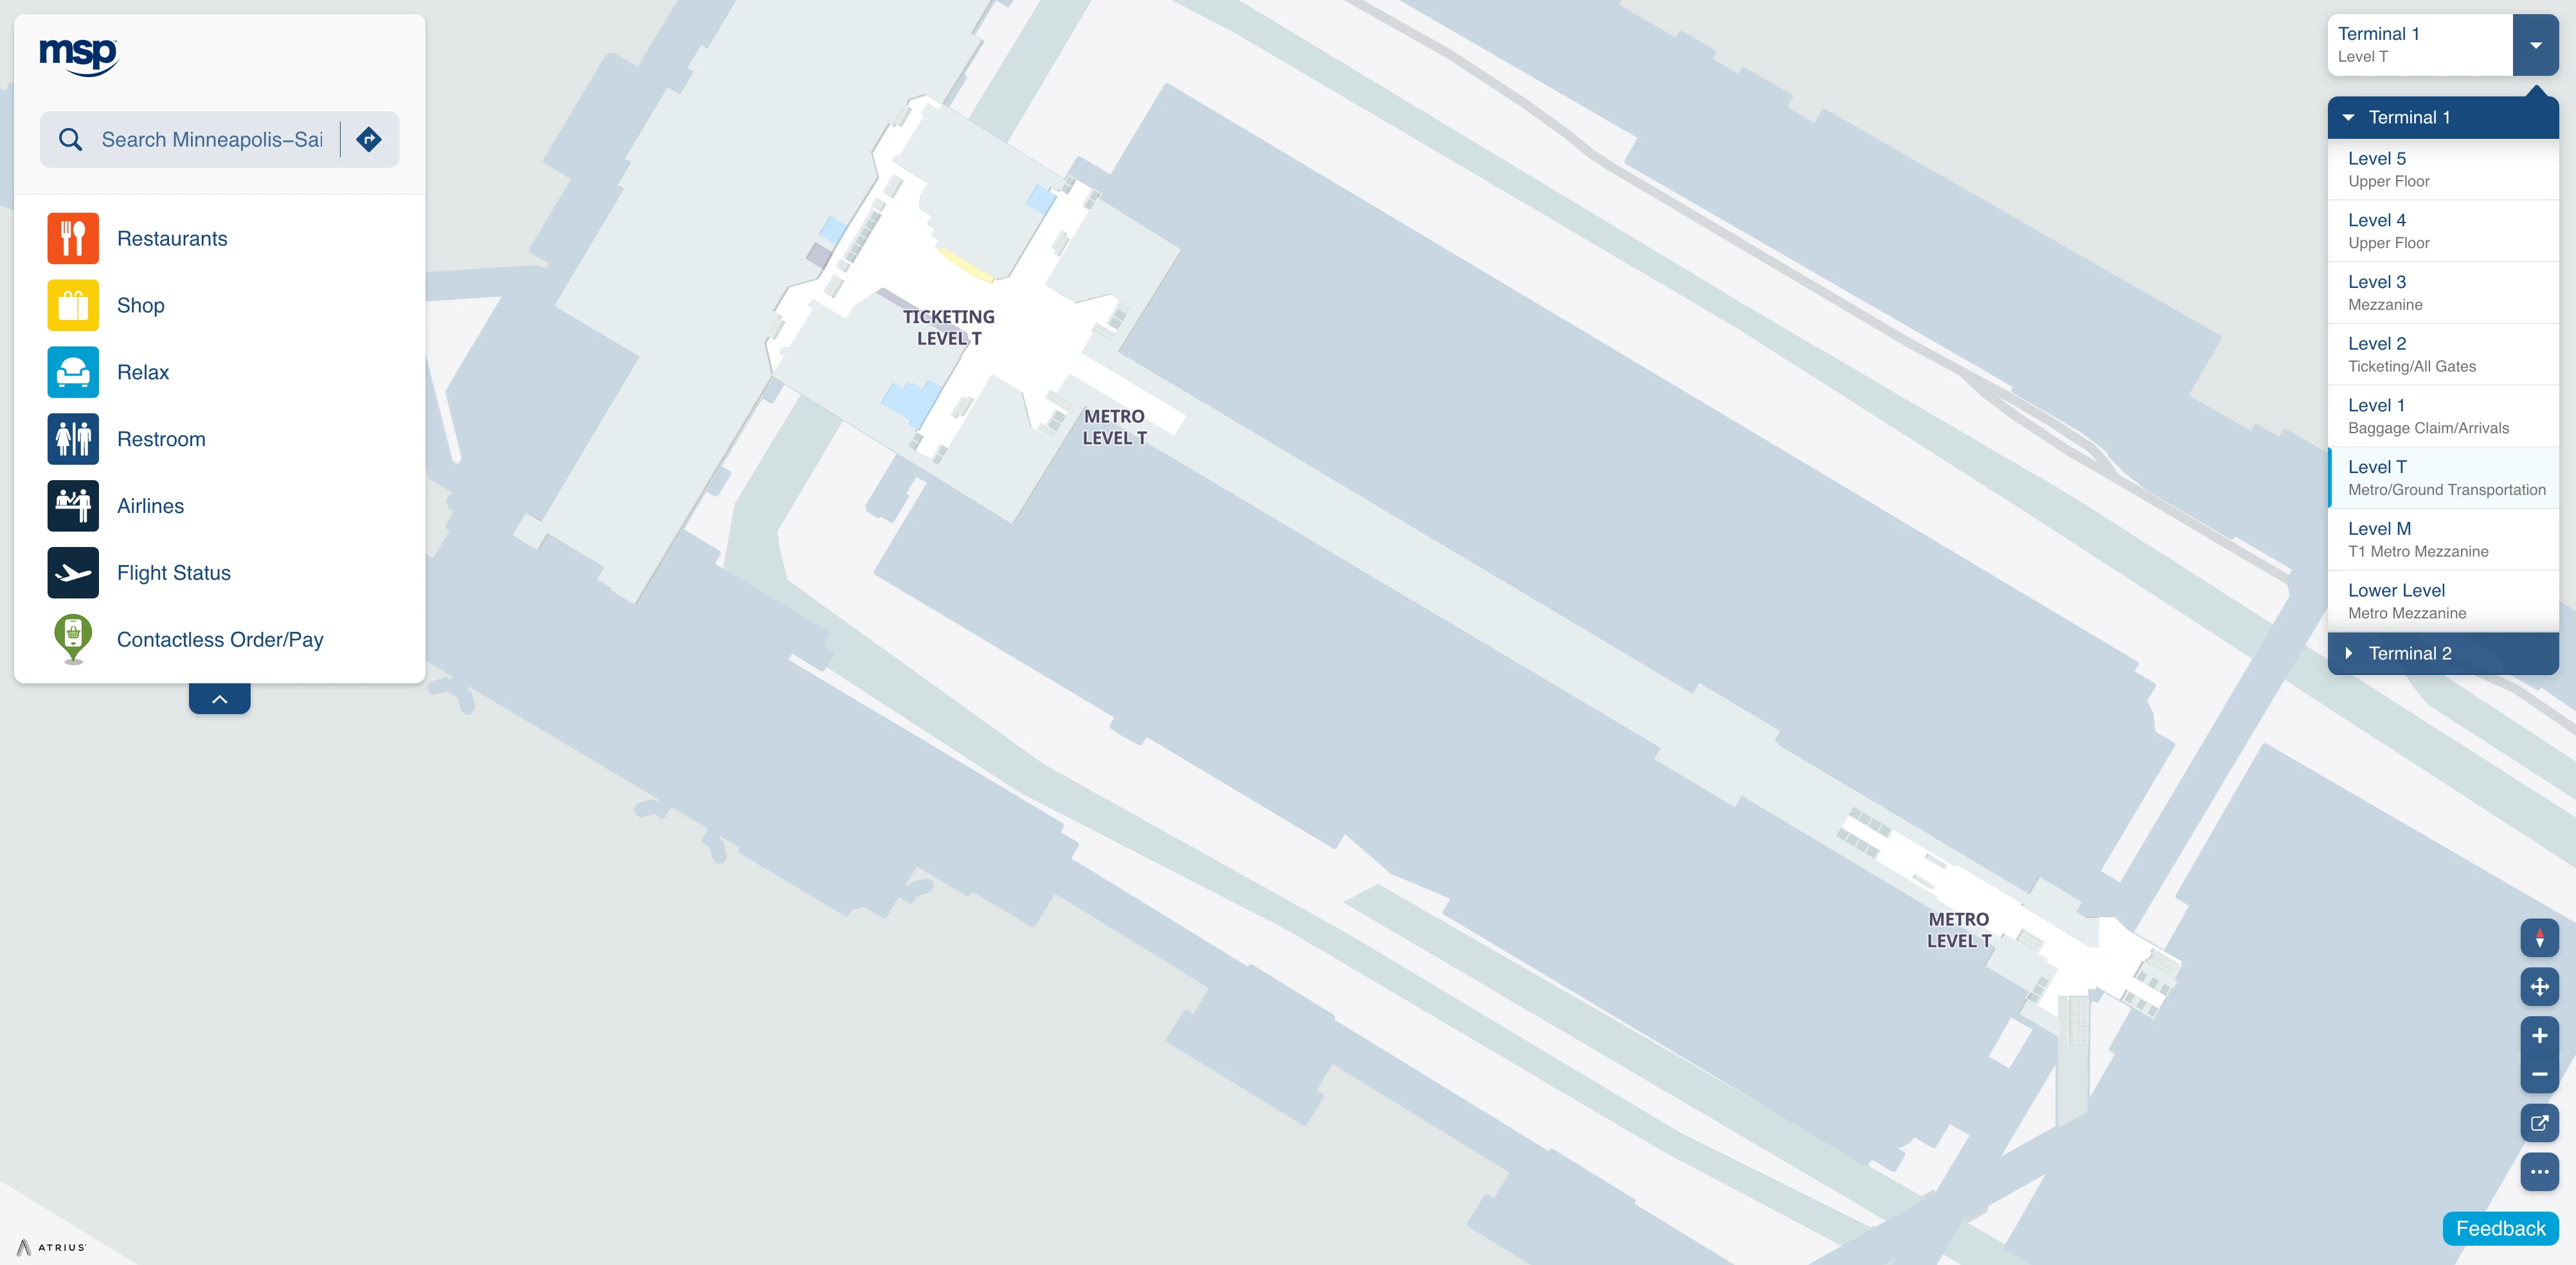
Minneapolis–Saint Paul International Airport Terminal 1 Level T Ground Transportation Map 2025
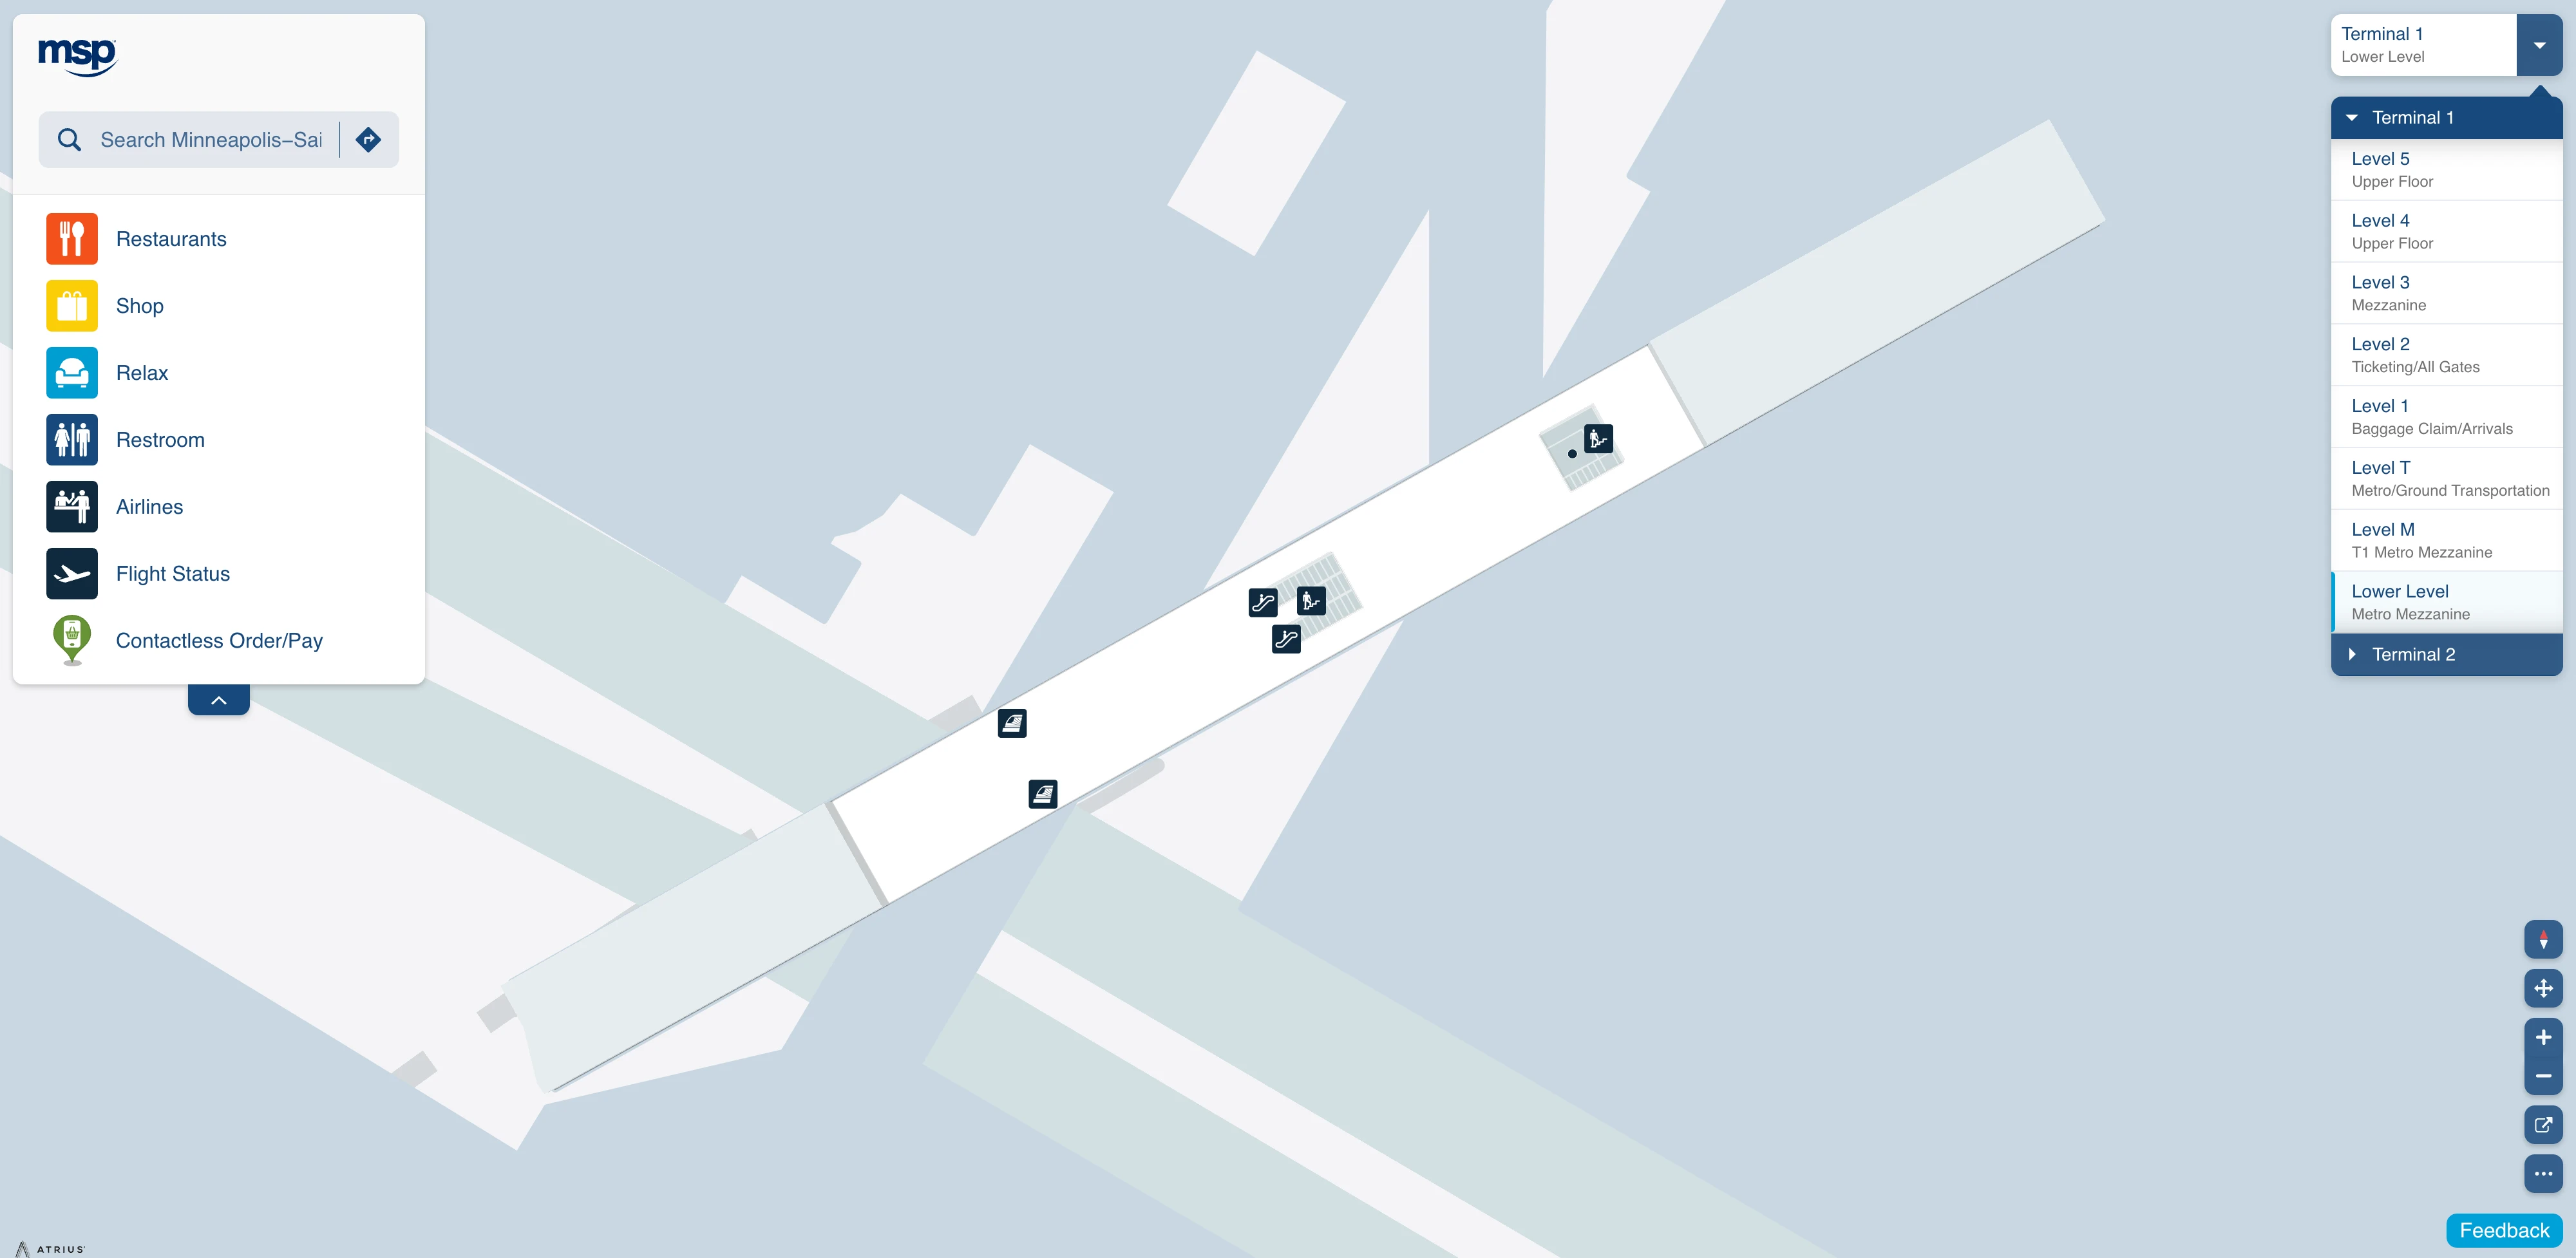
Minneapolis–Saint Paul International Airport Terminal 1 Lower Level Mezzanine Map 2025
2026 Minneapolis Saint Paul International Airport Terminal 1 Map Guide
What is the exact landside walking route from Terminal 1 arrivals/baggage claim to the Terminal 2 transfer train/light-rail platform?
There is no safe or practical landside walking route between Terminal 1 and Terminal 2, so the only standard transfer path is the internal tram down to the METRO Blue Line platform. Start in Terminal 1 Level 1 (arrivals/baggage claim), then stay inside and use the central escalator/elevator banks between the mid-numbered carousels to go down to Level T (Tram Level).
Follow “Tram to Light Rail / METRO Blue Line” signs on Level T and ride the Hub Tram to the Transit Center stop serving the Red and Blue ramps. From there, take the deep escalators/elevators down to Level -1 (light-rail platform) and board the southbound train toward Mall of America. Terminal 2 is the next stop; go up to the skyway level, cross into Terminal 2, then up/down as needed for ticketing or security.
Where is the exact exit point (door/level) you must use in Terminal 1 to begin the Terminal 1 → Terminal 2 transfer without wandering into parking ramps?
The correct “exit point” is the central Tram Level access core inside Terminal 1 baggage claim, where you go down to Level T instead of going out any curbside door. Stay in the Level 1 baggage-claim hall and use the main escalator/elevator banks positioned between the mid-numbered carousels (commonly around carousels 6–10).
Dropping to Level T is the decisive move because it keeps you in the terminal’s internal transit stack rather than pushing you into ramp corridors. The access core is visually obvious: a large opening with descending escalators, typically near information counters and heavy “Tram / Light Rail” signage. Avoid the curbside doors along baggage claim (the numbered doors facing traffic); if you are standing on the sidewalk, you’ve already passed the clean transfer node and will need to re-enter to reach Level T efficiently.
Where is the exact map location of the C↔G connector (skyway/bridge), and which two gate areas does it physically link?
The C to G Connector is a mezzanine-level skyway that links the Concourse C rotunda by Gates C12 and C13 to the Concourse G node by Gates G17 and G18. The bridge is the crossbar between the two long piers, so it replaces a long U-shaped walk back through The Mall.
On the C side, aim for the rotunda area between C12 and C13 near the C-side food court and the Explore Afar storefront, then go up one level to the connector entrance. On the G side, the entrance is adjacent to the Delta Sky Club area near G17/G18, dropping you back onto the G concourse. Functionally, it connects the higher-numbered C gates (roughly C13–C27) with the higher-numbered G gates (roughly G10–G22).
From Gate G20, what is the exact shortest path (by corridors/connector) to reach Gate D4?
The shortest path runs Gate G20 to Gate G18, across the C to G Connector to the C12/C13 rotunda, then by the C Concourse Tram north to the Main Terminal station by C1, finishing with a short walk into The Mall to Gate D4. This route replaces the long backtrack to G1 and a full Mall crossing.
| Step | Exact corridor or connector | Landmark anchor | Typical time |
|---|---|---|---|
| 1 | Walk down Concourse G from G20 to G18 | G17/G18 node near the Delta Sky Club | 1–2 min |
| 2 | Enter the C to G Connector at the G18 entrance and cross to Concourse C | Connector entrance at G17/G18 | 3–5 min |
| 3 | Exit at the Concourse C rotunda by C12/C13 and go directly to the mid-concourse tram platform | C12/C13 rotunda | 1–2 min |
| 4 | Ride the C Concourse Tram north to the Main Terminal tram station | Main Terminal station by C1 | 1–2 min |
| 5 | Walk out of the tram station into The Mall and follow signs to Gate D4 | D gates clustered off The Mall near the C entrance | 1–3 min |
Where is the exact TSA “Skyway/C-G connector” checkpoint entrance (the one discussed as opening/closing), relative to C gates vs G gates?
You cannot enter the secure area through the Skyway checkpoint when it is closed, even though the C to G Connector bridge itself still sits between the C12/C13 rotunda and the G17/G18 node. The screening entrance is physically built into the connector structure rather than in The Mall.
On the C side, the approach point is the C12/C13 rotunda area, then up to the mezzanine-level connector entrance where the checkpoint doors are staged. On the G side, the approach point is the G17/G18 area beside the Delta Sky Club node, where the connector meets Concourse G. Don’t confuse this with the InterContinental Hotel checkpoint area near C25, which is a separate, time-limited screening node.
What is the exact walking distance (or minutes at normal pace) from the South Checkpoint exit to Gate G18?
The walk takes about 8–10 minutes at a normal pace and runs roughly 0.35–0.4 miles (about 600 meters) from the South Checkpoint exit to Gate G18. The route is essentially straight once you’re pointed into Concourse G.
Exiting South Checkpoint drops you on the secure side at the south end of The Mall, facing the entrance to Concourse G near the low-numbered G gates. Turn into Concourse G and follow the main corridor past the moving walkways, staying on the central spine as gate numbers increase from G1 upward. Keep walking until you reach the G17/G18 node area; Gate G18 sits just beyond that midpoint cluster.
What is the exact rideshare pickup level + zone for Uber/Lyft at Terminal 1, and which baggage claim exit/escalator gets you there fastest?
Uber and Lyft pickups use the Ground Transportation Center on Level 1 of the Green and Gold parking ramps, organized into Zones A, B, and C. The fastest baggage-claim access is Door 3 or Door 4 on Level 1, which puts you closest to the direct crosswalk into the ramp lobby.
From baggage claim, walk to Door 3 or 4 and exit to the marked crosswalks facing the Green/Gold ramps. Cross into the ramp structure and follow “App-Based Ride Services” signs to the Ground Transportation Center lanes, then confirm your app’s zone letter (A/B/C) before you stop. If you’re starting upstairs (ticketing/security level), take the central escalators or elevators down to Level 1 baggage claim first, then use Door 3 or 4 rather than going outside at departures curb.
Where is the exact Taxi desk/stand in Terminal 1 relative to the rideshare pickup area (same level/adjacent/which side)?
The taxi desk and taxi stand sit in the same Green and Gold ramp Ground Transportation Center footprint as rideshare, but the taxi approach typically comes from Level T and pops up on the Gold-ramp side. Rideshare is reached most directly from Level 1 baggage claim doors into the ramp’s Zone A/B/C lanes.
Taxis are usually signed from the tunnel/transit spine on Level T, then routed up one level into the taxi starter booth and queue area inside the Ground Transportation Center. Rideshare passengers enter at ramp Level 1 from the street crosswalks (best from baggage claim Door 3 or Door 4) and walk directly to the app-based pickup zones. If you’re standing in the rideshare zones, the taxi flow is adjacent but separated by its own signed lane and starter point.
From Gate A area, what is the exact shortest on-map route to the G concourse without walking the full length through intermediate concourses?
The shortest route uses the C Concourse Tram to the C12/C13 rotunda, then the C to G Connector to enter Concourse G near Gate G18. This avoids the long walk down Concourse C to The Mall and back out on Concourse G.
| Step | Exact corridor or connector | Landmark anchor |
|---|---|---|
| 1 | From the A gates, reach the A/B/C tram station by the C27 area | C27 node and tram platform |
| 2 | Ride the C Concourse Tram north and exit at the Mid-Concourse station | Mid station by the C12/C13 rotunda |
| 3 | Go up to the mezzanine and enter the C to G Connector | Connector entrance at the C12/C13 rotunda |
| 4 | Cross the connector and exit into Concourse G | G-side exit by G17/G18, near the Sky Club node |
What is the exact midpoint exit/branch point on the C↔G connector (if any), and where does it drop you in the terminal?
A one-way midpoint exit door exists on the C to G Connector and drops you down to Level T near the Transit Center and light-rail access spine. This is an exit-only branch point, so you cannot use it to re-enter the secure area.
Midway across the bridge, look for a signed door marked for baggage claim or ground transportation, positioned before you reach the opposite concourse entrance. Going through it feeds into a vertical core of elevators/escalators that descends directly to Level T, landing by the Transit Center approach where Hub Tram and “METRO Blue Line” directions converge. Treat it like a trap door: it’s ideal for arrivals with no checked bags, but it commits you to landside circulation.
From the Blue parking ramp (or the most commonly used Terminal 1 ramp), what is the exact fastest indoor route to the main ticketing/TSA level?
The fastest indoor route from the Blue parking ramp to ticketing and TSA is elevator down to Level T, ride the Hub Tram to the Terminal stop, then go up two levels to Level 2. This avoids long ramp walks and keeps you inside the transit stack the whole way.
| Step | Exact corridor or connector | Landmark anchor | Typical time |
|---|---|---|---|
| 1 | In the Blue Ramp, go to the elevator bank and ride down to Level T | “Tram / Terminal” signage near elevator lobbies | 3–6 min |
| 2 | Walk into the Level T tram platform area and board the Hub Tram toward the Terminal | Hub Tram platform on Level T | 2–6 min |
| 3 | Exit at the Terminal stop on Level T | Terminal tram doors opening into the central core | 1–2 min |
| 4 | Take the central escalators/elevators up to Level 2 (Ticketing/TSA) | Main vertical core between the terminal’s central halls | 3–6 min |
| 5 | Choose North or South checkpoint on Level 2 based on your concourse | Checkpoint entrances at opposite ends of the lobby | 2–5 min |
Which parking ramp entrances put you closest to the North vs South checkpoint on foot (least elevator/escalator changes)?
The Green Ramp entrance is closest to the North Checkpoint, and the Gold Ramp entrance is closest to the South Checkpoint, because their skyways land on opposite ends of the Level 2 ticketing lobby. Using the “wrong” ramp usually forces a full-length lobby walk before you even hit the TSA queue.
| Ramp entrance | Closest checkpoint | Exact indoor injection point | Least-changes path |
|---|---|---|---|
| Green Ramp skyway | North Checkpoint | Level 2 ticketing lobby, north end by the checkpoint doors | Skyway → checkpoint line, no level change |
| Gold Ramp skyway | South Checkpoint | Level 2 ticketing lobby, south end by the checkpoint doors | Skyway → checkpoint line, no level change |
| Red/Blue ramps | Neither (center bias) | Level T tram level, then up to Level 2 | Tram → central core → up 2 levels → walk to chosen checkpoint |
After international arrivals, where exactly is the re-check bag desk located, relative to the customs exit?
The re-check bag desk is immediately to the left as you step out of the final customs exit doors. This is the first decision split after customs, and walking straight or right sends you into the public arrivals lobby.
After passport control and the international baggage carousel, you clear the customs/ag inspection point and exit through the last set of doors into the post-customs area. Turn left immediately and follow “Connecting Flights” signage to the bag re-check counters positioned right beside that exit lane. If you continue forward into the “meeters and greeters” side near the Door 6 area, you’ve committed to landside and will have to navigate back to re-screening.
After re-checking bags post-customs, where is the exact “small TSA checkpoint” that returns you to the secure area, and which G-gate range does it feed into?
The small TSA checkpoint is Checkpoint 7, located immediately after the international bag re-check desk in the post-customs sterile corridor, and it feeds into Concourse G near Gate G5. This is the connecting-passenger “wormhole” that avoids the main ticketing-level checkpoints.
After you hand bags to the re-check counter just left of the customs exit, stay in the controlled corridor instead of turning out to the public arrivals lobby. The Checkpoint 7 screening point is positioned right in that same connecting-flow hallway, a short walk past re-check. Once cleared, use the dedicated elevator/escalator core directly behind the checkpoint to go up into the secure side of Concourse G, landing around the G4–G6 area, with Gate G5 as the practical anchor.
Archive Minneapolis–Saint Paul International Airport Terminal 1 Map
Below are all historical map versions for Minneapolis–Saint Paul International Airport. Each year includes the official map available for that period, presented as both WebP and PDF.
2020 Minneapolis–Saint Paul International Airport Terminal 1 Map
2018 Minneapolis–Saint Paul International Airport Terminal 1 Map