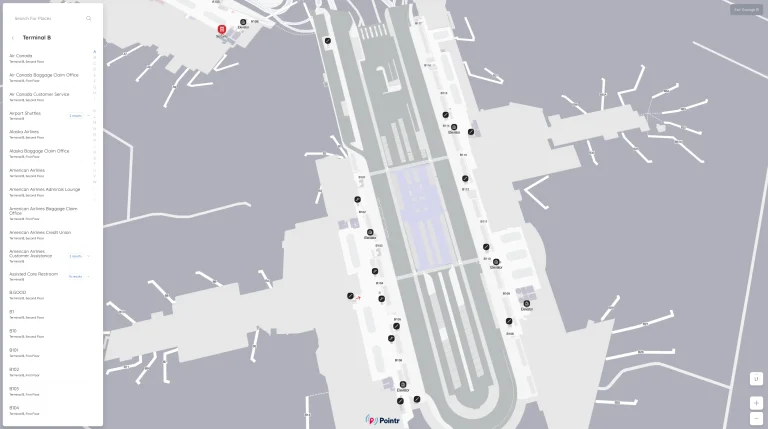
Gran Canaria Airport Map (Most Up-To-Date)
Gran Canaria’s passenger areas run as one long, linear terminal on a north–south axis, split by levels: Arrivals and baggage reclaim on Level 0, then check-in, security, passport control/EES, and gates on Level 1. Within the Gando airport complex, the biggest navigation risk is what happens right after security—flows split fast (Schengen vs non-Schengen) and queues can coil in the open buffer zone, compressing foot traffic.
Map Table
| Terminal | Key Airlines | Primary Function | Transfer Mode |
|---|---|---|---|
| Single Terminal | Ryanair, Vueling, Iberia | Main departures hall, central security | Walk |
| Zone A (North) | Binter Canarias, Canaryfly | Inter-island gates A1–A15 | Walk |
| Zones B–C (Central spine) | EU leisure carriers | Core concourse, gates B1–B6, C1–C35 | Walk |
| Zone D (South / non-Schengen) | UK / international mix | Passport control/EES, segregated gates | Walk |
Gran Canaria Airport Terminal Map Strategy
- Treat the security exit as a decision node, not a finish line: verify your zone first, then commit—non-Schengen (Zone D) requires passport control/EES immediately after security, and you can’t “skip ahead” once you’re absorbed into that queue geometry.
- Use “line start certainty” tactics at passport/EES: look for the first rope/entry mouth directly beside the security outfeed, then track where overflow is being redirected before you join—reroutes merge into manual desks with no priority for “last call.”
- Plan for late gate postings with a worst-case sprint: from post-control/duty-free release to the far south end (C30–C35 / non-Schengen extremity), assume a 10–15 minute walk without moving-walkway relief in the densest retail stretches.
- For landside transport, follow the level rule to avoid wrong-direction walking: Arrivals exits you to Level 0, but public buses (including night services) are on Level 1—failure to go up first leads to taxi/charter curb loops and backtracking.
2026 Gran Canaria Airport Map + Printable PDF
2026 operations still follow the same “single terminal, multiple zones” logic: Level 1 is the processing engine (security → duty free → gate split), while Level 0 is arrivals-only (reclaim → customs → exit). The high-friction change is the post-security non-Schengen path, where passport control/EES sits immediately after security and can trigger sudden queue coiling and reroutes.
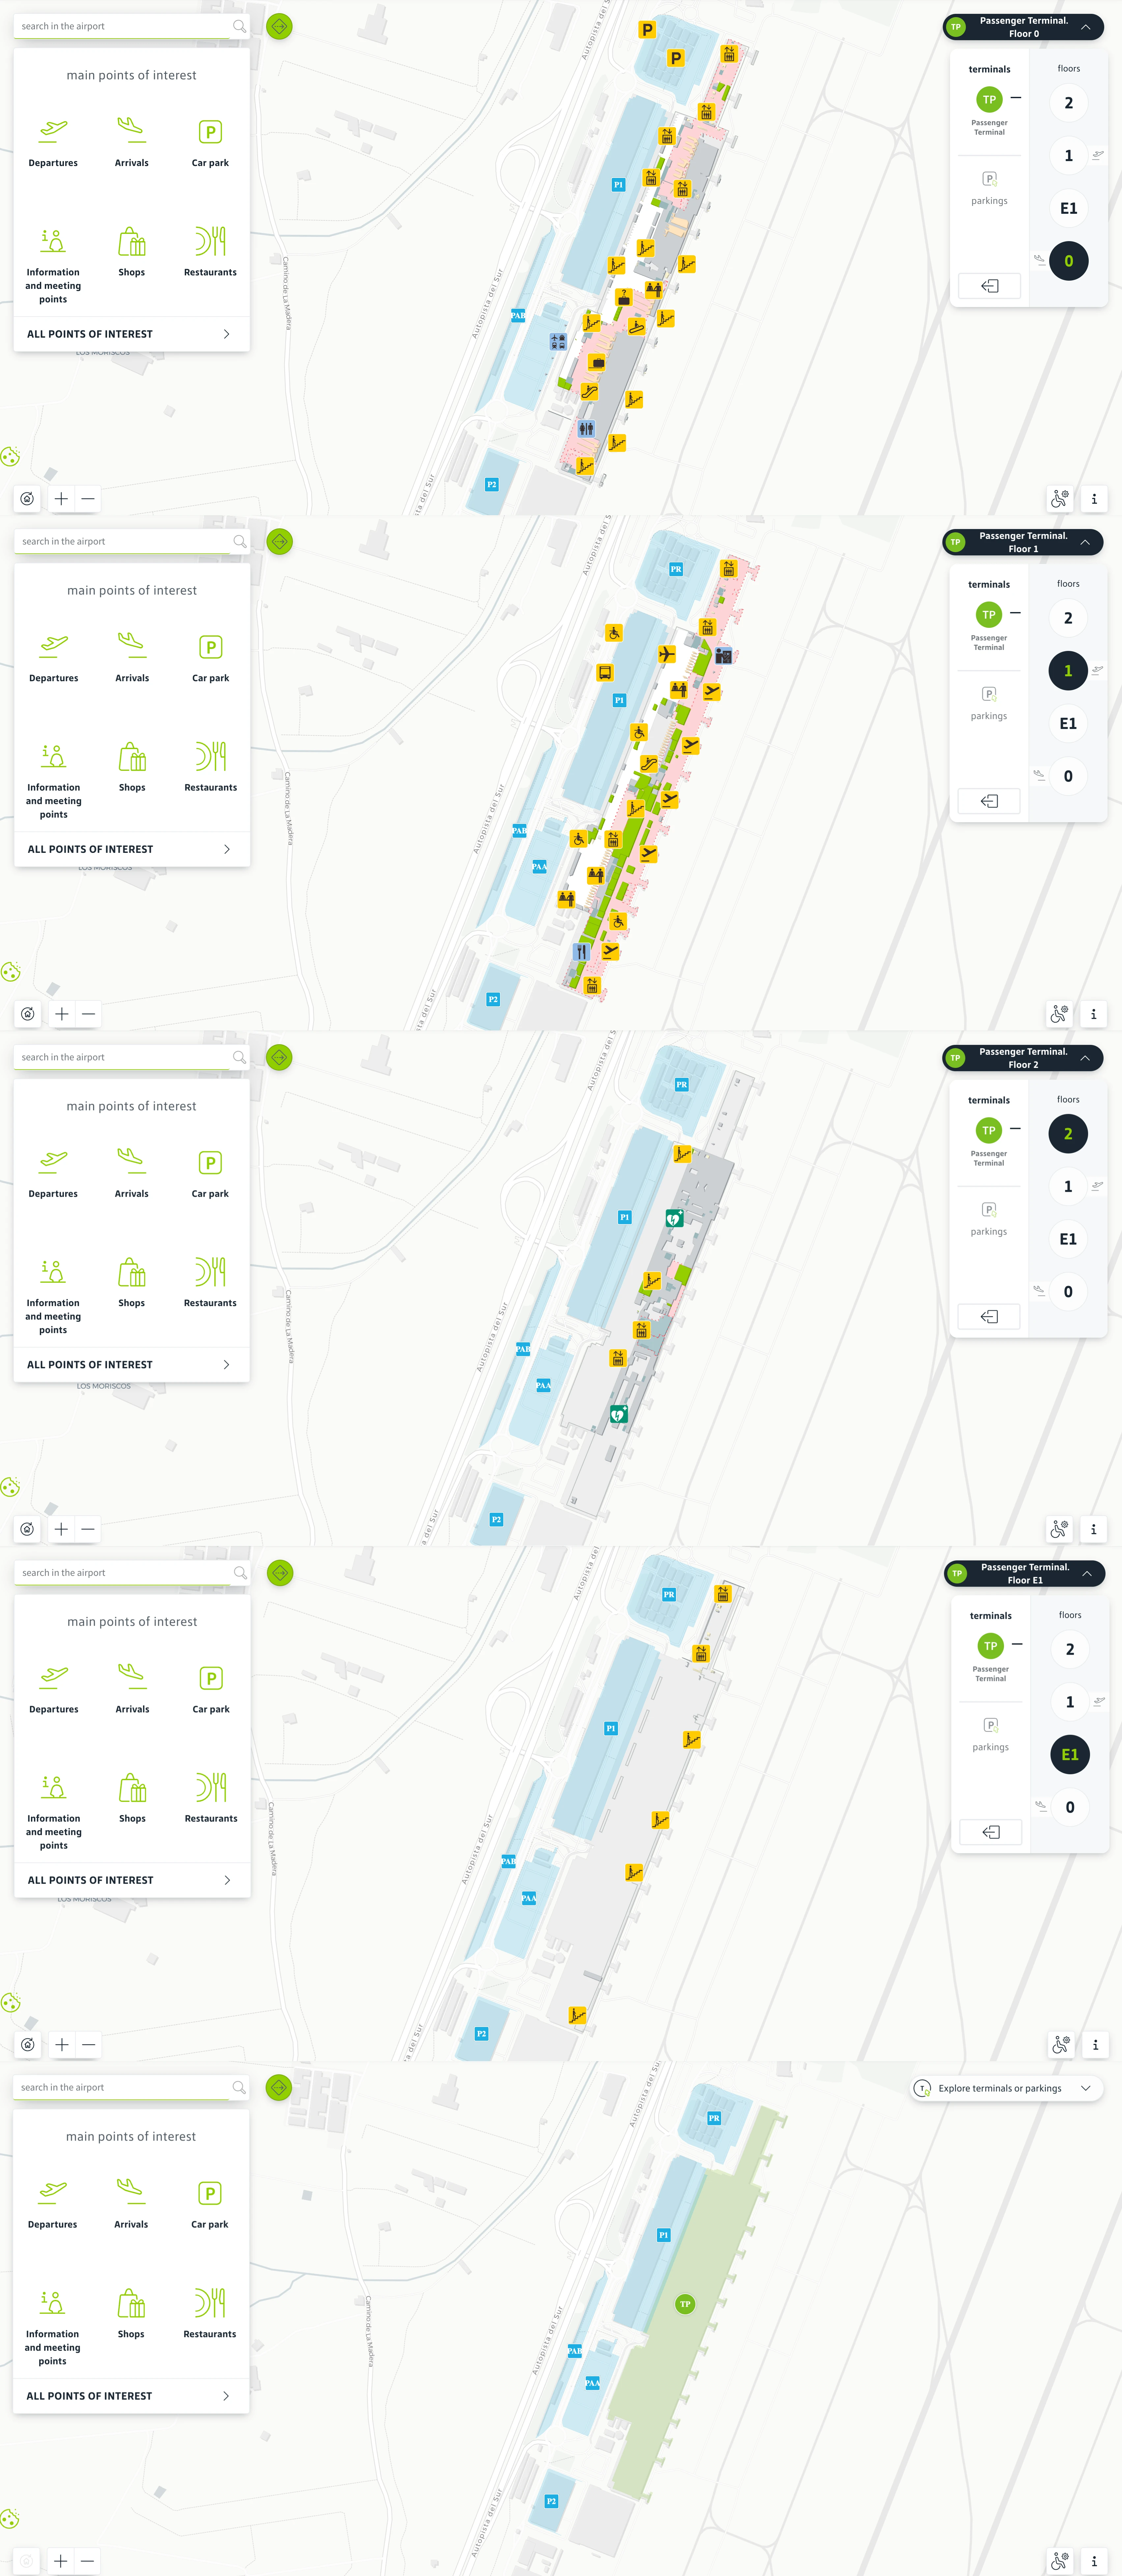
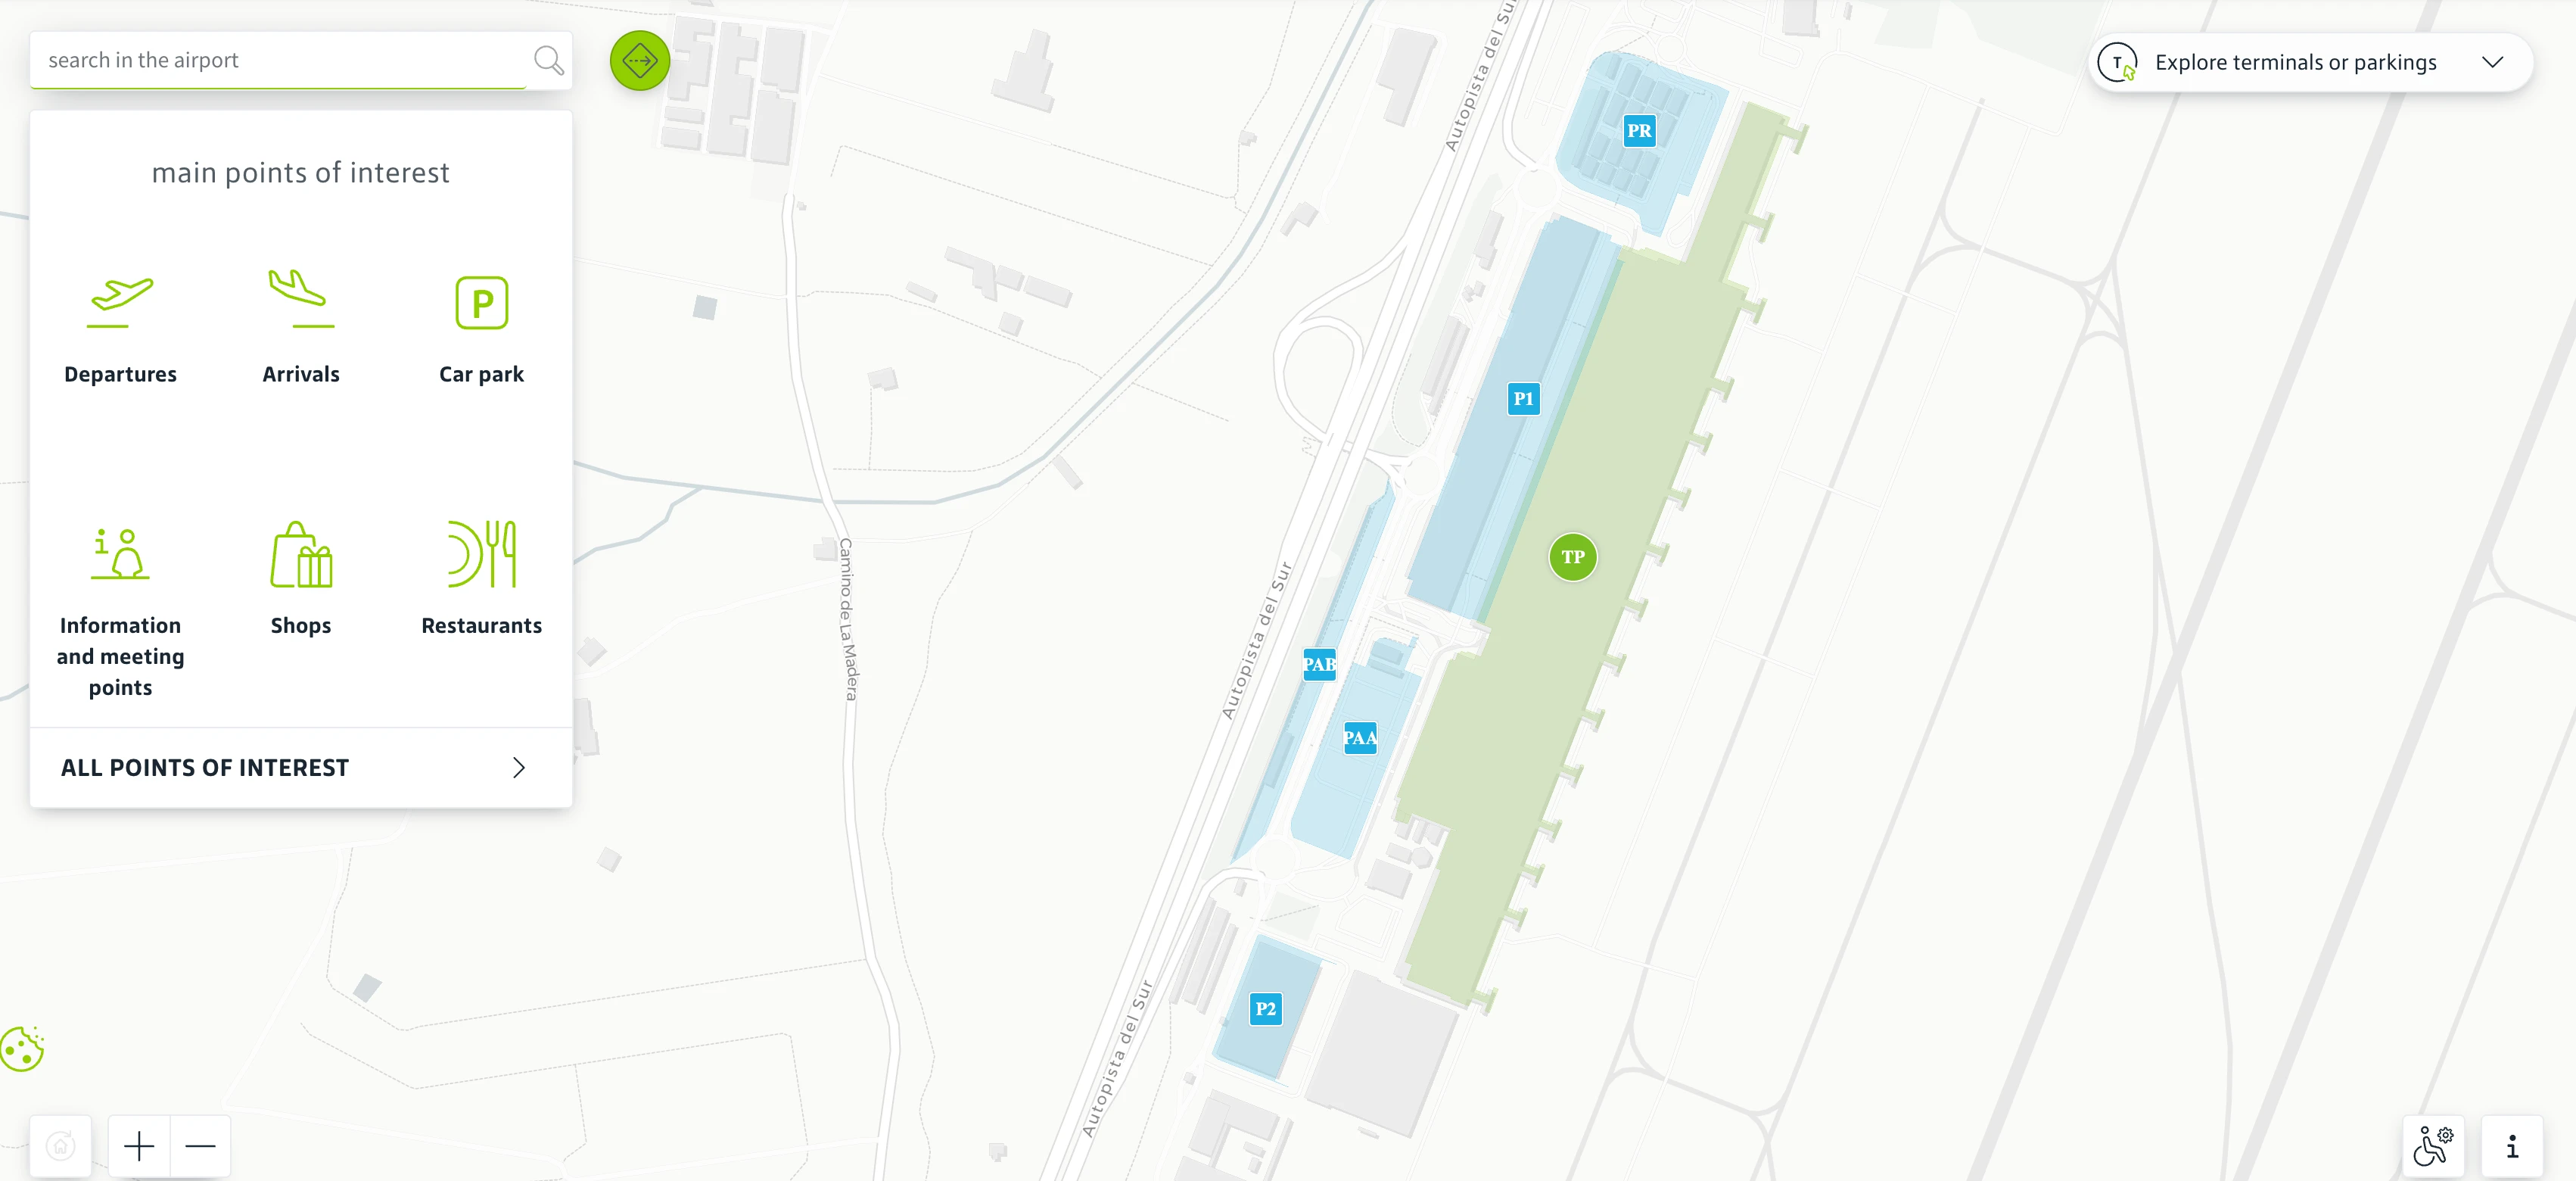
Gran Canaria Airport Overview Map 2026
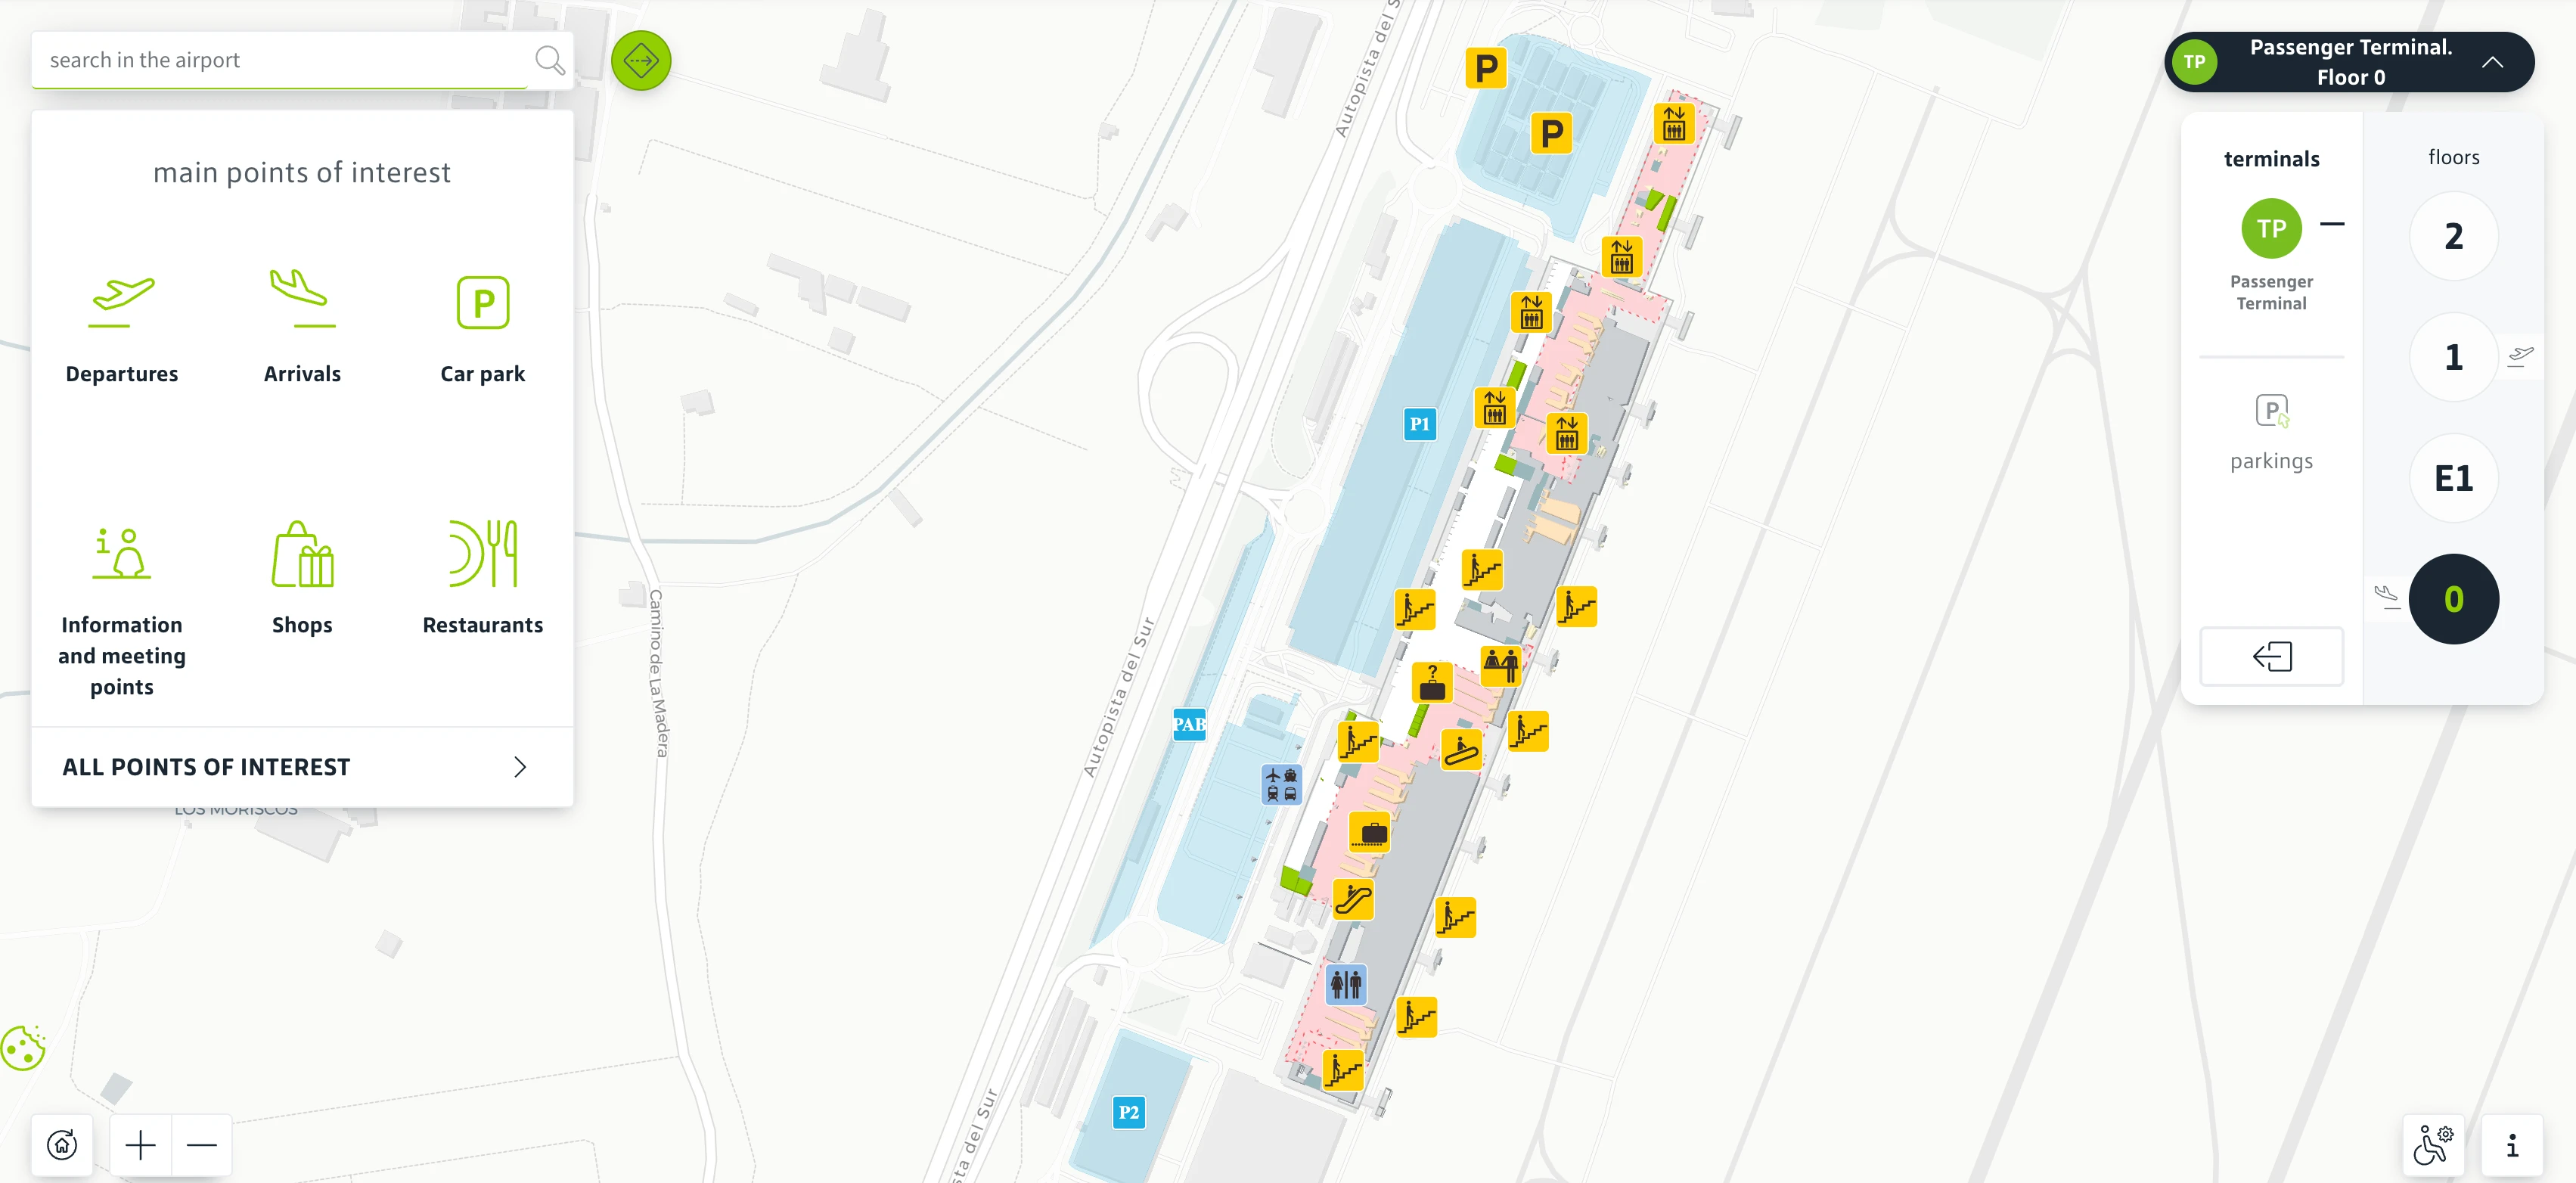
Gran Canaria Airport Level 0 Map 2026
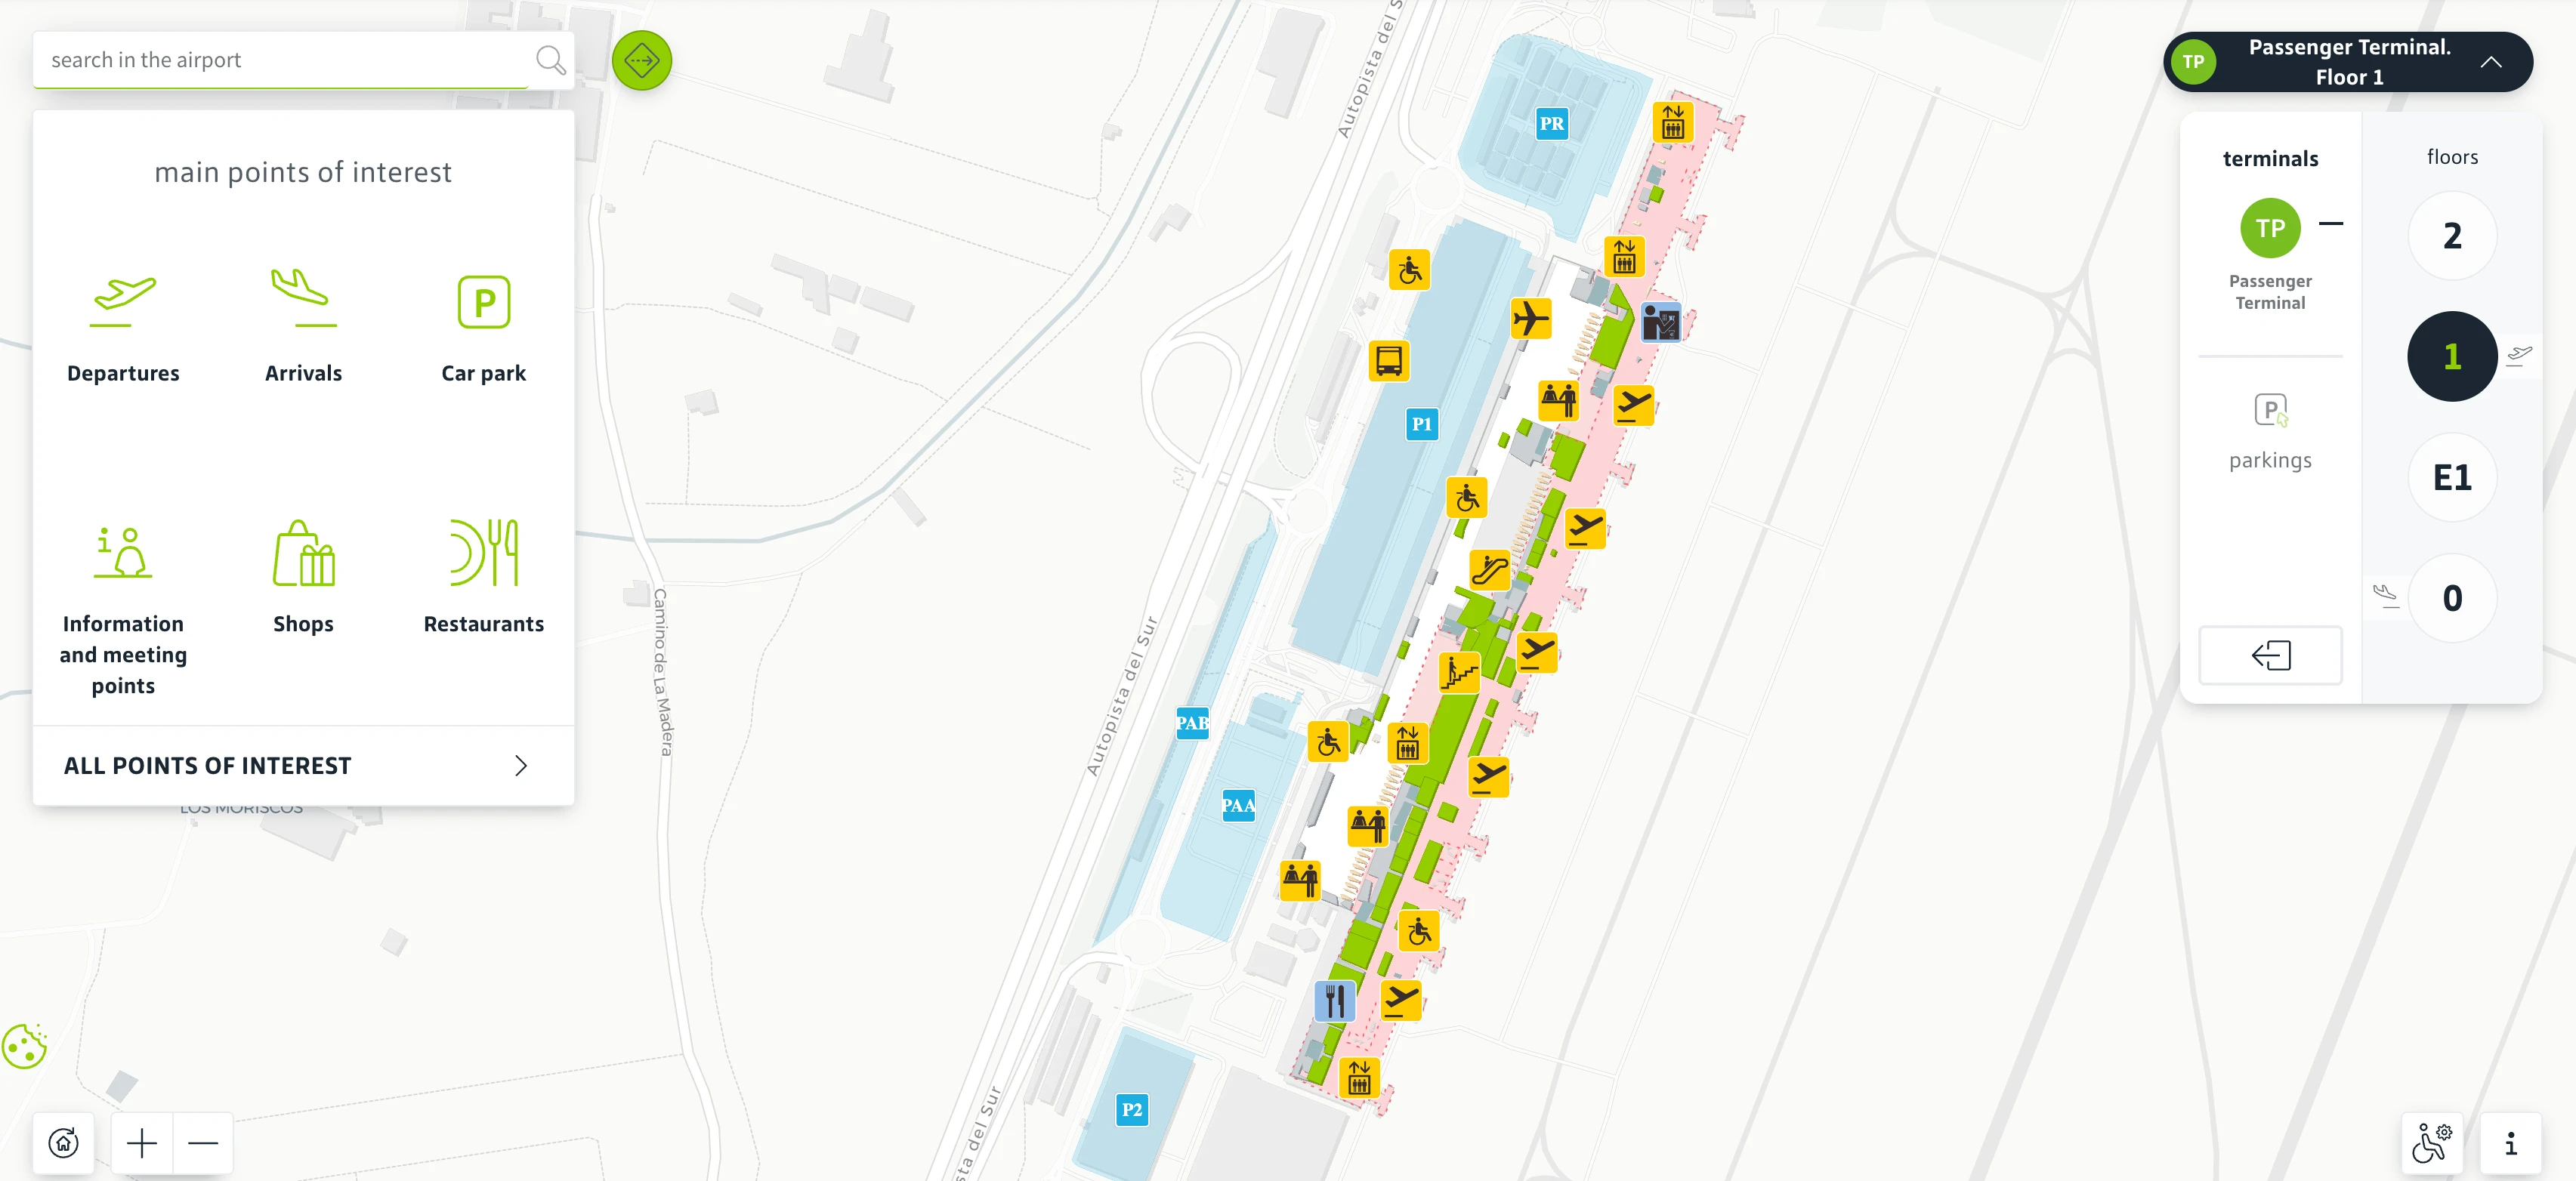
Gran Canaria Airport Level 1 Map 2026
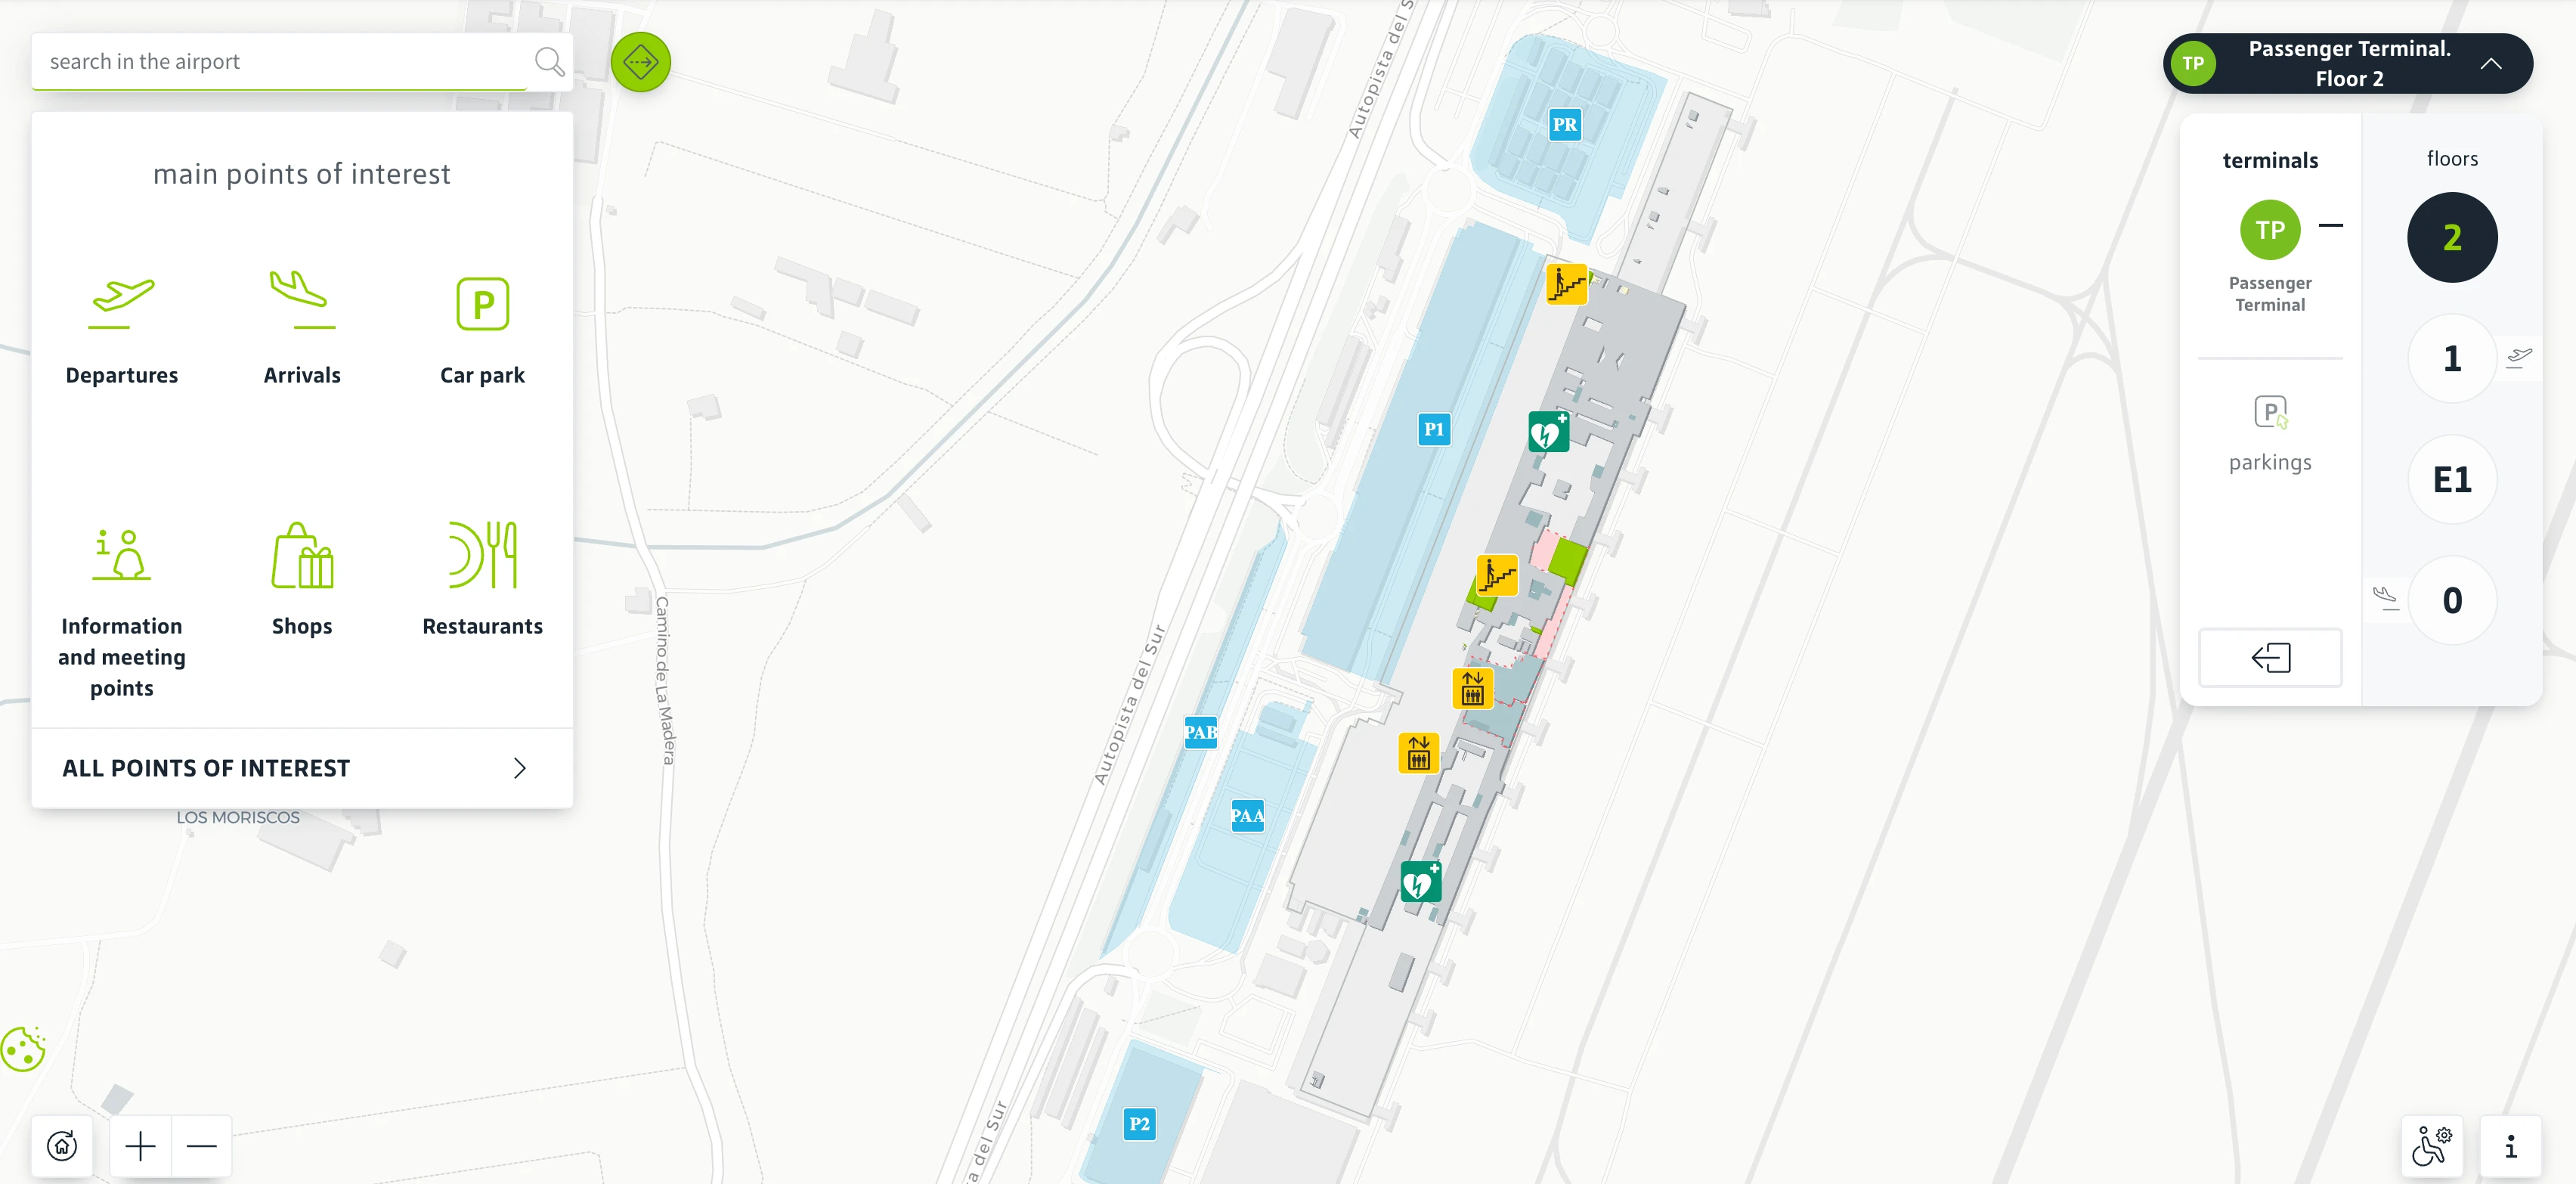
Gran Canaria Airport Level 2 Map 2026
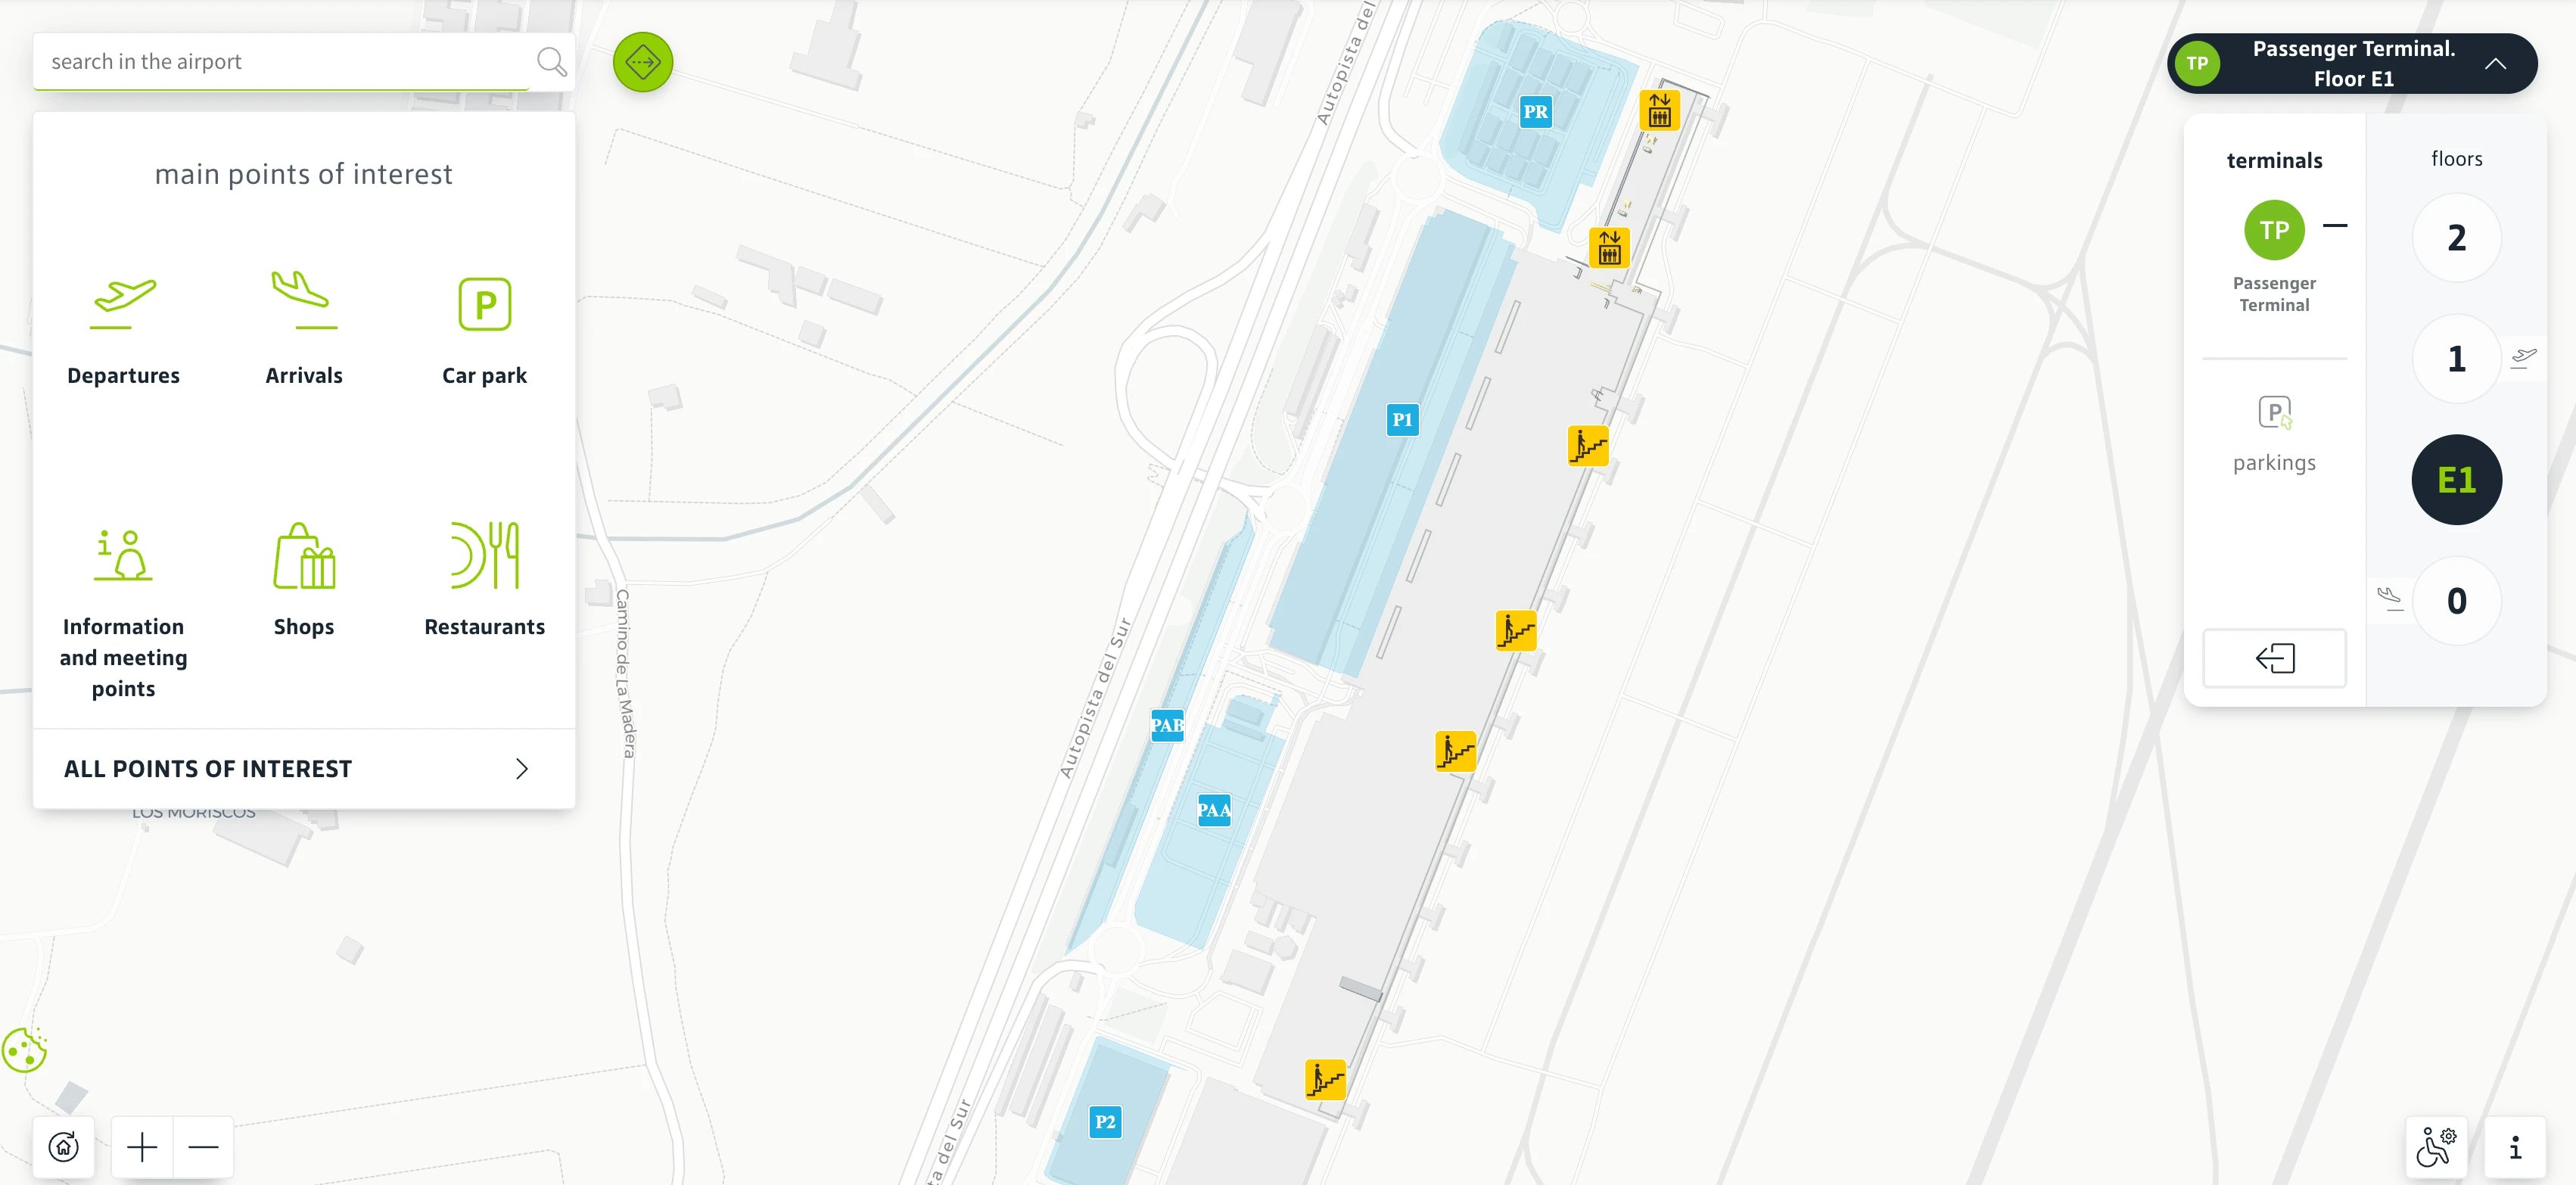
Gran Canaria Airport Level E1 Map 2026
2026 Gran Canaria Airport Map Guide
What is the exact physical entry point (first “where the line starts”) for Departures passport control / EES processing inside Gran Canaria Airport?
The Departures passport control/EES line starts on Level 1 immediately after the central security exit, at the roped queue mouth beside the security outfeed and before the walk-through duty-free entrance. It’s in the open buffer area where passengers regroup after putting shoes/belts back on.
After you clear the X-ray lanes and collect your tray at the security recomposure benches, look up for “Passport Control / Control de Pasaportes / EES” signs and the first belt stanchions that form the queue entrance. The start point sits next to the post-security flight information screens and the duty-free pinch point, so the queue often coils in place rather than extending down a long corridor.
Where is the primary overflow corridor used when passport control / EES queues back up (the route passengers are pushed into)?
The primary overflow route diverts from the EES e-gates to the manual passport check desks in the same post-security border-control pocket on Level 1. Staff block the direct e-gate approach and swing the line sideways into the adjacent manual-booth queue, merging everyone into a slower single feed.
When the e-gate area stalls, follow the crowd movement away from the front of the scanner banks and toward the staffed counters set along the same glass-partition boundary that separates the non-Schengen sterile zone. The redirect typically happens right beside the security-exit buffer zone, before the duty-free release point, so the overflow line can wrap back into the open space where people are repacking bags. Once you’re committed to the manual queue, there’s no practical shortcut back to the e-gates without rejoining from the rear.
Where are the toilets located immediately BEFORE the arrivals-side passport/EES scanners (relative to the stairs/left-right orientation)?
No publicly confirmed toilet block consistently sits in the short corridor immediately before the arrivals passport/EES scanners at Gran Canaria Airport. The safest assumption is that you may not find a “last-chance” restroom in the final approach to the immigration hall.
After leaving the aircraft and entering the terminal, scan for restroom pictograms before you descend any escalators or commit into the first taped/roped queue mouth for passport control. Once you’re inside the immigration queue geometry, stepping out to search for toilets usually means losing your place and re-entering at the back, which can add significant delay when the hall is congested.
What is the exact route from the Departures passport control exit to the first cluster of gates (the first “gate decision node” after control)?
The route runs from the passport/EES exit straight into the walk-through duty-free lane, then out into the main concourse where the first gate-direction split appears for Zones A, B/C, and the southbound C/D gates. That concourse opening is the first “gate decision node” after control.
After the final control barrier, keep moving forward with the forced retail flow through duty free rather than hunting for side shortcuts—backtracking toward the control doors is effectively blocked by the one-way sterile boundary. When you emerge from the displays into the open concourse, use the overhead zone signage at the first wide junction: left/north for Zone A (inter-island), straight/central for Zones B–C core gates, and right/south for the non-Schengen/international direction toward the higher-numbered C gates.
What is the shortest walking route from Arrivals (Level 0) to the bus stop described as “underground / in front of the terminal”?
The shortest route goes from the Arrivals hall on Level 0 to the public bus platforms on Level 1 via the escalators/elevator by the Spar supermarket, then out at Exit Door 5. Public “Global” buses do not load from an underground bay on Level 0.
From baggage reclaim, exit through customs into the public Arrivals hall and turn right toward Spar as your anchor. Take the escalator or lift up to Level 1 (Departures), then turn sharply left at the top and follow “Bus / Global / Transporte Público” signs to Door 5. Outside, cross the service road/lanes to the marked bus stands directly in front of the terminal frontage for those platforms; if you stay on Level 0 curbside you’ll only find taxis and charter/transfer traffic.
What is the exact outdoor pickup point for the night bus “motorway stop” (and the precise terminal exit used to reach it)?
The night bus stop is at the same public bus platforms on Level 1 outside Exit Door 5, not on the motorway shoulder. The pickup point is the marked “Global” bus stand directly in front of the terminal frontage once you step out of Door 5.
From inside the terminal, go to Level 1 (Departures) and follow the “Bus / Global / Transporte Público” signs until you reach Door 5. Exit to the curbside platform area and wait at the posted bay for the night line (commonly referenced as Line 5) with the rest of the public bus services. Staying on Level 0 or walking toward the GC-1 road edge is the wrong-direction move; the night service uses the airport precinct stop infrastructure, in the lit terminal forecourt.
What is the walking distance from Departures passport control to the furthest non-Schengen gate area (the worst-case sprint when gates post late)?
Walking takes about 10–15 minutes from the Departures passport control/EES exit to the furthest non-Schengen gate area at the south end of the C pier (typically Gates C34–C35). Crowds in the duty-free pinch point can push this to the high end fast.
From the passport/EES exit on Level 1, follow the one-way walk-through duty-free path until you spill into the open main concourse (the first big zone-split junction). From that junction, commit right/south and keep following overhead “C” gate signage past the central C-gate cluster, continuing to the highest-numbered C gates at the very end of the pier. There’s no “shortcut” back through the control boundary once you’ve exited, so treat this as a continuous southbound march.
Where is the airside “gate board / announcements focal point” (the place passengers should stand to avoid being stranded when gates change late)?
The main airside announcements focal point is the flight information display screens immediately after the central security exit on Level 1, before passengers disperse into duty free or the passport/EES queue. Standing in this post-security buffer zone keeps you within sight of the first definitive gate postings.
After you collect your items from the X-ray outfeed and step into the open recomposure area, look for the largest cluster of FIDS monitors positioned above/near the security exit lanes. This spot sits adjacent to the duty-free pinch point and within view of the passport-control/EES entry mouth, so you can react fast if your flight flips between a Schengen flow and a non-Schengen flow. Drifting deep into retail or down the concourse before checking these screens increases the odds of a wrong-direction sprint if gates post late.
What is the exact location of baggage reclaim carousels relative to the arrivals exit (the “stand-here vs miss-it” positioning during long waits)?
The baggage reclaim carousels sit immediately before the customs “Green/Red” channels and the one-way sliding doors that open into the public Arrivals hall on Level 0. Standing between your assigned carousel and the customs exit lanes keeps you close enough to spot bags without getting trapped behind crowds at the doors.
In the reclaim hall, orient yourself so the public Arrivals exit doors are behind or just off to one side rather than in front of you—people cluster at the doors and block sightlines. Position along the outer edge of the carousel nearest the customs channels, where you can step forward to grab a bag and then move straight into the exit flow. If you pass through the customs doors into the public hall, you can’t re-enter the reclaim area to retrieve a late-arriving bag.
Where is the lost luggage / baggage services desk located relative to the baggage reclaim hall (the shortest path once a delay is confirmed)?
The lost luggage desks are inside the baggage reclaim hall on Level 0, positioned near the carousels before the customs exit doors into the public Arrivals hall. Staying in the reclaim hall is the shortest path and the critical constraint—once you exit, you can’t go back in to file properly.
When your belt stops and your bag hasn’t appeared, look along the reclaim hall perimeter for the handling-agent counters (commonly the desks for your airline’s ground handler) within sight of the carousel area. Walk there directly without crossing the “no return” doors to the public Arrivals hall. If you’re unsure which desk applies, use your baggage tag/flight paperwork to identify the handler, then report at the nearest baggage assistance counter inside the hall rather than upstairs at the terminal’s general lost-property office.
What is the exact pickup node (desk/door/curb point) for off-airport car rental shuttle collection referenced in forum complaints?
The off-airport car rental shuttle pickup is not a single universal point; the most common default hub is the “Meeting Point” across the roadway from Departures, reached via Departures Exit Door 2, while some operators instead use the Arrivals curb by the Spar supermarket wall. Voucher instructions override all terminal signage.
If your paperwork mentions a “Meeting Point” sign, go to the Departures level and exit via Door 2, cross to the public parking side, then turn right and walk roughly 25 meters to the signed pickup spot. If the voucher instead references Spar, stay on Level 0 and wait at the outside wall near Spar’s TV screen area in/near the international arrivals frontage. Assuming every shuttle loads at Door 5 (public buses) is the common wrong-direction error that triggers the forum complaints.
Which single terminal exit is the most direct path from Arrivals baggage reclaim to the car rental corridor / desks (minimizing backtracking)?
The most direct path is to exit customs from baggage reclaim into the public Arrivals hall on Level 0 and head straight to the on-airport “Rent a Car” desk corridor located immediately in that arrivals hall area. This is the shortest route because it stays on Level 0 and avoids the bus/taxi curb loops outside.
After you pass the customs channels and enter the public Arrivals hall, follow the “Rent a Car” signs along the interior frontage rather than walking outside to the curb first. The desks sit just off the arrivals exit flow—close enough that you should reach them before you commit to the long northbound walk toward the rental car park itself. If you mistakenly go up to Departures (Level 1) or drift toward Door 5 for buses, you’ll add unnecessary backtracking to return to the rental desk corridor.