Don Mueang International Airport Terminal 2 Map (Most Up-To-Date)
Terminal 2 at DMK is a long, linear domestic terminal on a north–south spine within Bangkok’s Don Mueang hub, and most friction comes from its length and stacked levels. Arrivals and ground transport run on Level 1, the connector/parking/rail access sits on Level 2, and departures plus the full airside concourse are on Level 3. From security to the far south gates, walks can reach 550–600 m.
Map Table
| Zone | Connection | Walk Time |
|---|---|---|
| T1→T2 indoor link (Level 1) | T1 Arrivals → T2 Arrivals hall (stay indoors) | 250–300 m, 4–5 min walk; 10–15 min total buffer |
| T2 vertical core (Door 12 area) | Level 1 Arrivals → Level 3 Check-in (central) | short, elevator-dependent; peak waits |
| T2 Check-in Hall (Level 3) | Rows 14–15 (north) ↔ Rows 9–10 (south) | ~300 m internal traverse |
| Airside concourse (Level 3) | Security exit (center) → Gates 50–58 (far south) | 550–600 m, 8–10 min brisk |
| Bus gates 71–78 access | Level 3 concourse → descent near Pier 4/5, Coral Lounge landmark | 200–250 m to descent node + vertical drop |
| Ground transport frontage (Level 1) | Gate 12 bus, Gate 14 ride-hail, Gate 15 taxi | 150–200 m from central exits |
| Rail link (Level 2) | Skybridge to SRT Red Line station | 350–400 m total path |
Don Mueang International Airport Terminal 2 Map Strategy
- Unpredictable Terminal 1 → Terminal 2 transfer friction is the core risk; commit to the Level 1 indoor corridor and use Door 6 → Door 8 progression as your “still inside” confirmation.
- Eliminate backtracking by navigating to the correct Level 1 door cluster first (Door 10–12 for the main vertical cores; Door 14–15 for south-end transport), then go vertical once.
- Treat far-gate assignments as a distance problem: gates 50–58 mean an immediate right turn after security and an 8–10 minute brisk walk; ignore retail and stay on the centerline/moving-walkway corridor.
- For bus/remote stands (Gates 71–78), stop walking “to the end” of the pier and instead hunt the mid–south descent point near the Pier 4/5 junction using the Coral Lounge zone as the landmark.
2026 Don Mueang International Airport Terminal 2 Map + Printable PDF
Terminal 2 continues to run as DMK’s primary domestic processing engine, with the same linear “south-vector” layout that drives long gate walks and connector-walkway confusion during transfers. A printable 2026 map is most useful when it marks decision-point landmarks (doors, row numbers, pier junctions) and the fastest vertical cores, so you can lock a route before crowds and gate changes add delay.
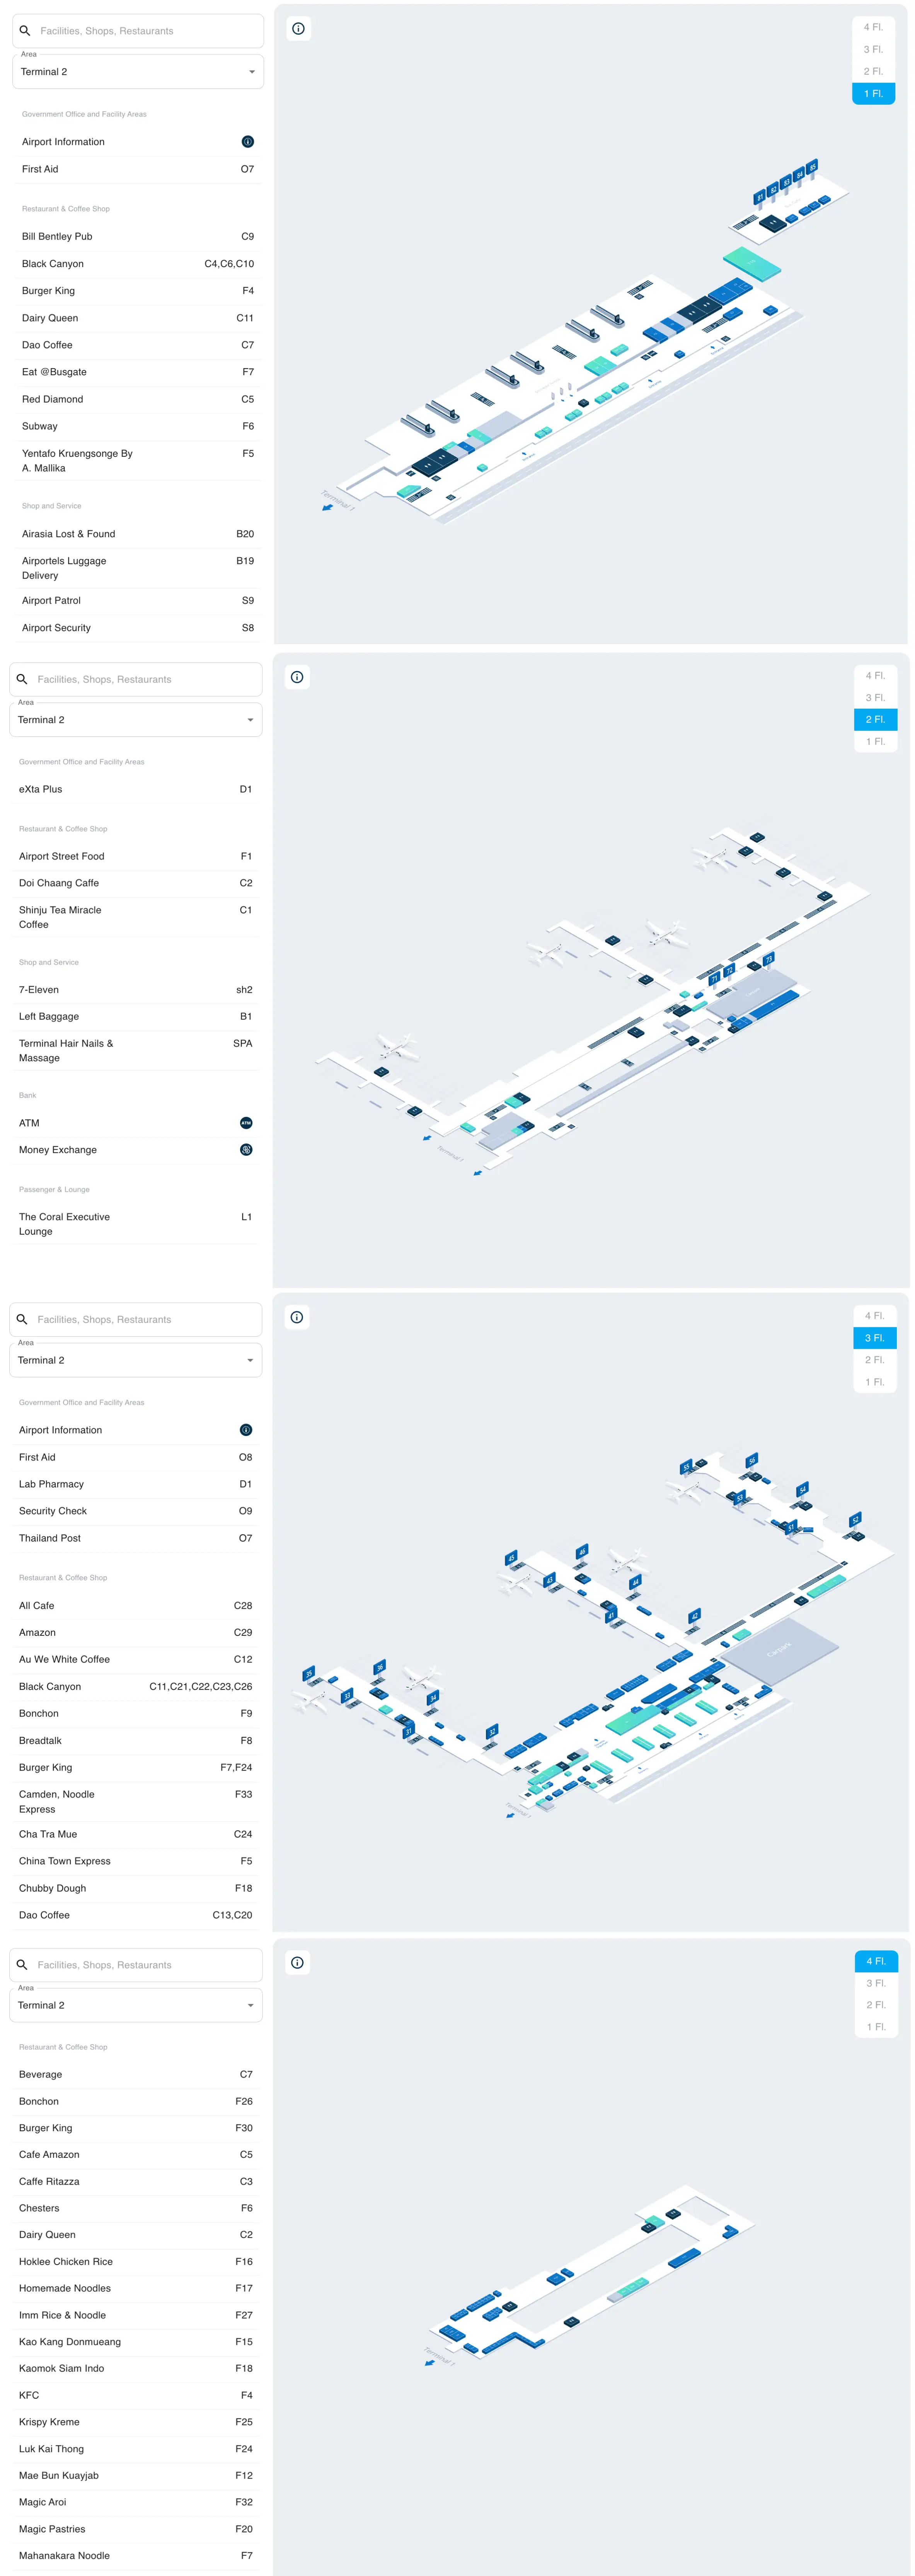
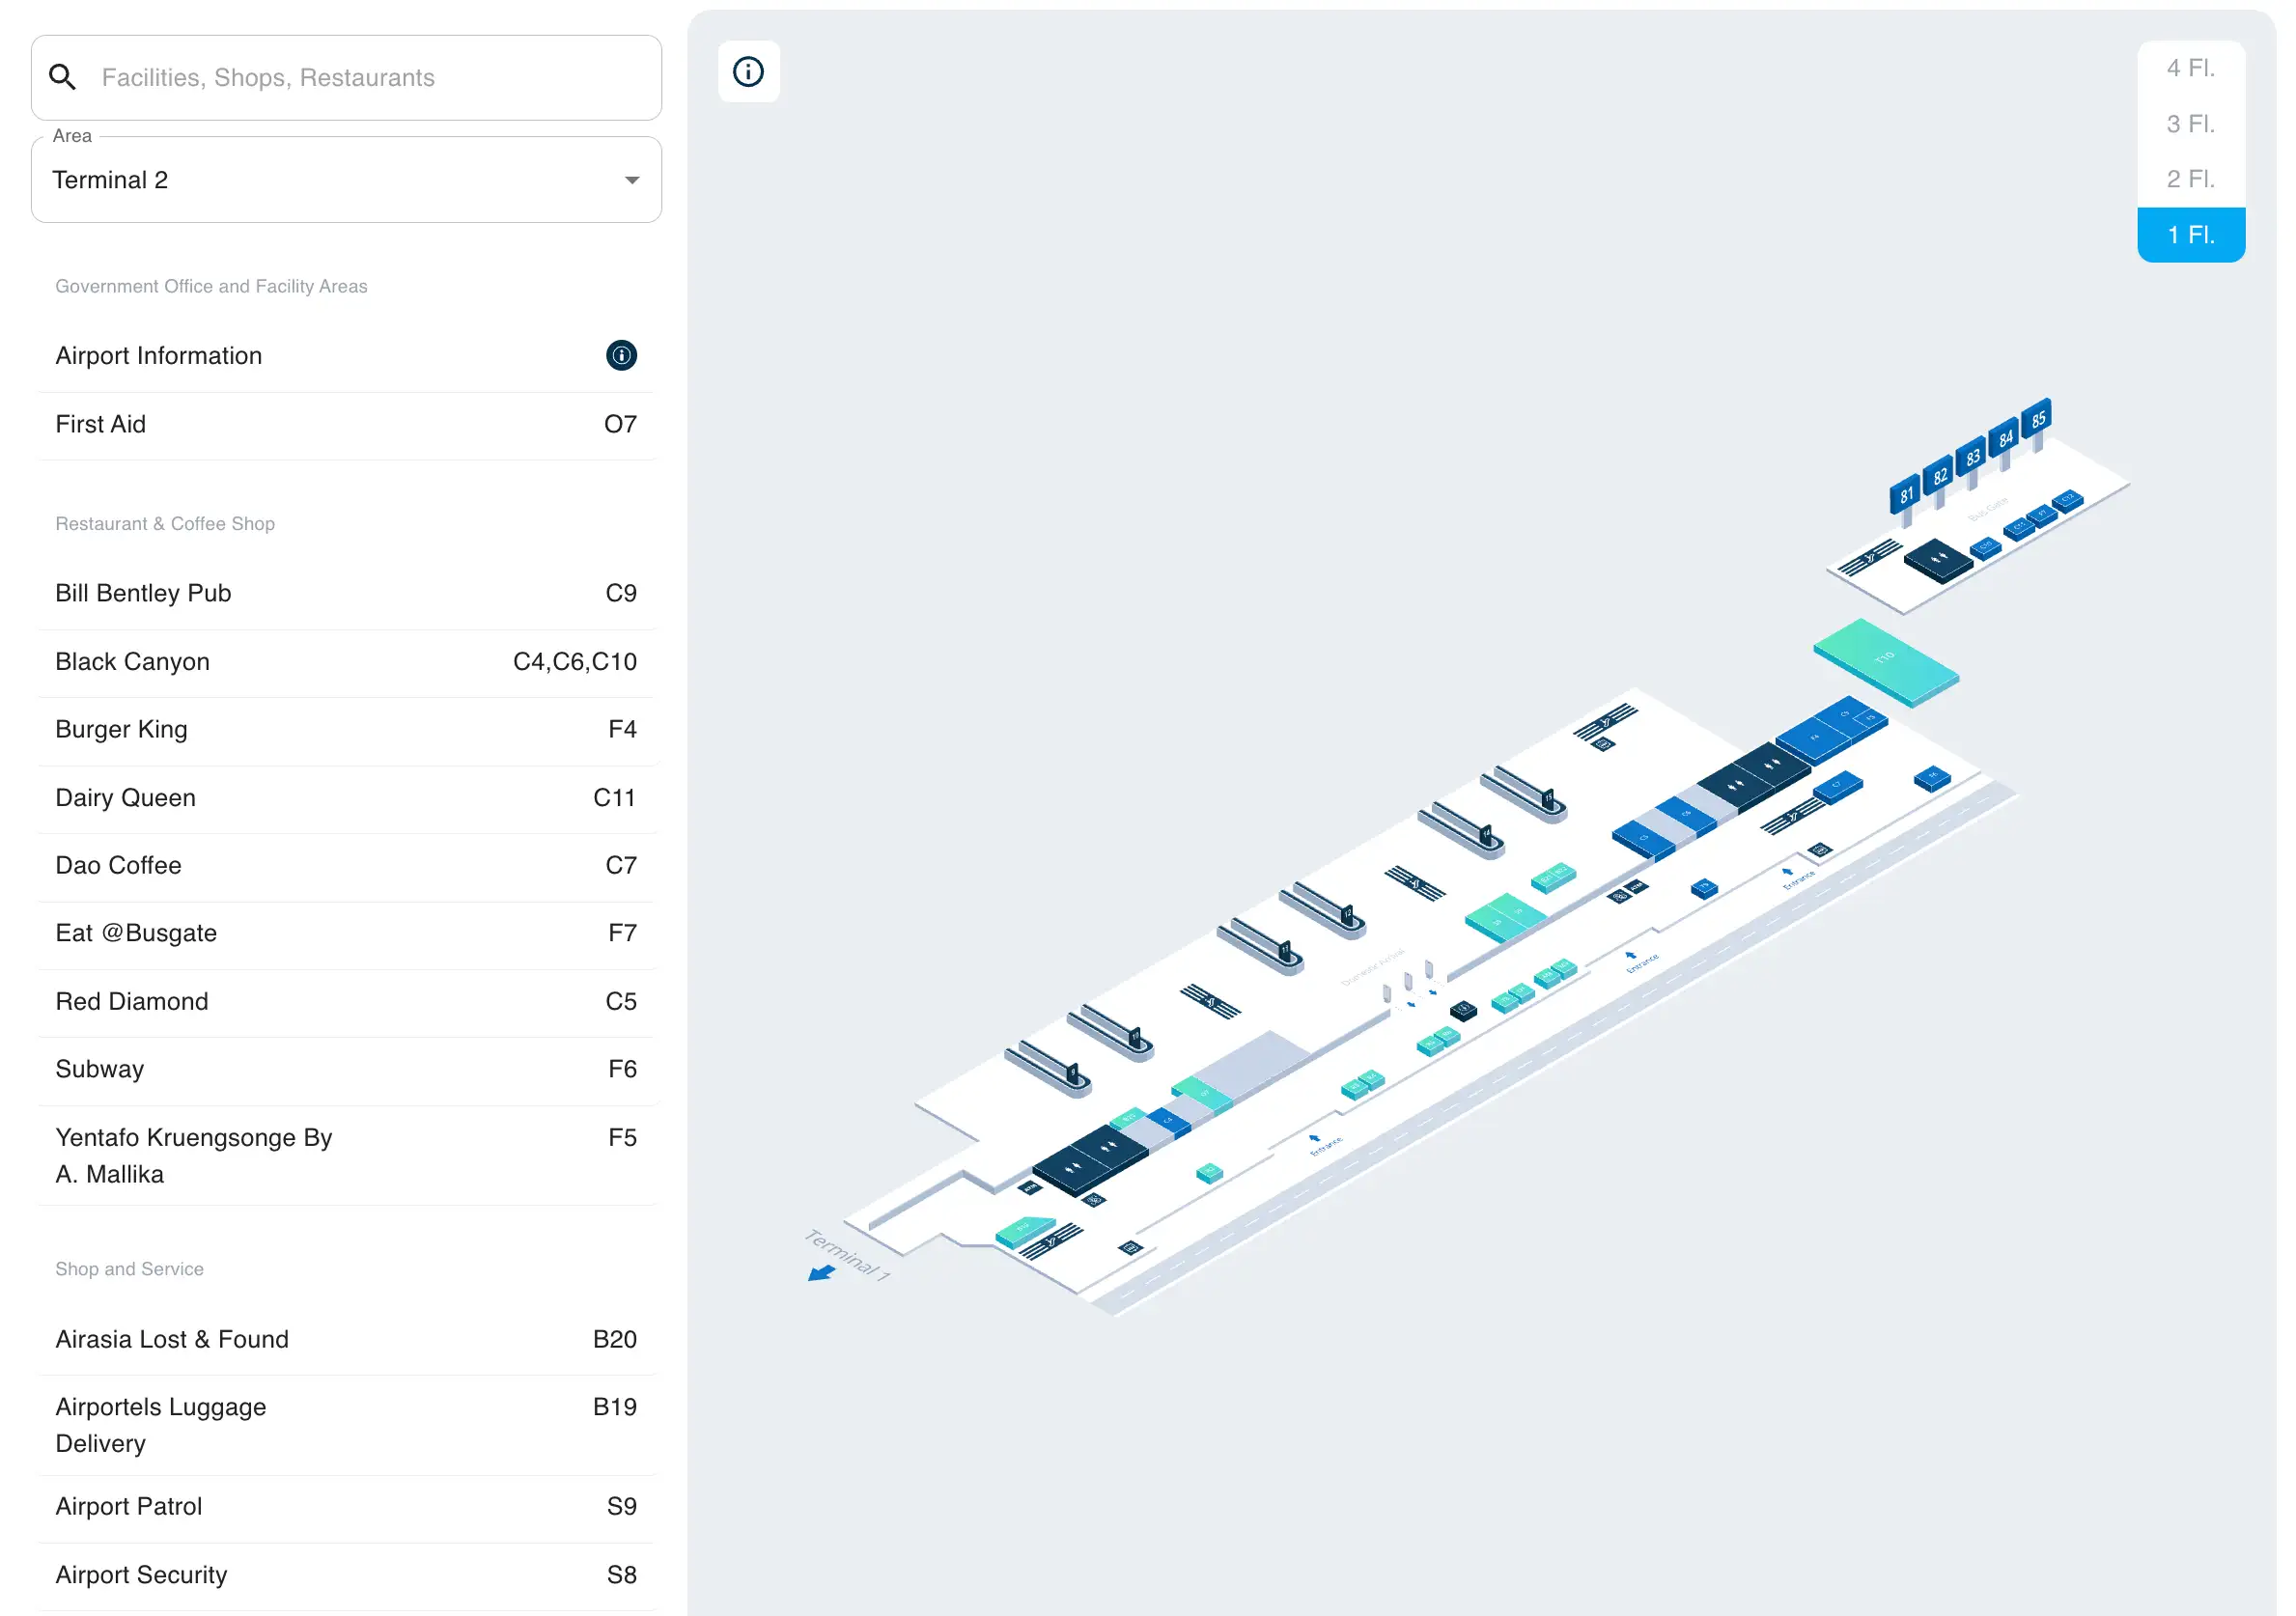
Don Mueang International Airport Terminal 2 Level 1 Map 2026
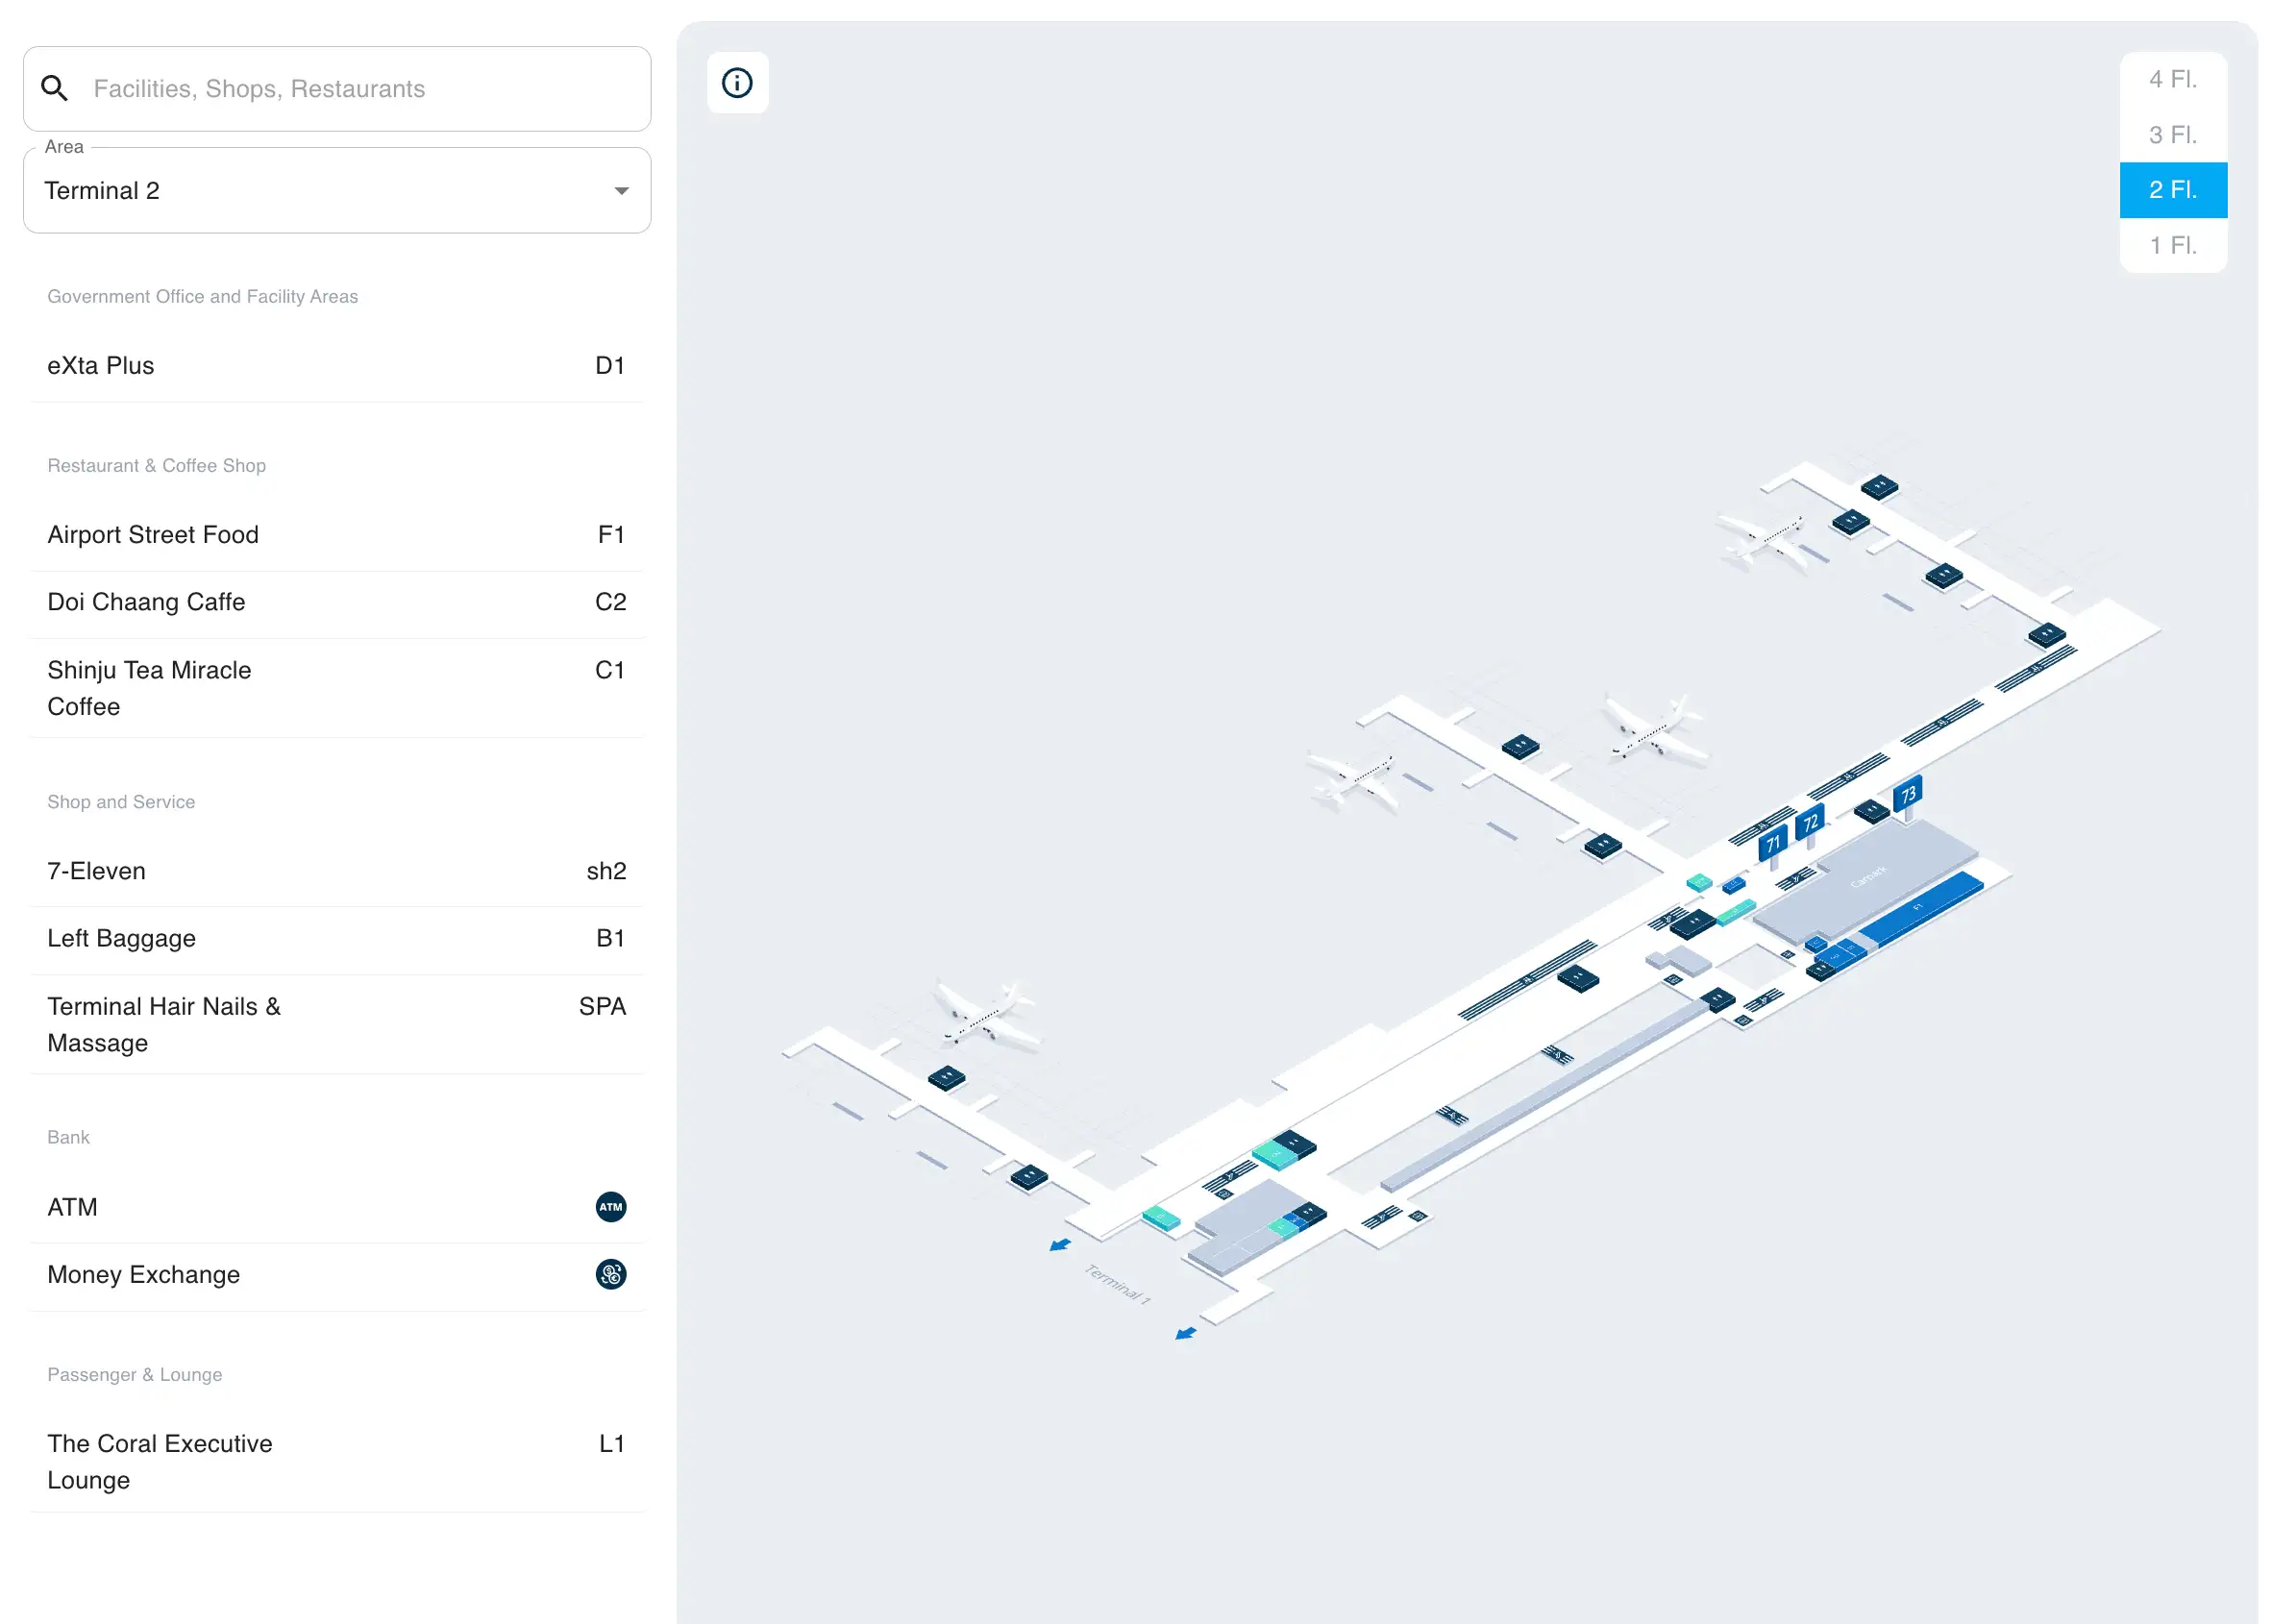
Don Mueang International Airport Terminal 2 Level 2 Map 2026
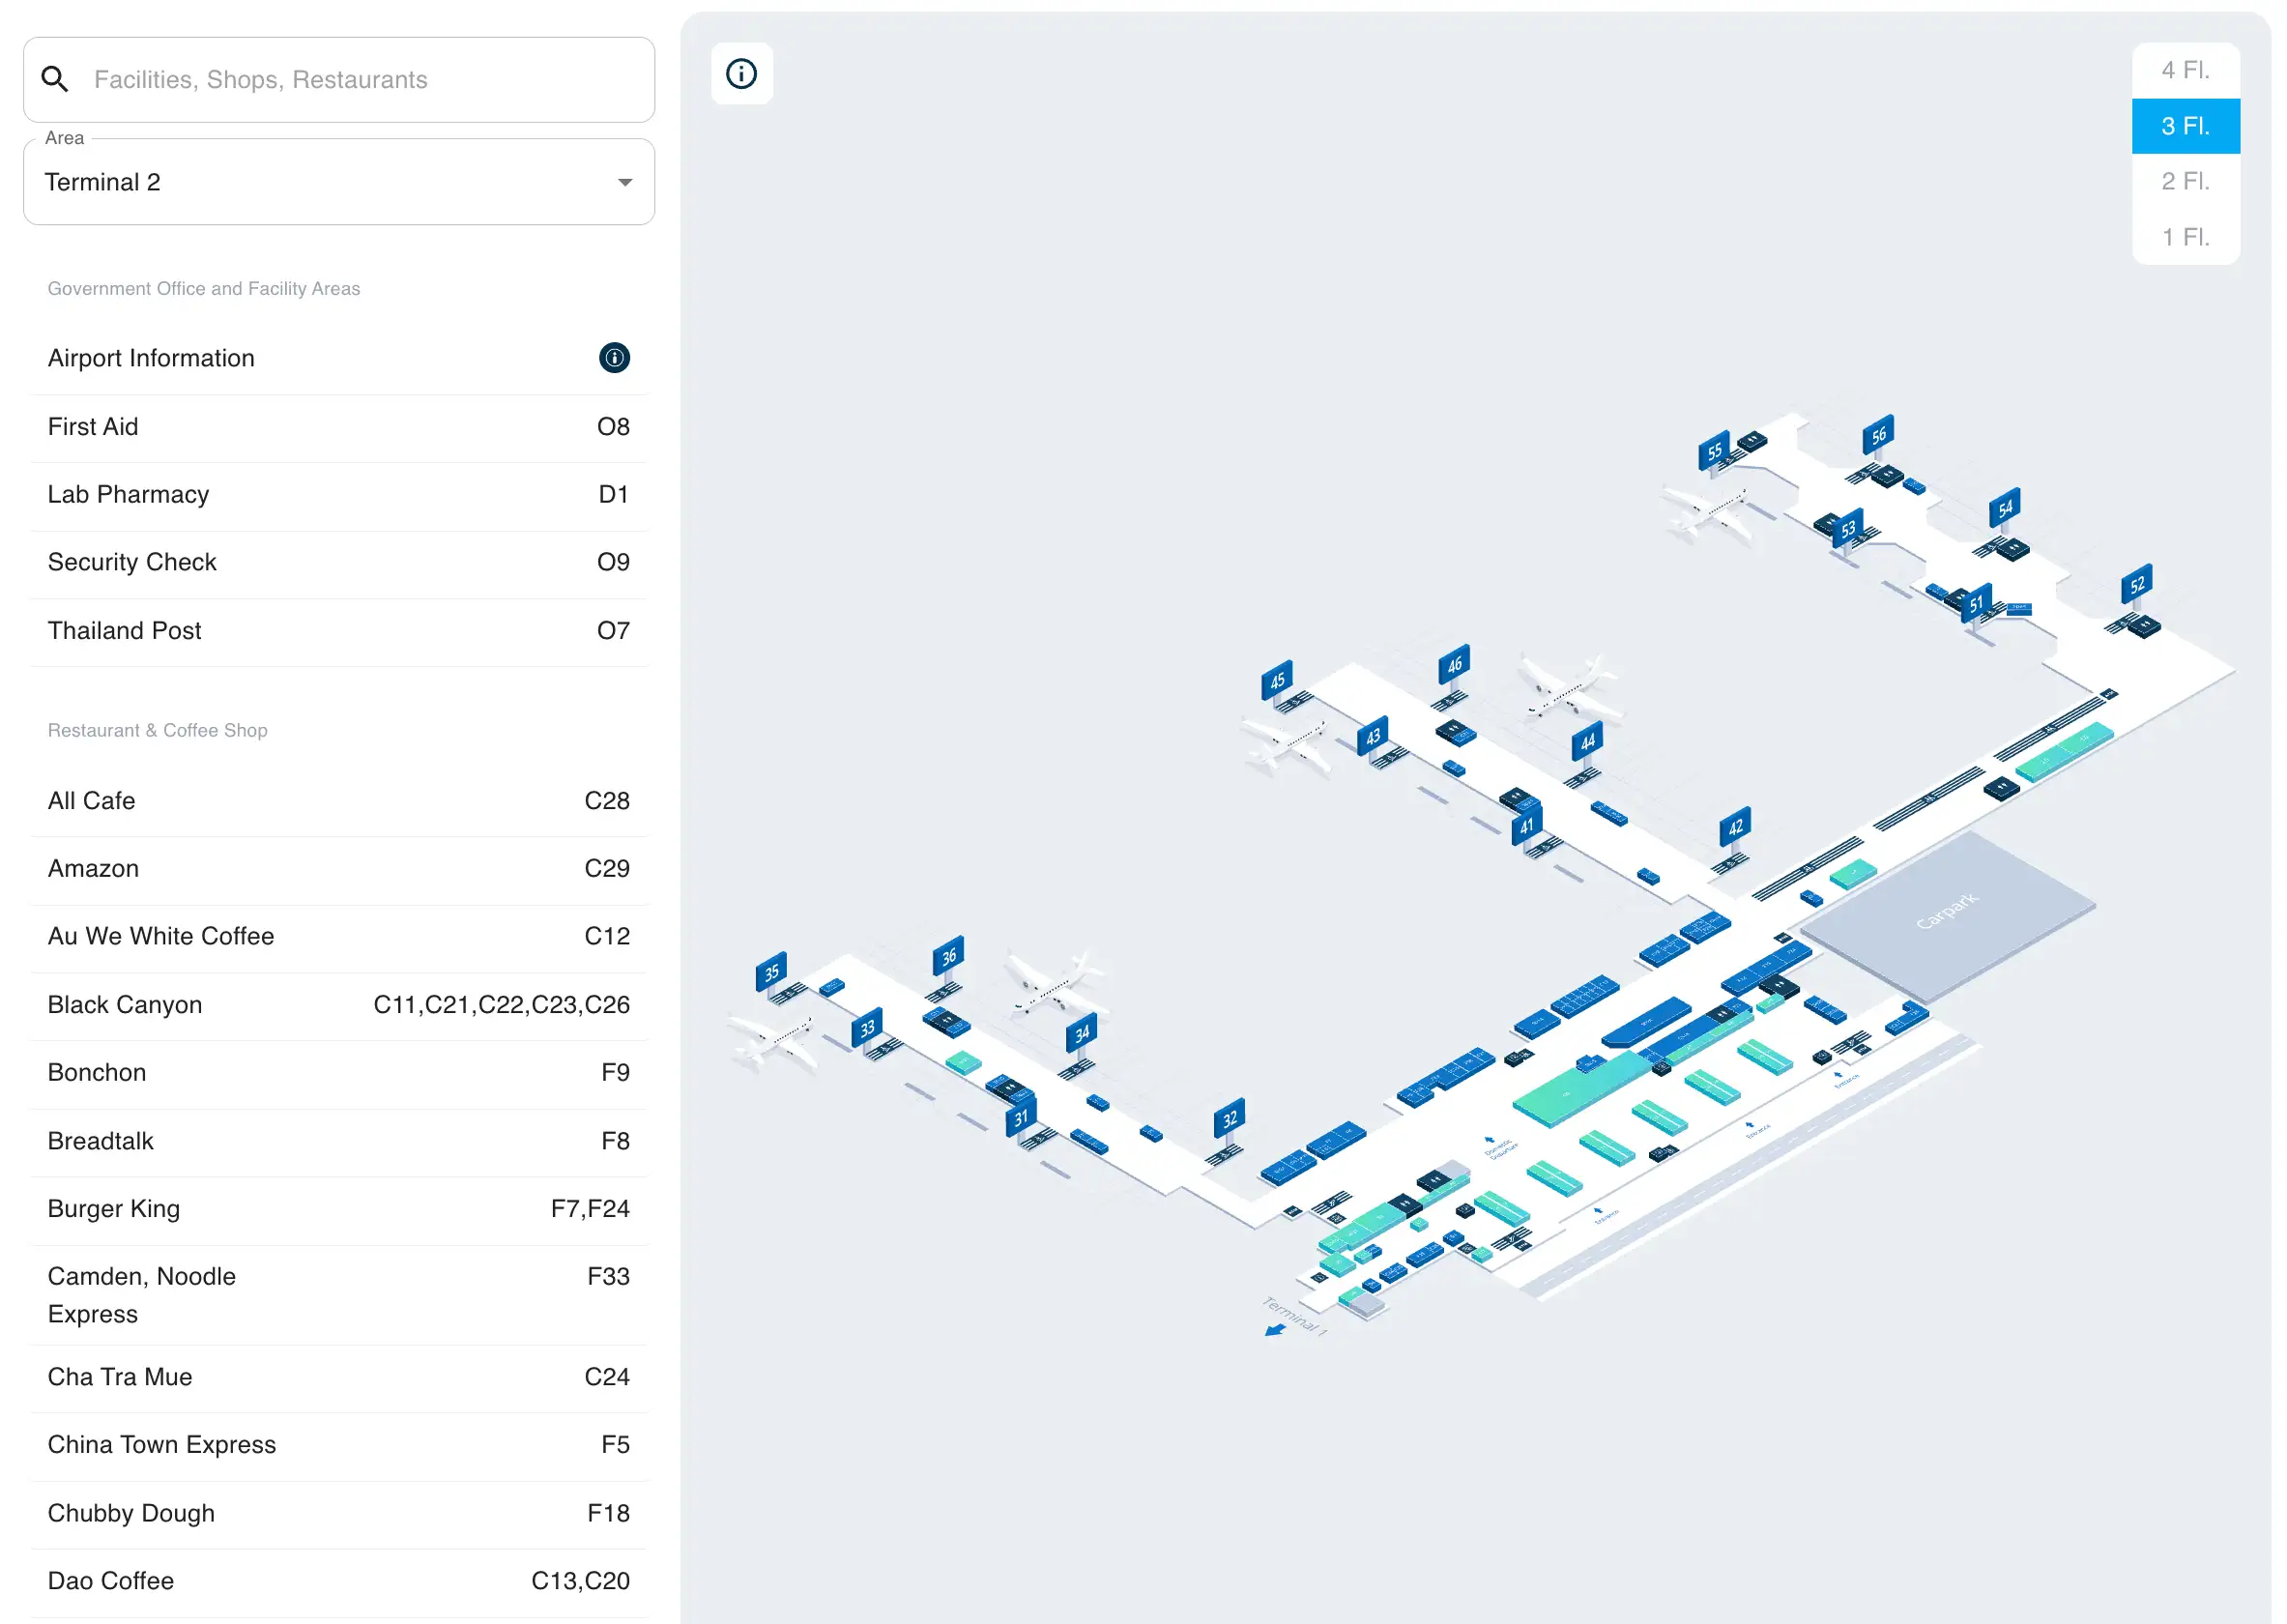
Don Mueang International Airport Terminal 2 Level 3 Map 2026
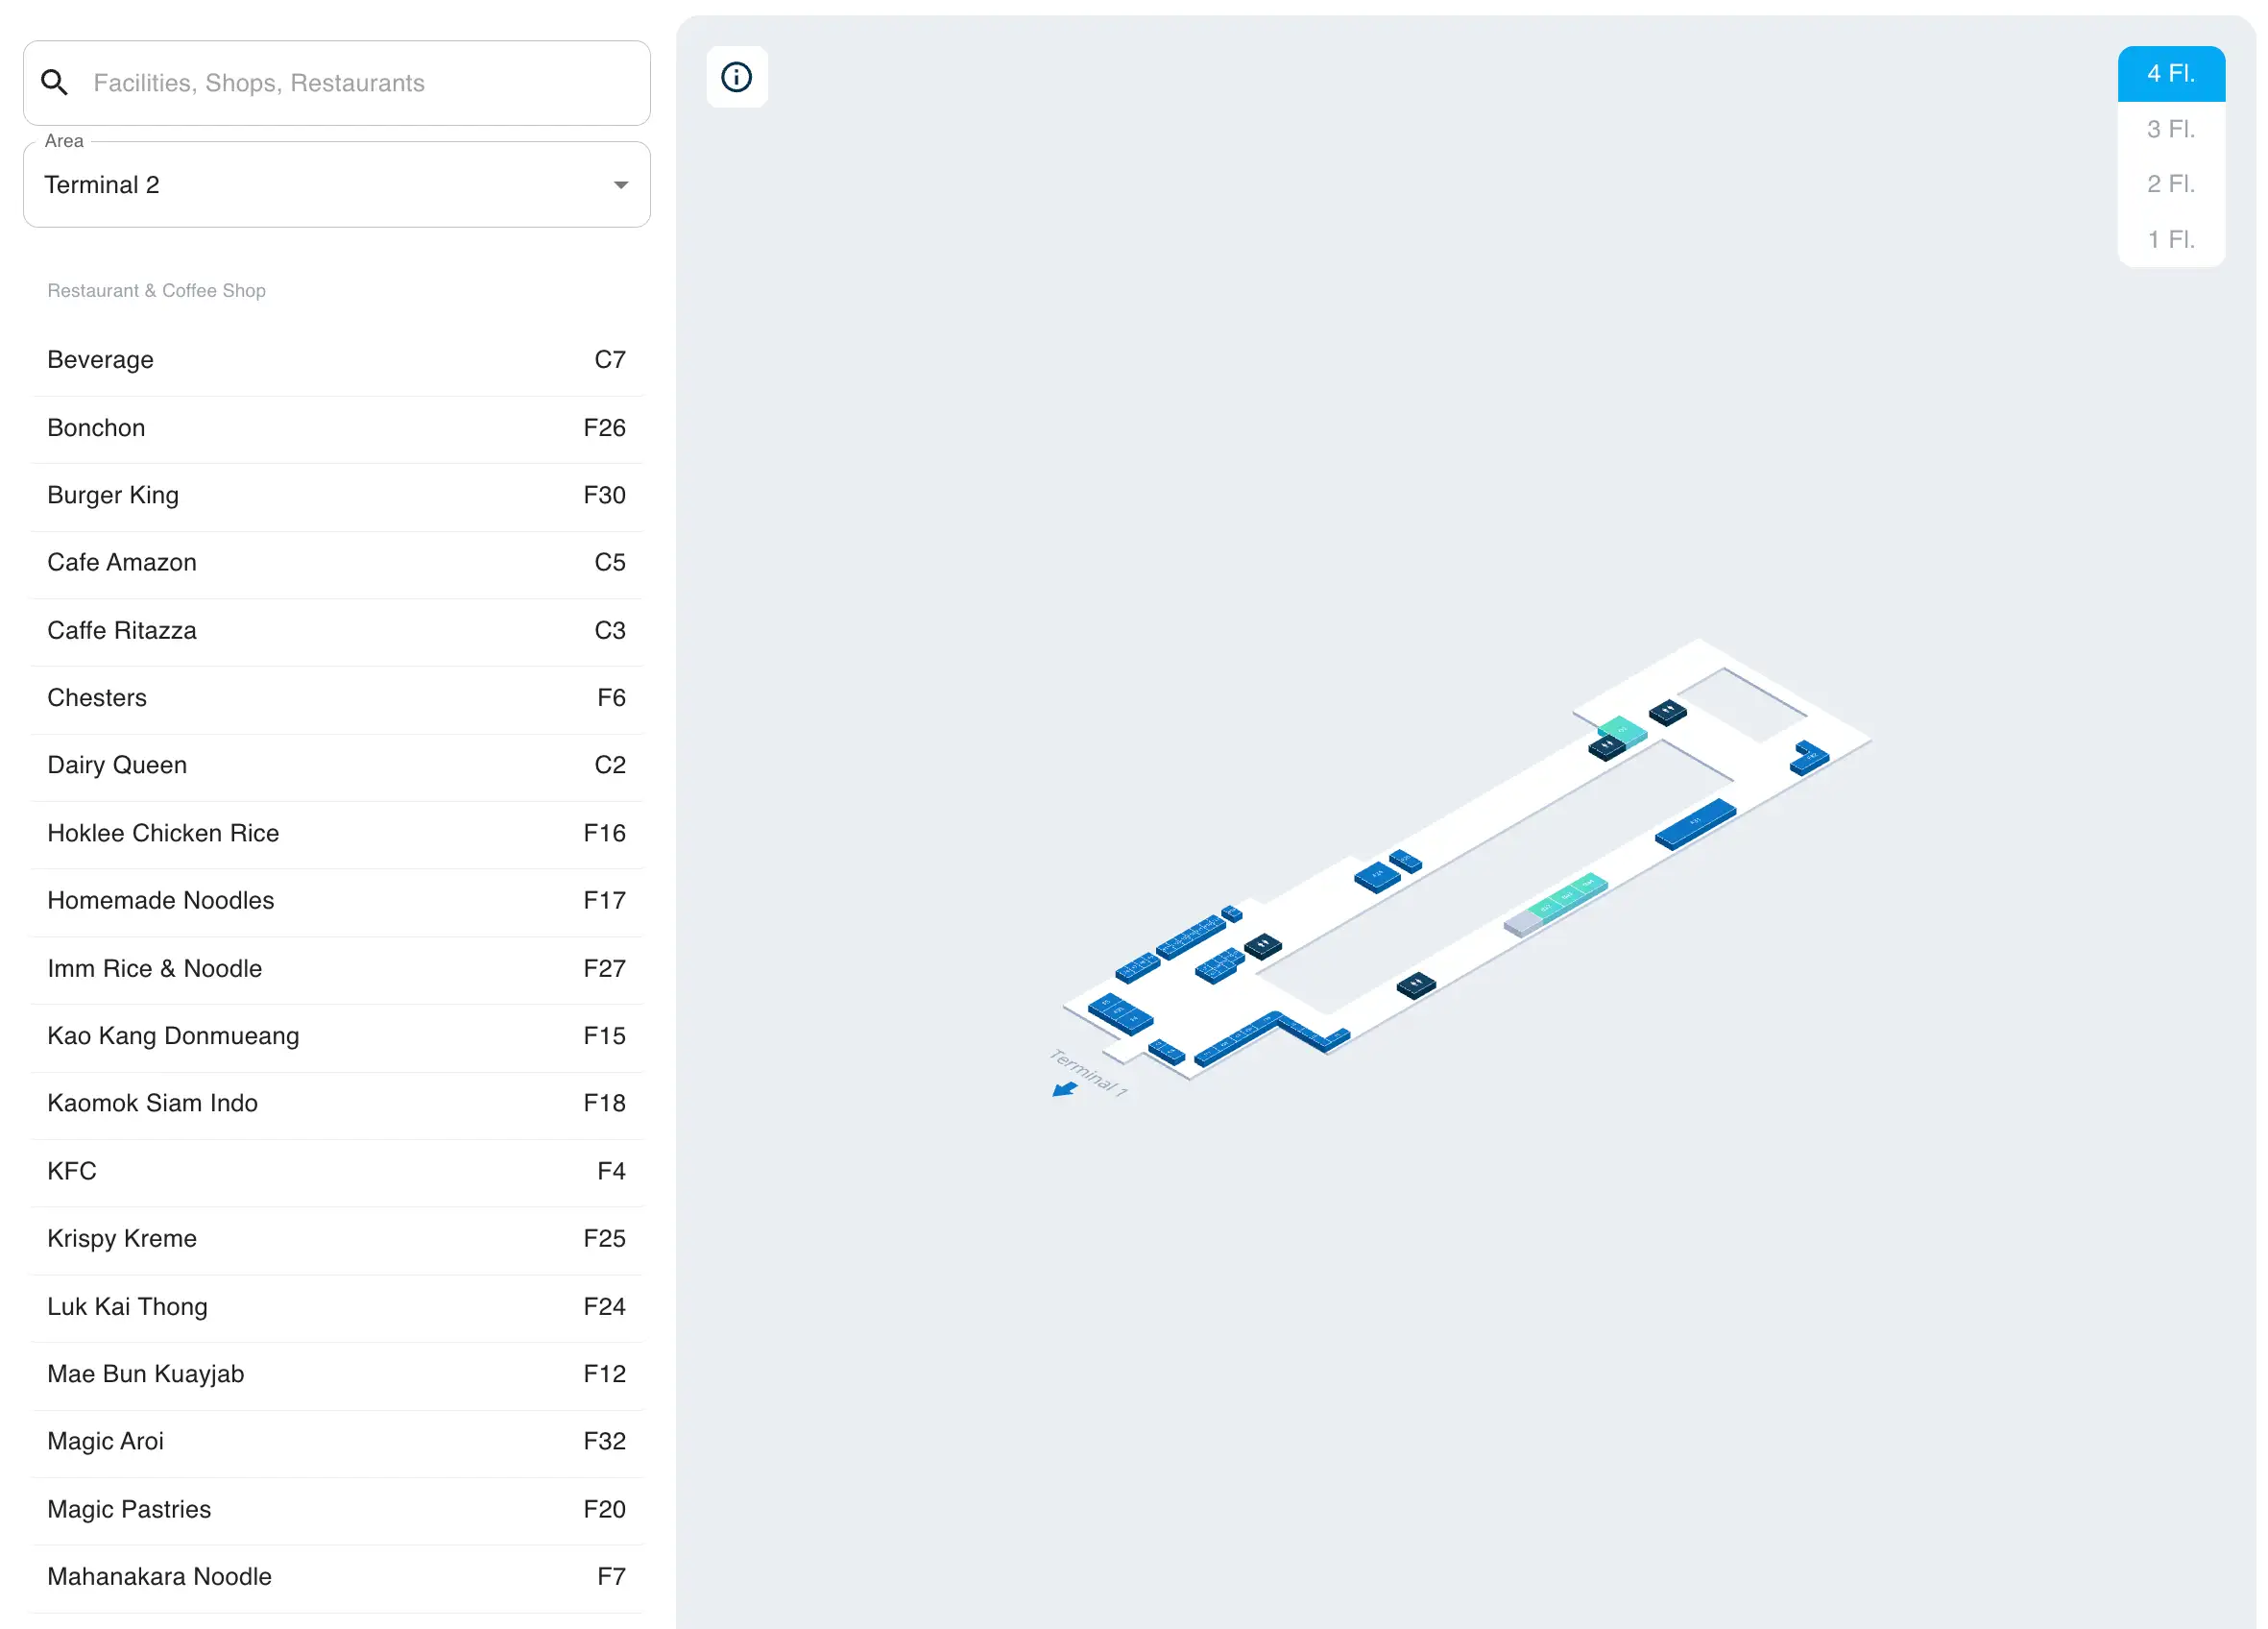
Don Mueang International Airport Terminal 2 Level 4 Map 2026
2026 Don Mueang International Airport Terminal 2 Map Guide
What is the exact walking route and distance from Terminal 1 International Arrivals exit to the Terminal 2 Domestic check-in hall, using the terminal-to-terminal walkway?
Walking from Terminal 1 International Arrivals to the Terminal 2 domestic check-in hall via the indoor landside corridor takes about 250–300 meters to the north-end check-in rows (Row 14/15) and about 450 meters to the south-end AirAsia rows (Row 9/10). Start after clearing customs into the Terminal 1 Arrival Hall (Level 1), then stay indoors and walk left/south toward Terminal 2.
| Route target in T2 (Level 3) | Indoor walking route (Level 1 walkway, then vertical) | Distance |
|---|---|---|
| Check-in Row 14/15 (north end) | T1 customs exit → walk south past T1 Door 6 → pass Door 8 → continue as lighting/tiling shifts into T2 → enter T2 near Door 10–12 zone → take elevators near Door 12 up to Level 3 | ~250–300 m |
| Check-in Row 9/10 (AirAsia, far south) | Same as above, then after reaching Level 3 continue walking south through the check-in hall past Rows 15/14/12/11 to Rows 9/10 | ~450 m |
Where are the exact entry points to the T1↔T2 connecting walkway on both terminals (floor + door/landmark), so a traveler can enter it without backtracking?
The T1↔T2 connector is the indoor landside corridor on Level 1, entered from Terminal 1 Arrivals by staying inside after customs and walking south past Door 6 toward Door 8, then continuing into Terminal 2 without exiting curbside doors. The Terminal 2 side is reached at the north end of the T2 Arrivals hall, where the door-number landmarks shift into the Door 10–12 area.
Use these landmarks to enter cleanly without backtracking:
- Terminal 1 entry (Level 1): after customs, remain in the indoor Arrival Hall and walk left/south; Door 6 then Door 8 are the progress markers that confirm you’re still on the connector path.
- Connector “seam” marker (Level 1): roughly 100 m past T1 Door 8, the corridor transitions by lighting/floor-tiling change rather than a physical doorway.
- Terminal 2 entry (Level 1): you emerge into Terminal 2’s north-end arrivals footprint near the Door 10–12 zone, where the primary vertical-core choice is the high-capacity elevator bank near Door 12.
What is the shortest in-terminal route from Terminal 2 security exit to the farthest domestic gates (the longest-walk gate cluster), and what is that distance?
Walking from the Terminal 2 security exit to Gate 58 is the longest in-terminal gate walk at DMK Terminal 2, at roughly 550–600 meters. Turn right immediately after exiting security into the airside atrium on Level 3, then stay on the main southbound concourse through the Pier 4 junction and onward to the Pier 5 gate cluster.
From the security exit “zero point,” the fastest line is the center corridor that parallels the moving walkways (don’t weave through retail). The route is continuous and linear: security exit → right turn to Gates 40–49/50–58 direction → pass the Pier 4 split → continue straight to the far south tip where Gate 58 sits. At a brisk pace this is typically 8–10 minutes, longer with crowds or family luggage.
Where is the fastest cross-corridor path inside Terminal 2 between two opposite gate zones (front-of-concourse vs far end), to recover from a last-minute gate change?
Walking the full airside spine is the fastest cross-corridor “recovery” path in Terminal 2 because there is no airside tram or shortcut; the quickest line is the straight center corridor that runs alongside the moving walkways between the north gates (30–39) and the far south gates (50–58). Start from the gate zone you’re in, return to the main concourse centerline, then commit to a continuous north–south push without detouring into shop clusters.
The most reliable recovery landmarks are the security-exit atrium (your mid-point reference) and the Pier 4/Pier 5 junction area (the south-side hinge). If you’re moving north-to-south, bypass people standing on the belts by using the adjacent “fast lane” strip of floor next to the moving walkway; if you’re moving south-to-north, stay on that same parallel lane until the concourse opens up near the central atrium, then follow overhead gate-number signs toward Gates 30–39. Total end-to-end recovery can approach 800–900 m depending on the exact gates.
Where is the nearest access point (stair/elevator/escalator) from Terminal 2 departures level to the bus-gate/remote-stand boarding area, and what is the walking distance from the main concourse to that access?
The nearest access point from Terminal 2 departures (Level 3) to the bus-gate/remote-stand area (Gates 71–78) is the dedicated descent bank in the center-south concourse near the Pier 4/Pier 5 junction, using the Coral Lounge zone as the “you’re here” landmark. Walk from the security-exit atrium along the southbound concourse until you reach the mid–south node where overhead signs point to “Bus Gates 71–78,” then go down via the marked escalators/elevators.
From the main concourse “zero point” at the security exit, the walk to this descent node is about 200–250 meters. The critical detail is that the bus gates are not reached by walking to the end of Gates 50–58; the correct move is to descend at the signed node before the far tip. Once downstairs, expect additional time for queueing and bus staging after the vertical drop.
What is the exact distance from Terminal 2 security to the bus-gate/remote-stand staging entrance, so travelers can decide if they must run?
Walking from Terminal 2 security exit to the bus-gate/remote-stand staging entrance (the descent point for Gates 71–78) is about 200–250 meters. Turn right out of security into the southbound concourse on Level 3, then stay on the main centerline until the overhead signs for “Bus Gates 71–78” point you to the dedicated escalator/elevator bank near the Pier 4/Pier 5 junction.
The easiest landmark triangulation is the Coral Lounge zone near the bus-gate descent area: seeing Coral Lounge signage means you’re in the correct segment to drop down. Budget extra time beyond the 200–250 m walk for the vertical descent, secondary queueing, and the earlier “bus close” behavior compared with airbridge gates.
Where is the closest arrival-to-departure vertical path (elevator/escalator) in Terminal 2 that minimizes level changes for passengers with checked bags?
The elevator bank near Door 12 is the closest and most direct arrival-to-departure vertical path in Terminal 2 because it links Level 1 (Arrivals hall) straight up to Level 3 (Departures/check-in) and lands you centrally near Check-in Row 12. From the baggage-claim exit area, walk toward the central Door 11–12 zone, then take the high-capacity elevators instead of the main escalators.
The key constraint is that luggage trolleys are not allowed on escalators, so the visible central escalators can become a trap for passengers with multiple bags. If the Door 12 elevators are overloaded, the tactical bypass is the south-end vertical core near the Car Park / Gate 15 interface, which is often less crowded—use it if you’re already walking south for taxis or want to avoid the central crush.
What is the shortest route from Terminal 2 domestic arrivals baggage claim to the Terminal 2 departures check-in zone, and what is the distance?
Walking from Terminal 2 domestic arrivals baggage claim to the Terminal 2 departures check-in zone is shortest via the Door 12 elevator core, with a brief Level 1 walk followed by a direct lift to Level 3 near Check-in Row 12. Exit baggage claim into the public Arrivals hall (Level 1), angle toward the central Door 11–12 area, then take the elevators up to Departures (Level 3).
From the typical central baggage-claim exit position, the horizontal walk to the Door 12 elevator bank is short (generally within the central hall span), and the main variable is elevator wait. Once you arrive on Level 3, you are already in the check-in hall near the central rows, so you only add distance if your airline is positioned far south (Rows 9–10) or far north (Rows 14–15).
Where are the official taxi / ride-hail pickup points relative to Terminal 2 arrivals doors (exact door numbers/landmarks), and what is the walking distance from baggage claim to pickup?
Official metered taxis queue at Gate 15, while ride-hail (Grab) pickups run from Gate 14 near the Grab Service Counter on Terminal 2 Arrivals Level 1. From the typical central baggage-claim exit area near Door 11, the walk is about 150 m to Gate 14 and about 200 m to Gate 15.
| Pickup type | Exact pickup point (Level 1) | Landmark triangulation | Walk from baggage claim exit |
|---|---|---|---|
| Taxi (metered) | Gate 15 (far south end) | taxi queue + kiosk slip system at the terminal’s south tip | ~200 m (about 3 min; ~6 min with bags) |
| Ride-hail (Grab) | Gate 14 (south of the central exits) | Grab Service Counter at Gate 14 | ~150 m (about 2.5 min; ~5 min with bags) |
Where is the most direct path from Terminal 2 arrivals to the rail/bus/public transport access point (nearest entrance), and what is the walking distance?
Walking from Terminal 2 arrivals to the nearest public transport node is shortest to the airport bus stop at Gate 12 on Level 1, at about 150–200 meters from the central arrivals/baggage-claim exit area. Exit baggage claim into the public Arrivals hall (Level 1), turn toward the Door 11–12 zone, then continue to Gate 12 curbside for the A-series buses.
For rail (SRT Red Line), the most direct path is a Level 2 move: from the Level 1 arrivals center, take an elevator up to Level 2, follow signs for “Train Station” / “Amari Hotel,” then cross the Skybridge over Vibhavadi Rangsit Road into the station concourse. The total walk to the SRT ticket gates is roughly 350–400 meters, and it’s fully accessible via elevators and ramps but feels longer because the station is separated from the terminal across the roadway.