Chhatrapati Shivaji International Airport Terminal 2 Map (Most Up-To-Date)
BOM Terminal 2 sits within Mumbai’s primary airport hub as an X-shaped terminal with a centralized processing core and four stacked passenger levels. The layout is built around vertical movement: Level 2 is the arrivals/immigration + baggage spine, Level 4 is the departures check-in hall, and the adjacent multi-level car park uses P-levels (P4–P10) that don’t match terminal floor numbers. Most navigation mistakes happen at a few “decision nodes” right after Customs and at Arrivals curb exits.
Map Table
| Level / Plane | Primary zones | Key decision nodes | Connections |
|---|---|---|---|
| Level 4 / P10 | departures check-in | terminal entry gates | departures drop-off |
| Level 3 | domestic security layer | transfer security split | domestic airside |
| Level 2 / P6 | immigration, baggage, customs | post-customs left-turn node | arrivals curb, MLCP access |
| Level 1 / P4 | ground transport hub | bus bays, app-taxi lanes | T1↔T2 shuttle, Uber/Ola |
Chhatrapati Shivaji Maharaj International Airport Terminal 2 Map Strategy
- Connections break when you walk straight out of Customs; treat the Green Channel exit as a decision node and take the immediate left toward the transfer desks and adjacent elevators before you hit the public glass doors.
- Immigration time loss is usually a queue-choice error; commit early to the correct flank (including far-right fast-track/e-gates if eligible) and don’t drift into the central mass of lines.
- After Customs, assume vertical movement is the real route; lock onto the correct elevator bank (transfer-side for Level 4, MLCP-side for P-levels) so you don’t get trapped on the wrong plane.
- For pickups and T1↔T2 logistics, plan around P4 as the working transport level and ignore the P6 arrivals curb for app-based taxis and shuttle starts.
2026 Chhatrapati Shivaji International Airport Terminal 2 Map + Printable PDF
Operational flow at 2026 BOM T2 still hinges on two map-critical realities: the post-Customs “left turn” that preserves an internal transfer path, and the Level vs P-level mismatch that pushes most pickups down to P4. Printing a current map is most useful when it marks the exact transfer desks, elevator banks, and the MLCP entry points from the arrivals exit.
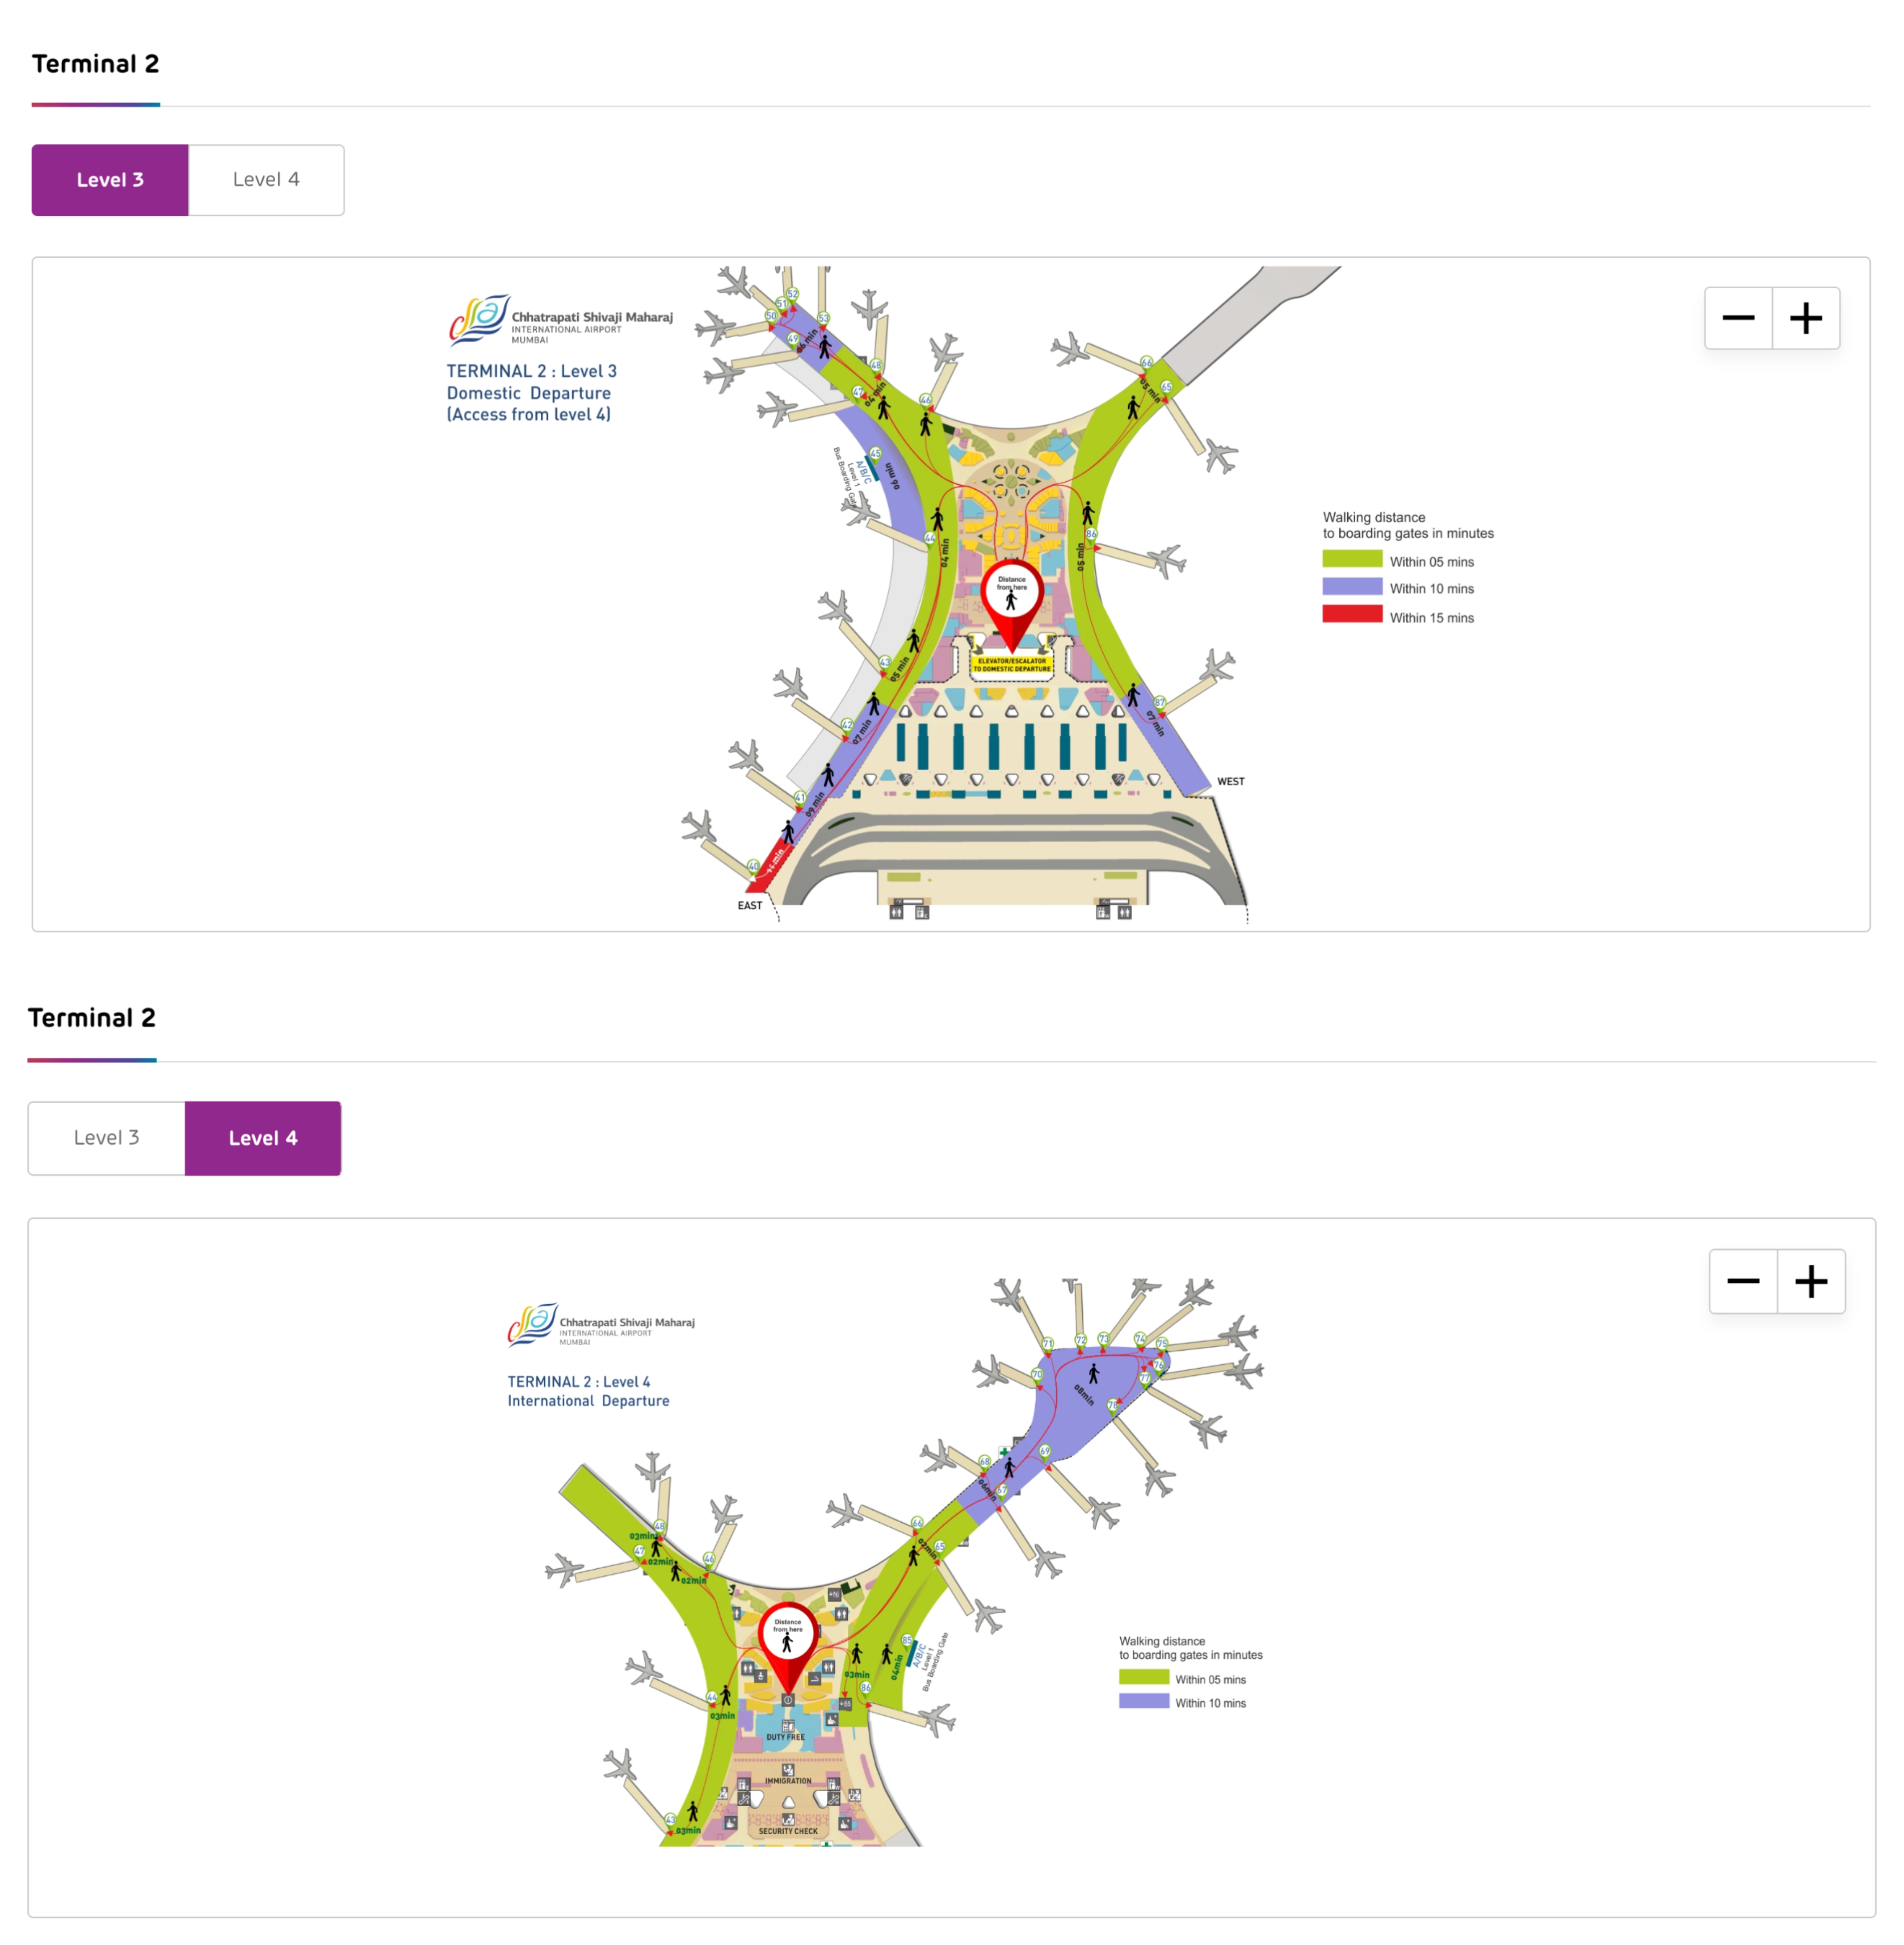
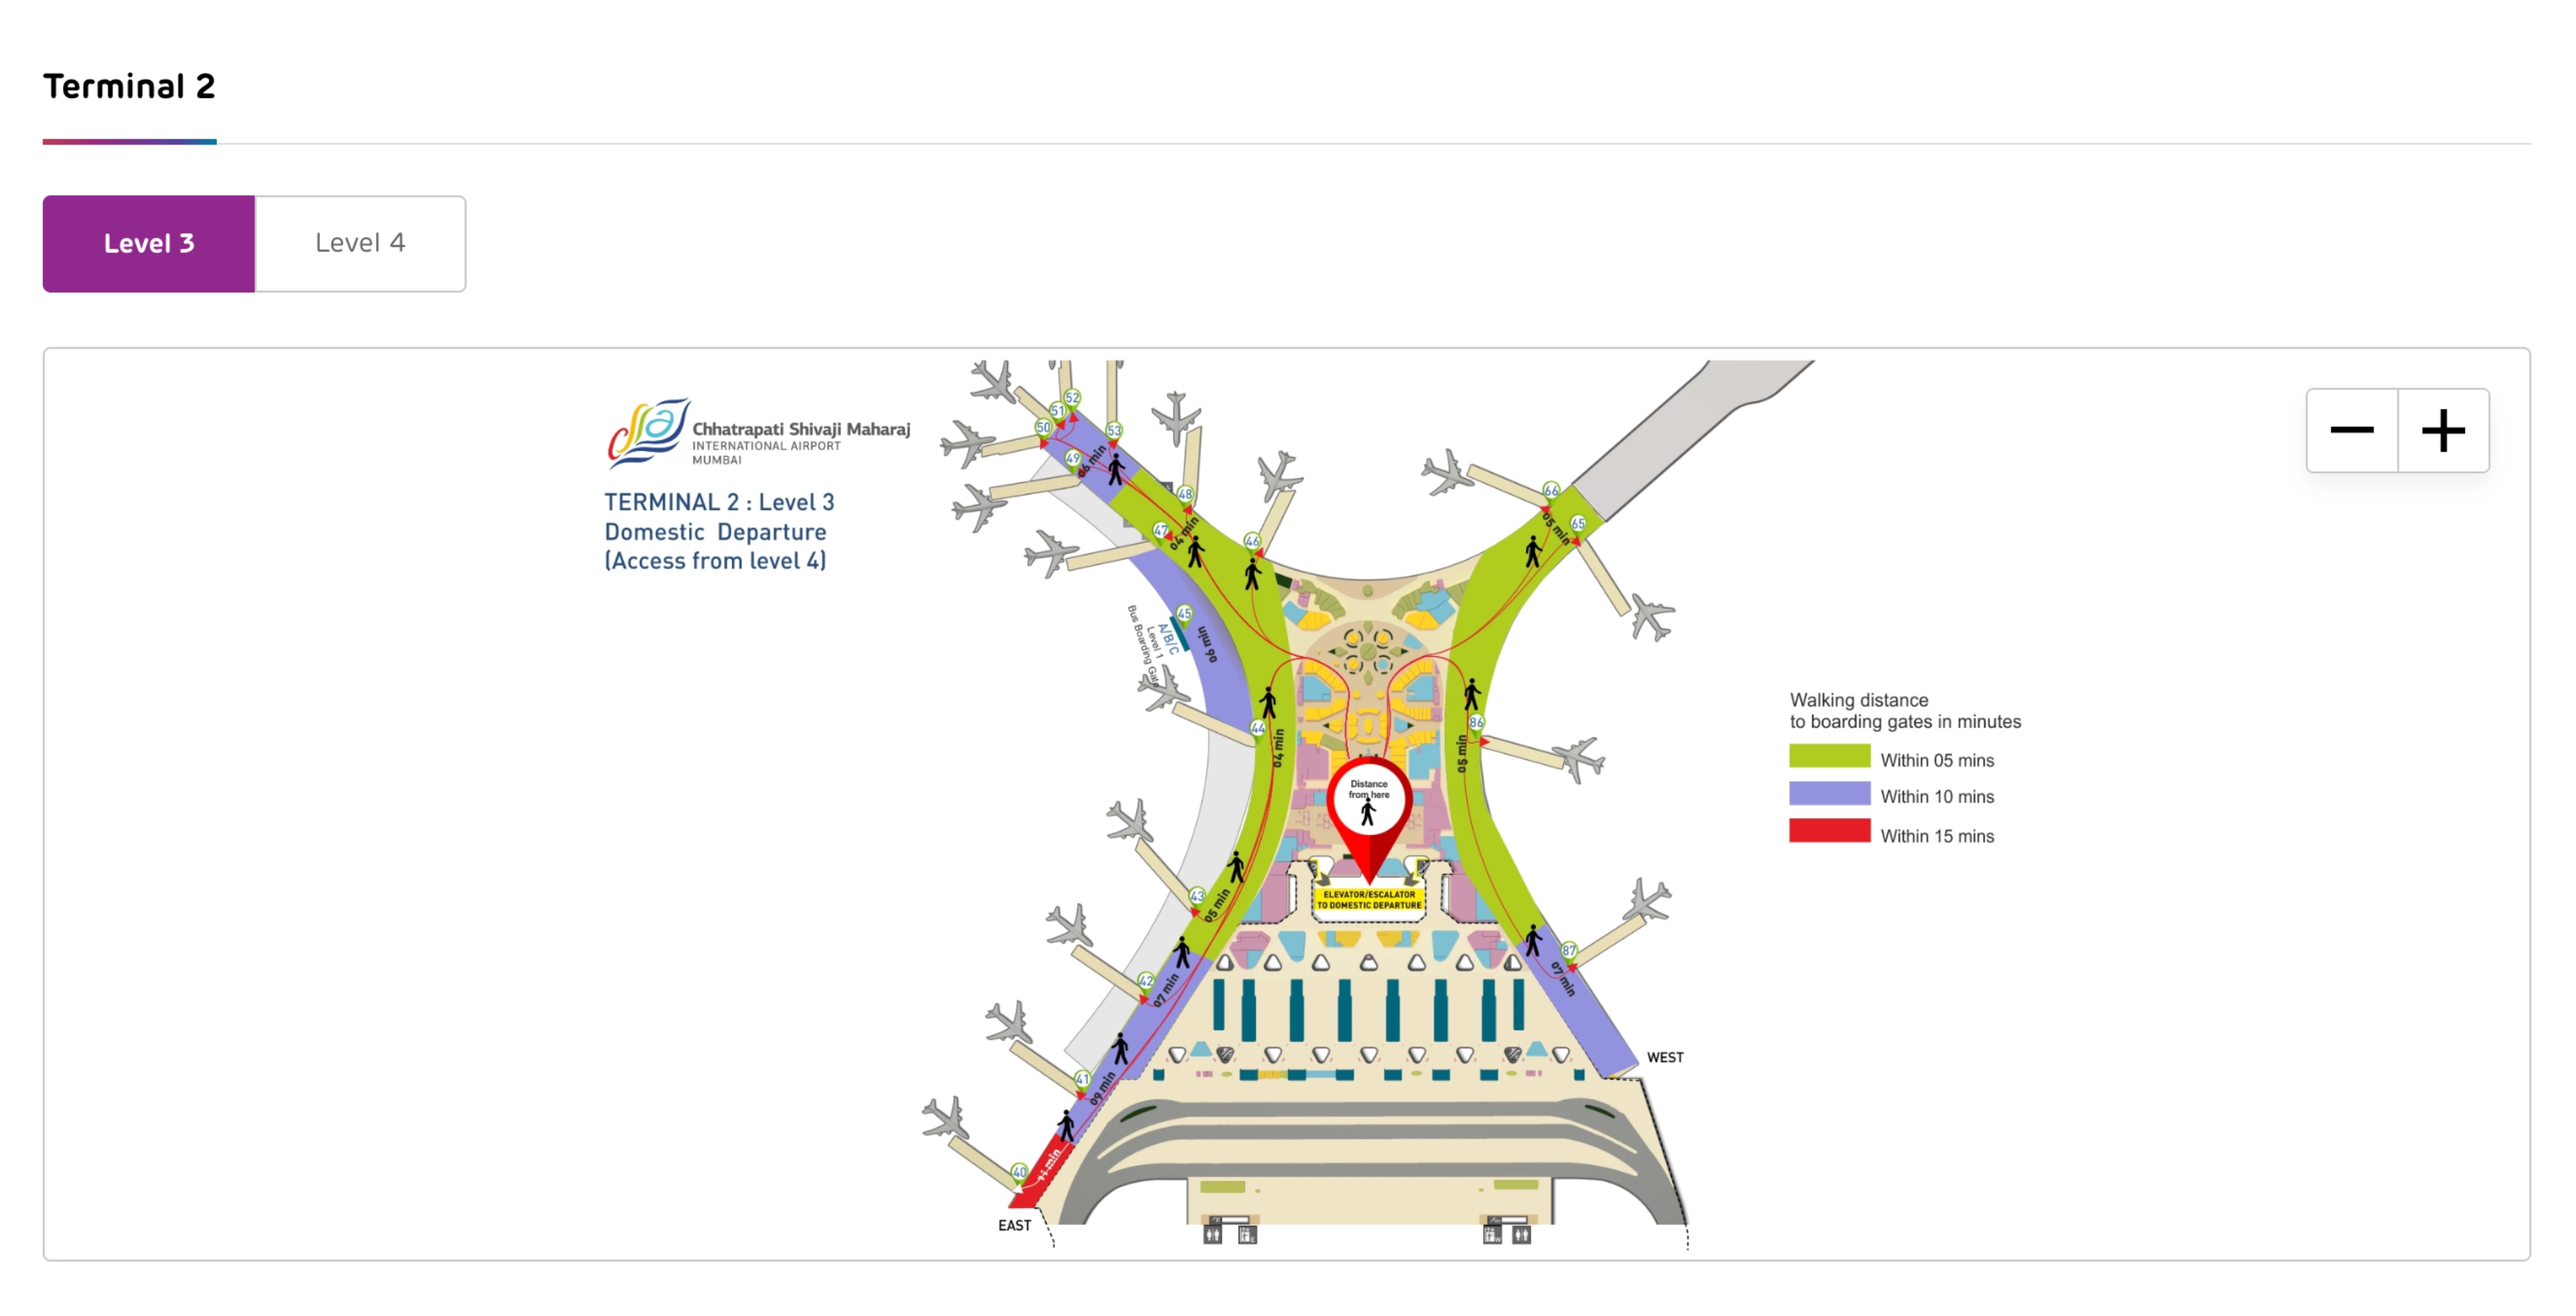
Chhatrapati Shivaji International Airport Terminal 2 Level 3 Map 2026
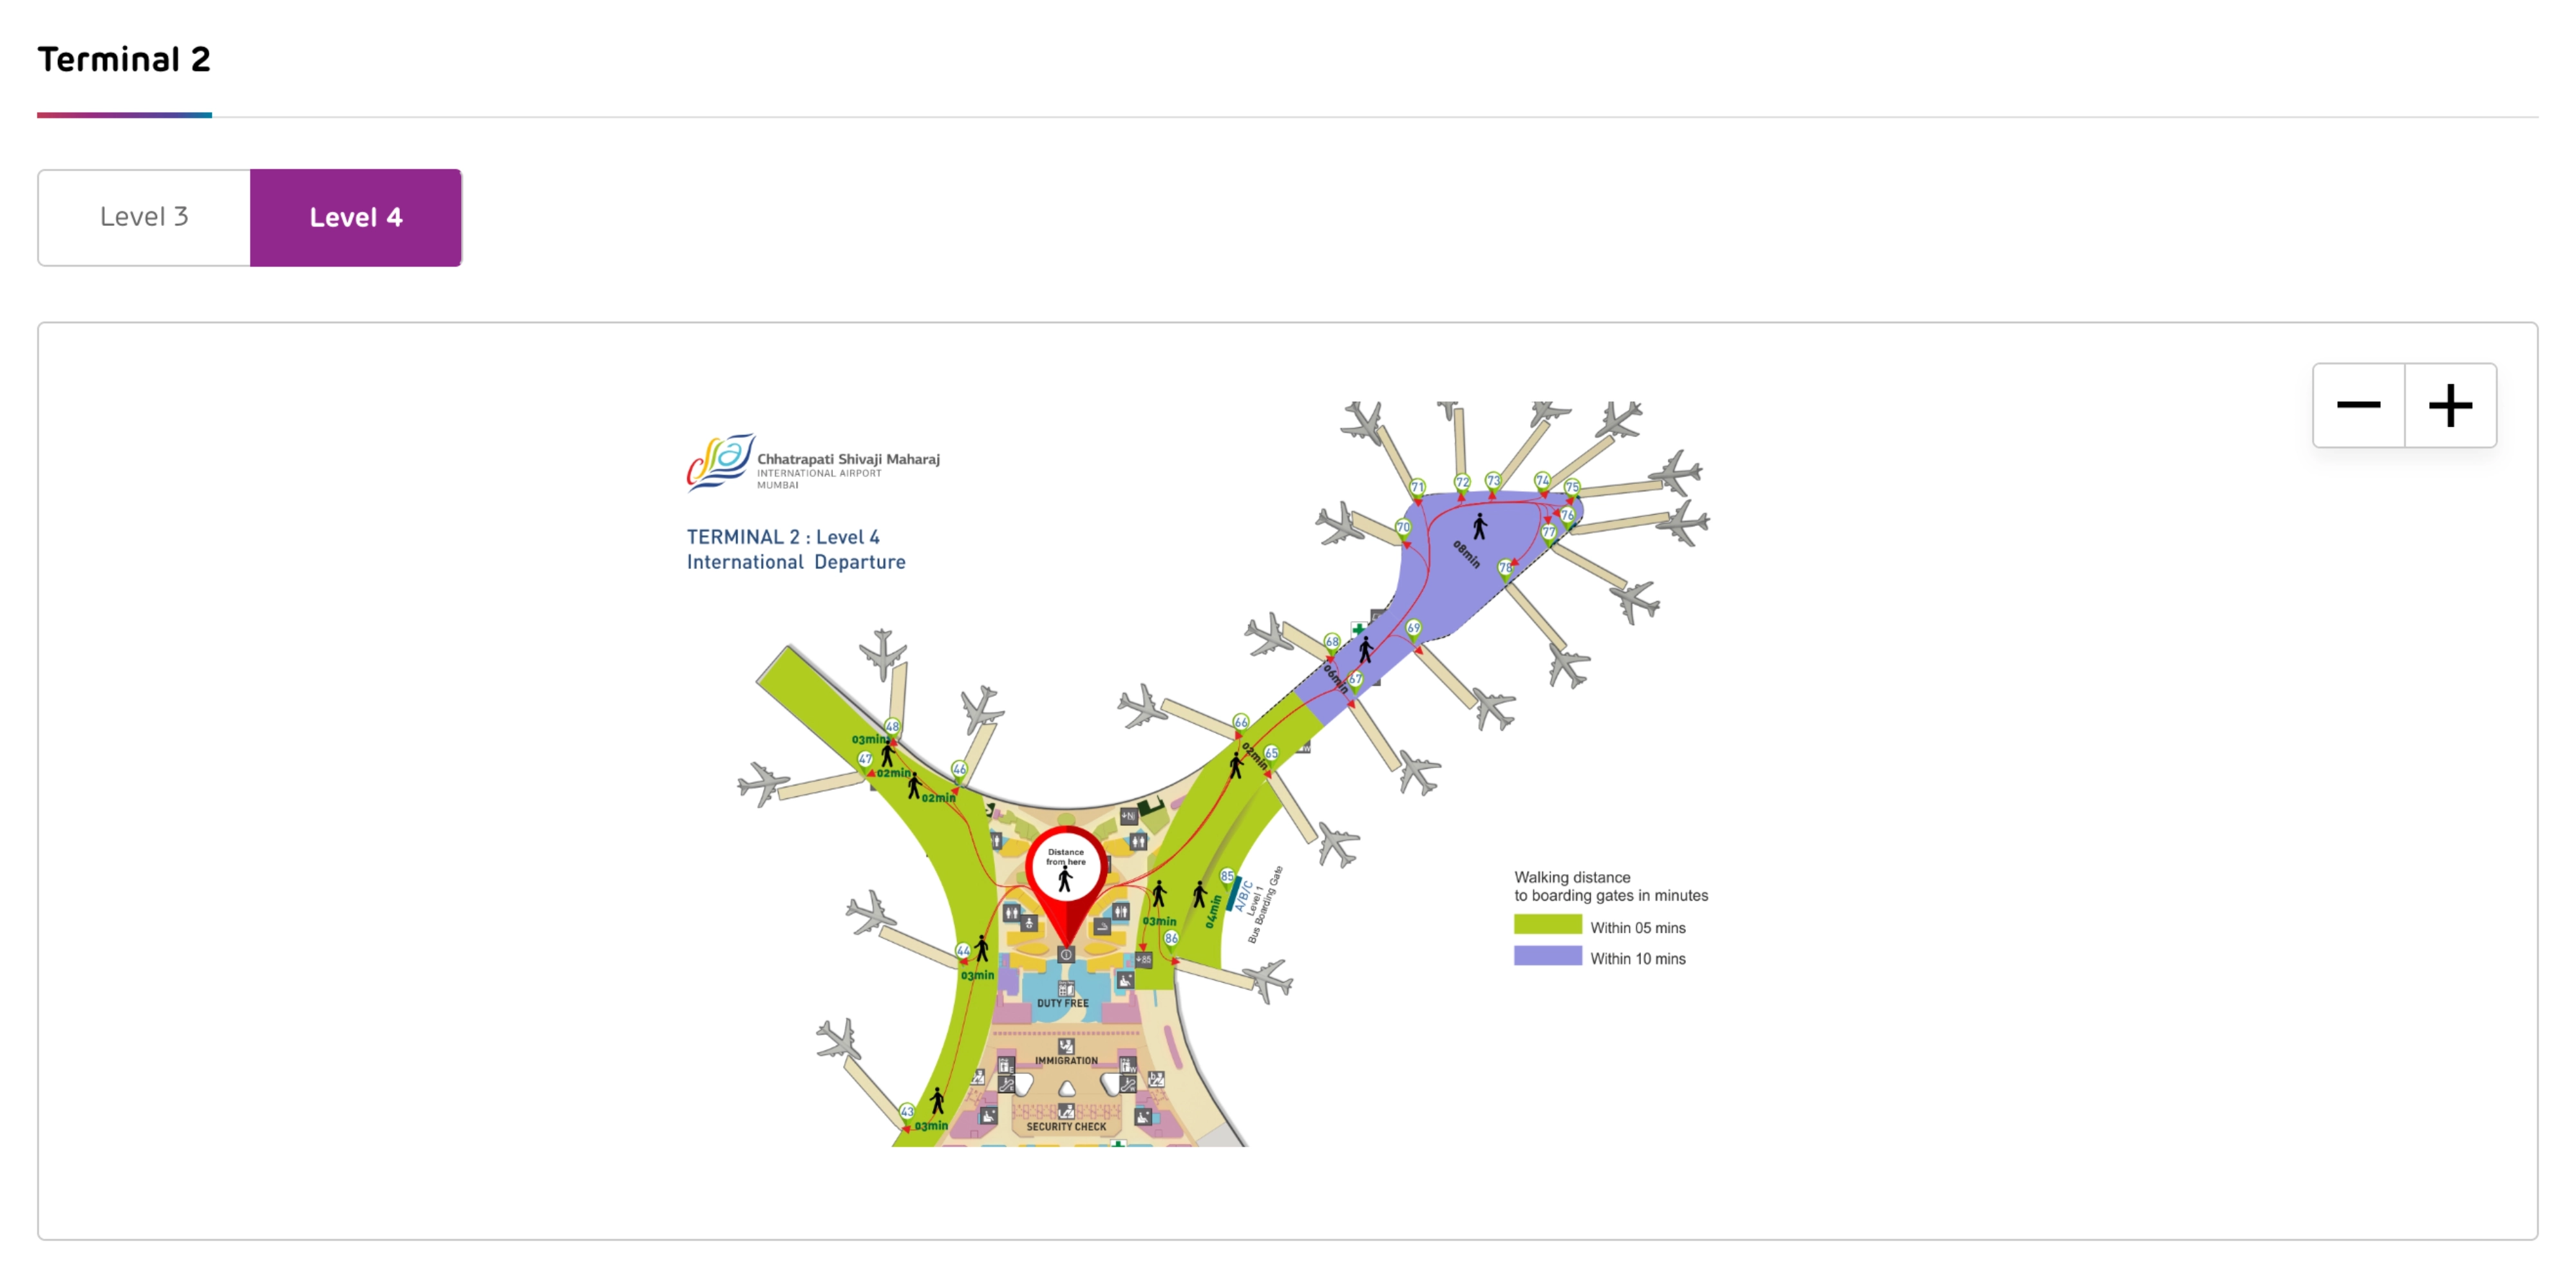
Chhatrapati Shivaji International Airport Terminal 2 Level 4 Map 2026
2026 Chhatrapati Shivaji International Airport Terminal 2 Map Guide
What is the exact indoor walking route from International Arrivals customs exit to the Domestic check-in hall inside Terminal 2 (including the correct turn points)?
Do not walk straight through the public glass doors after Customs; that mistake pushes you landside and costs 45–60 minutes to recover. From the International Arrivals Green Channel exit on Level 2, the fastest indoor route is an immediate left turn to the transfer desks and the adjacent elevator bank that goes straight up to the Level 4 departures check-in hall.
From the last Customs officer at the Green Channel exit, turn left 90° into the inner-perimeter corridor before the “meet and greet” crowd. Walk about 20–30 meters along the wall to the Transfer Desk / Air India Transfer counter. Use the elevator/escalator bank beside that counter, ride up to Level 4, and exit into the departures check-in hall near the domestic check-in islands and domestic security intake.
Where is the time-saving elevator immediately after customs located (landmark-by-landmark), and what floor does it deliver you to for departures check-in?
The time-saving elevator sits immediately left of the Customs Green Channel exit beside the Transfer Desk / Air India Transfer counter, and it delivers you to Level 4 for the departures check-in hall. Missing it and walking straight into the public arrivals crowd forces a slower landside loop and re-entry through main departures security.
After you pass the last Customs officer in the Green Channel, do not head toward the bright public glass doors. Turn left 90° into the buffer corridor that runs along the inner wall. Walk roughly 20–30 meters until you see the Transfer Desk / Air India Transfer signage; the elevator/escalator bank is adjacent to or just behind this counter. Take the elevator to Level 4 and step out into the departures check-in concourse near the domestic check-in islands.
Where is the international transfer counter located relative to the immigration hall, and what is the measured walking distance (meters) from that counter to the first immigration desks?
The international transfer counter is after Immigration, not before it, and it sits immediately left of the Customs Green Channel exit before the public arrivals glass doors. The measured 20–30 meter distance applies from the Customs exit line to the transfer counter area, not from the transfer counter back to the first immigration desks.
Immigration desks are upstream in the arrivals processing chain, then you pass duty-free, descend into baggage reclaim, and continue through Customs. Only after you clear Customs do you reach the transfer counter zone: turn left immediately at the Green Channel exit and follow the inner wall to the Transfer Desk / Air India Transfer counter. For planning purposes, treat the counter as “post-Customs, pre-public hall,” with the walk from Customs exit to the counter at about 20–30 meters.
What is the exact path from immigration exit to the first baggage reclaim belt area, including any required ramps/escalators/elevators?
Walking is a forced-through retail path from immigration exit to baggage reclaim, followed by a single vertical descent via escalators or high-capacity lifts to the belt hall. The first baggage reclaim belt area starts immediately at the base of that descent, where flight-to-belt screens and belt numbers appear.
From the immigration desk exit, continue straight into the duty-free walkthrough corridor (the main path funnels you through retail). Stay on the primary corridor until you reach the vertical circulation bank immediately after the retail zone. Take the escalators down one level, or use the adjacent high-capacity elevators if you have heavy luggage or a trolley. At the bottom, you enter the baggage reclaim hall; the first belt area begins right there, with overhead monitors indicating your arriving flight’s assigned belt number.
What is the exact location (level + zone) of the official ride-hail pickup for Terminal 2 arrivals, and what is the shortest walking route from the arrivals exit doors to that pickup point?
The official Uber/Ola pickup is on MLCP Level P4 in the designated App-Based Taxi zone, typically signed as the P4 transport hub on the West side. Waiting at the arrivals curb on P6 won’t work for app pickups because commercial vehicles are kept off that level.
From the arrivals exit glass doors (Level 2 / P6), turn right toward the West frontage and walk along the covered curbside past the Starbucks landmark and “West / P4 Parking” signs. Cross the access lane into the Multi-Level Car Park (MLCP) structure. Inside the MLCP on P6, use the public elevator bank (the “car park” elevators) and ride down to P4. Exit at P4 and follow signage for App-Based Taxis to the marked pickup bays (often segmented by side/zone such as P4 West); match the bay/zone in your Uber/Ola app.
Which parking level (P-level) is the most reliable meeting point for pickups at T2, and what is the shortest pedestrian route from arrivals to that level?
P5 is the most reliable pickup meeting level at BOM T2 because it sits between the chaotic P6 arrivals curb and the commercial P4 transport hub while staying inside the MLCP’s clear, navigable vertical stack. Using P5 reduces curbside pressure and makes it easier for drivers and passengers to find the same plane.
From the arrivals exit (Level 2 / P6), walk toward the MLCP entry on the West side using the Starbucks / “West / Parking” signage as your frontage landmark. Cross the access lane into the MLCP structure and go to the public elevator bank on P6. Ride down one floor to P5. Step out onto P5 and choose a simple fixed anchor (elevator lobby or a numbered bay row) as the meeting point so you’re not wandering between ramps and vehicle lanes.
Where is the Terminal 1 ↔ Terminal 2 shuttle/bus pickup point for passengers starting at Terminal 2, and is it inside the terminal boundary or outside after exiting?
The Terminal 1 ↔ Terminal 2 shuttle pickup at T2 is on Level 1 / P4 at the ground transportation bus bays, and it is outside after you exit the terminal core. Looking for the shuttle at the P6 arrivals curb is the classic failure point.
From inside T2 arrivals, you need to descend to the transport plane: exit toward the MLCP/transport side and use the public MLCP elevators to reach P4. On P4, follow signage for buses/ground transport to the covered bus bay area where inter-terminal coaches stage (often carrying airport/operator branding). The waiting area is covered but not part of the climate-controlled interior, so plan for heat/humidity and allow time for the shuttle headway.
Where is the domestic transfer/connecting-flights signage decision point (the first fork where passengers choose a corridor), and what are the two corridor outcomes on the terminal map?
The first domestic transfer decision point is in the post-arrival sterile corridor before you commit to Immigration, where signage splits “Domestic Transfer” from “Arrivals/Baggage Claim.” Choosing the wrong corridor locks you into the immigration → baggage → customs chain and removes the airside shortcut.
| Corridor choice at the fork | Where it leads | Outcome |
|---|---|---|
| Domestic Transfer | Transfer Security on Level 3 | stays airside, onward domestic gates |
| Arrivals / Baggage Claim | Immigration → Baggage Reclaim → Customs | landside processing, exit required |
Where are the transfer security screening lanes located for passengers re-entering departures after an arrival-based transfer, and what is the walking distance from the re-check/check-in area to those lanes?
Passengers who re-enter departures after an arrival-based transfer use the standard departures security intake on Level 4 behind the domestic check-in islands, not the airside domestic-transfer checkpoint. From the domestic re-check/check-in counters, the walk to the Level 4 security lanes is a short in-hall distance at the rear edge of the check-in zone.
After you reach Level 4 (either via the post-Customs transfer elevator or by landside entry), complete bag re-check at the domestic transfer counters or your airline’s domestic check-in row. Then continue deeper into the hall toward the back of the check-in islands, where the domestic security screening entrances are aligned. The exact walking distance varies by which island you use, but the routing is consistent: check-in frontage → cut around the end of the island → join the security queue line at the rear.
Where are the e-gates / fast-track immigration gates located within the immigration hall layout, and what is the fallback walking route to a staffed officer line when the gate fails?
The e-gates / fast-track lanes are on the far right side of the Immigration Hall when you face the counters from the approach. Going center-left first usually traps eligible passengers in the longest queues.
From the hall entry, keep moving to the extreme right flank, using the right wall and right-side signage as your alignment landmark rather than following the central crowd. Enter the e-gate/fast-track area on that right side. If the gate rejects your scan or is offline, step out and walk only a few meters to the adjacent staffed counters on the immediate right flank, which handle e-gate overflow and issues. Do not cut back across the hall to the central foreign-passport queues, because that resets you into the slowest line mass.