Cape Town International Airport Domestic Terminal Map (Most Up-To-Date)
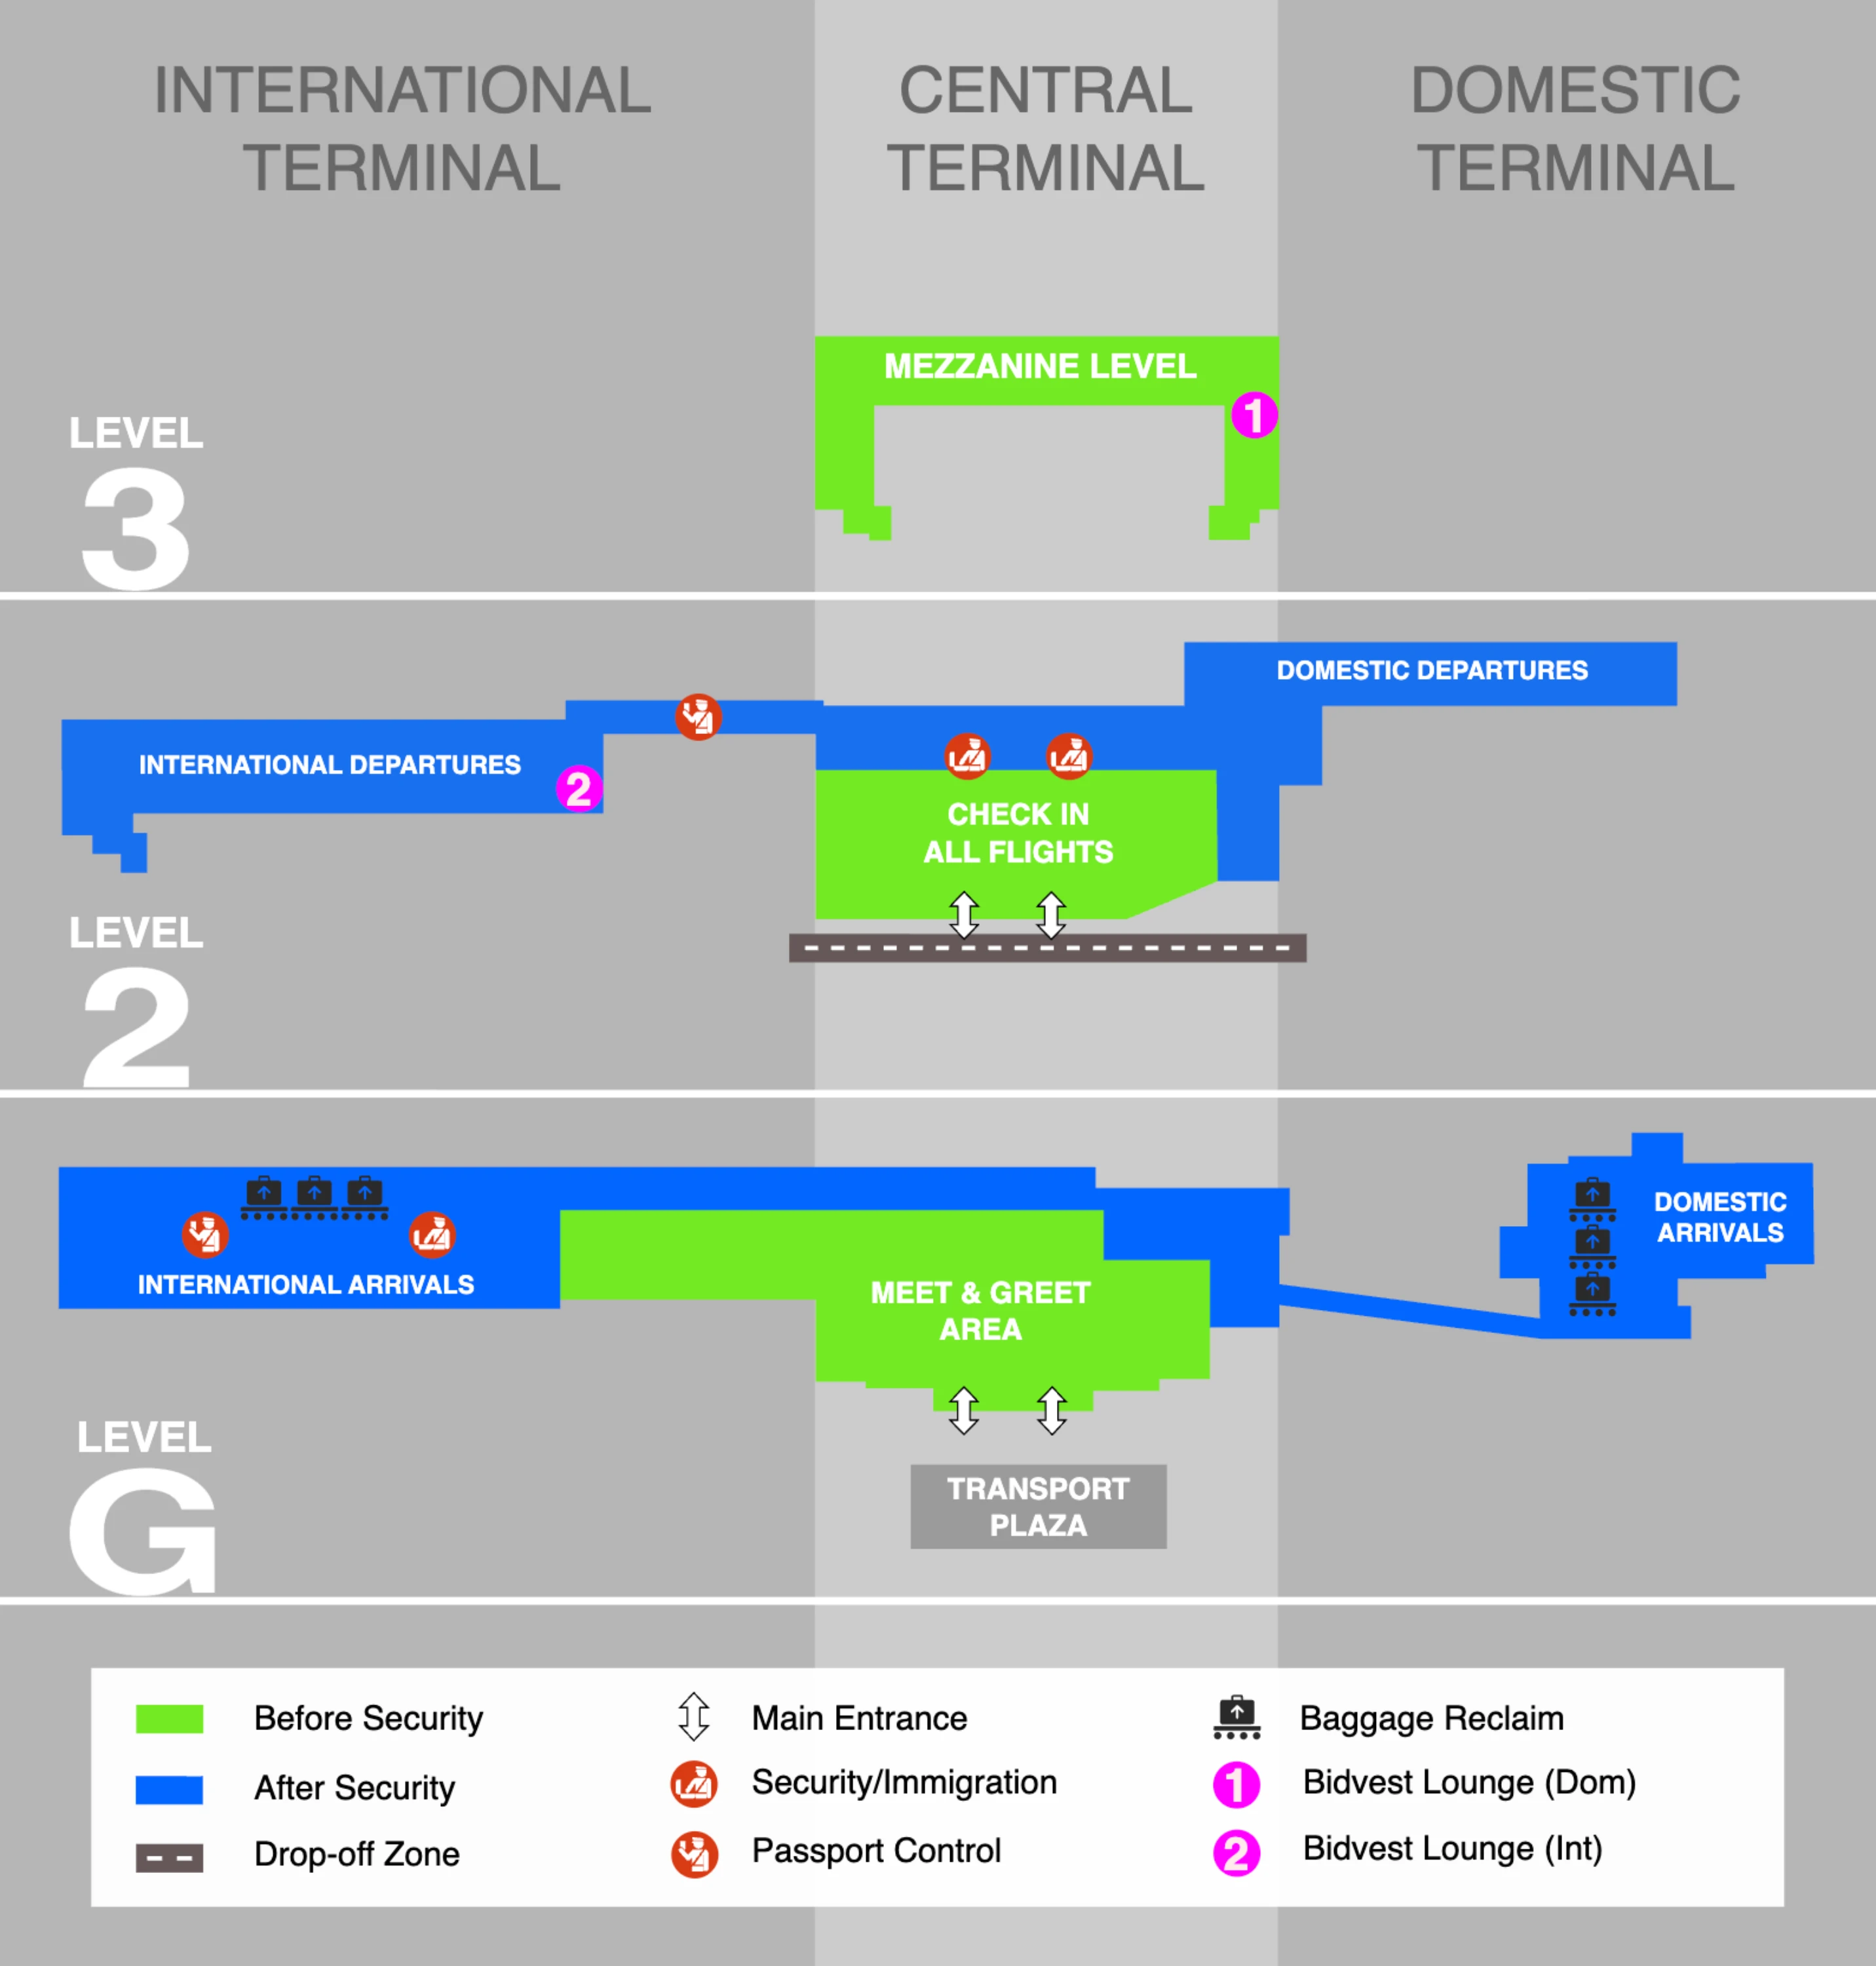
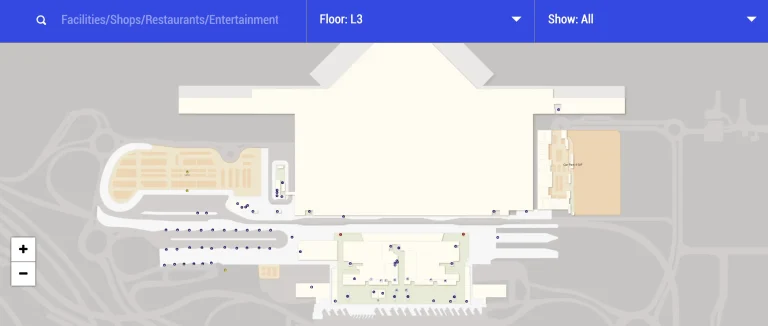
Cape Town International Airport’s Domestic Terminal sits inside the Central Terminal Building, sharing a single, centralized processing core within Cape Town’s main airport complex. The footprint is essentially a two-level public “front” (arrivals low, departures high) feeding one shared security complex, then splitting into the southern domestic gate spine. It’s a compact, linear walk once you’re through screening, but timing risk concentrates landside where check-in/bag drop and the security queue mouth can swell fast
Map Table
| Zone | Connection | Walk Time |
|---|---|---|
| Departures (Level 2) | Door 2–3 → domestic check-in banks | ~1–2 min |
| Domestic check-in (south half) | Bag drop → security queue mouth | ~2.5–4 min |
| Security (central) | Security exit → domestic concourse “C & D” split | ~1–2 min |
| Arrivals (Level 0) | Baggage claim → central atrium escalators → check-in | ~5 min |
Cape Town International Airport Domestic Terminal Map Strategy
- Treat bag drop and security as two separate queue events; build a buffer for both, especially 05:00–09:00 and 15:30–18:00 wave windows.
- Use Door 2 (then Door 3) as the default domestic entry to avoid the long lateral cross-walk from the north end that burns minutes before you even join a line.
- Lock onto fixed landmarks to find the security “mouth”: central atrium glass curtain wall + escalator banks + “Departures/Vertrek” overhead sign, then scan right for any priority/fast-track entry.
- For pickup/drop-off stress, pre-commit to lane position early; missing the P1 slipway triggers forced re-circulation and can flip a “free pickup” plan into paid parking after the grace window.
2026 Cape Town International Airport Domestic Terminal Map + Printable PDF
2026 navigation still revolves around the same CTB chokepoints: domestic bag drop queues in the southern departures hall and the shared, centralized security mouth where domestic and international surges blend. Peak-wave stacking is the operational “renovation” that matters most—queue start locations can shift with stanchions, but the anchors (central atrium glass wall, escalators, “Departures/Vertrek” signs) stay consistent for printing and on-foot routing.

2026 Cape Town International Airport Domestic Terminal Map Guide
What is the exact walking distance (meters + minutes) from the domestic bag drop counters to the entrance of the departures security queue?
Walking distance from the domestic bag drop counters to the departures security queue entrance is typically 120–180 meters, taking about 2.5–3.5 minutes at a normal pace. This range reflects which domestic counter bank you start from in the southern departures hall and where the stanchions place the queue mouth on that day.
| Start point (landmark) | End point (landmark) | Distance | Walk time |
|---|---|---|---|
| FlySafair/Airlink-style south counter banks | Security queue mouth by the central atrium glass wall + escalator banks under “Departures/Vertrek” | ~120–180 m | ~2.5–3.5 min |
| Lift / regional carriers farther along the south half | Same security queue mouth | ~150–200 m | ~3.0–4.0 min |
Where is the physical start-point of the domestic departures security line relative to the check-in hall (which side/landmark it anchors to)?
The physical start-point of the domestic departures security line is centered in the departures check-in hall and anchored to the central atrium’s glass curtain wall by the main escalator banks. It typically forms under the large blue-and-white overhead “Departures / Vertrek” signage, with stanchions extending outward into the open hall space.
The queue mouth sits beside the escalators up to the Level 3 restaurant plateau, using that escalator block as the visual “hard anchor.” If you’re facing toward the atrium glass, the main public check-in rows spread behind/left-right, and the security line projects out from the atrium/escalator side rather than from an airline counter bank.
What is the shortest indoor walking route from domestic arrivals baggage claim to the domestic departures check-in counters (step-by-step via named corridors/escalators)?
The shortest indoor route runs straight from the domestic arrivals public exit into the central atrium, then up the main escalator bank to the departures hall. This path avoids going outside toward the car rental plaza or MyCiTi area, which adds distance and resets your orientation.
Upon exiting the baggage claim hall into the public “Meet and Greet” area, walk straight about 30 meters toward the central atrium. Use the central escalator bank to go up two levels (Level 0 to Level 2). At the top, turn left (south) and continue into the domestic check-in counter zone; total horizontal distance is about 150 meters plus the vertical ascent, roughly 5 minutes end-to-end.
Inside the domestic baggage claim hall, where exactly is the row of airline “lost/missing baggage” kiosks located (which wall/nearest exit/nearest carousel)?
The row of airline lost/missing baggage kiosks sits along the southern wall of the domestic baggage claim hall, positioned between the final carousel and the glass exit doors into the public arrivals hall. This placement makes the exit doors the “point of no return” anchor for claims.
The kiosks line up on the same side as the glass doors, so you file the report before stepping out to the public “Meet and Greet” area. Use the last carousel in the hall as the secondary landmark: the kiosks are along the wall segment between that final belt and the glass exit doors.
From the security exit to Gate C10, what is the exact walking distance and which primary corridor does it use?
Walking distance from the security exit to Gate C10 is about 380 meters, taking roughly 5 minutes at a normal pace. The route uses the main domestic concourse corridor commonly described as the Southern Spine.
From the security exit, continue about 40 meters through the retail/duty-free zone, then turn right at the “Domestic Gates C & D” signage. Stay on the wide, high-ceilinged southern corridor (the Southern Spine) until you reach the mid-concourse gate area for C10. If you pass the C-section entrance and drift toward the D-gates bus area, use the nearest escalator to return to the Level 2 concourse.
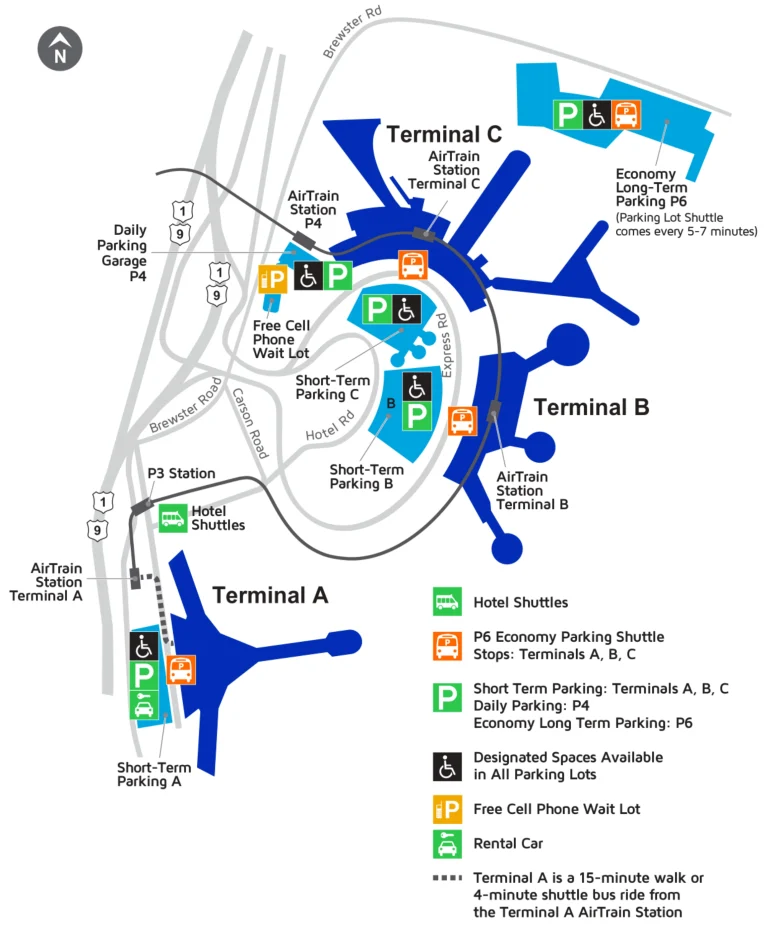
On the airport ring road, where is the P1 Parkade pickup slipway relative to the 90° turn/ramp that leads to the upper-level drop-off (distance + landmark-based positioning)?
The P1 Parkade pickup slipway sits about 150 meters before the sharp 90° right-hand turn that lifts traffic onto the upper-level departures drop-off ramp. It’s on the left-hand side of the ring road, typically flagged by overhead “P1 / Pick Up” signage before the roadway commits into the rising ramp geometry.
The 90° ramp turn is the practical “point of no return” anchor: once your vehicle is carried into the rightward bend and the road starts to rise, last-second lane changes into P1 are blocked by the ramp apron and barriers. Use the overhead P1/Pick Up sign as the final confirmation cue, then commit left early rather than trying to cut across late.
From the P1 pickup zone (lower level) to the domestic arrivals meeting point, what is the shortest walking path (and does it require elevators vs ramps)?
Walking from the P1 pickup zone to the domestic arrivals meeting point is about 120 meters and takes roughly 2 minutes. It does not require elevators or ramps because the shortest path stays entirely on ground level (Level 0).
Exit your vehicle in the P1 “Pick Up and Go” area and walk toward the Parkade 1 lobby. Leave the parkade structure and cross the ground-level roadway at the marked zebra crossings. Follow the direct line to the Central Terminal Building’s northern entrance, which lands you by the public arrivals “Meet and Greet” area used as the domestic arrivals meeting point.
If a driver misses the P1 pickup slipway, where is the next feasible re-entry point to reach pickup without stopping (the minimum loop path)?
The next feasible re-entry is the full terminal re-circulation loop, because the elevated departures ramp commits you past the last safe access to P1 pickup. Once you miss the P1 slipway, the minimum no-stop recovery is to continue up to the upper-level drop-off frontage, then follow the signed descent at the northern end of the terminal to return to the lower-level road network.
Continue past the departures doors without attempting a curb stop. Take the down-ramp on the north side of the terminal, then follow “Return to Airport” signage back onto the ring road approach sequence so you can set up for the P1 slipway again. Expect roughly 2.1 km of looping, adding about 7–10 minutes in the 05:00–09:00 peak due to merges and pedestrian crossings.
Where is the domestic priority/business-class lane entry at security located relative to the main queue mouth (exact merge point + signage position)?
The domestic priority/business-class lane entry sits on the far right side of the main security queue mouth. It is typically marked by eye-level stanchion signage and supported by overhead/digital fast-track displays near the right edge of the “Departures/Vertrek” entry zone.
After you enter the priority lane, the merge into the main screening belts happens about 15 meters past the initial boarding-pass scan point, immediately before the X-ray divesting stations. Use the boarding-pass scanner as the hard anchor: the priority stream stays separated until just after scan, then converges right before trays and divest tables.
What is the exact path from domestic check-in hall to the nearest “escape hatch” waiting area (seating/coffee) before security, and how far is it?
The nearest pre-security “escape hatch” is the seating cluster by Mugg & Bean on the departures level, about 60 meters from the security queue mouth. This is close enough to keep visual control of the security entrance while stepping out of the crush zone.
From the central security mouth under the “Departures/Vertrek” signage by the atrium glass and escalator banks, walk laterally along the departures concourse toward Mugg & Bean. Stay landside (do not enter stanchions), and aim for the visible café frontage with adjacent seating. If you need a quieter fallback, the Level 3 restaurant plateau above the escalators is roughly 120 meters including the vertical move.
In the domestic check-in hall, where are the primary flight information display boards positioned relative to the Airlink/FlySafair-style counter banks (distance + line-of-sight)?
The primary flight information display boards (FIDS) are positioned at the main circulation intersections above the entrance corridors and check-in rows, about 40 meters from the FlySafair/Airlink-style counter banks. This spacing preserves direct line-of-sight so you can read gate updates while still holding position near the bag drop process.
The most reliable wayfinding anchor is the “exit-the-queue sightline”: as you step away from the FlySafair/Airlink south bank, the elevated FIDS cluster becomes visible across the open hall at the junction where foot traffic from Door 2/3 meets the check-in rows. If you’re standing at those counters and look toward the central atrium flow, the boards sit high enough (~2.5 m) to remain readable above heads and stanchions.
Where is the fastest foot route from domestic drop-off curb to the domestic bag drop queue start (which door/entrance bay)?
The fastest route runs through Door 2 (then Door 3 as the backup) because it drops you straight into the southern departures hall where the highest-volume domestic counter banks sit. Door choice matters more than curb position because entering too far north forces a long lateral cross-walk through international crowds.
Enter via Door 2, walk about 15 meters straight to the self-service kiosk bank to print bag tags, then shift laterally about 20 meters into your airline’s bag-drop queue start in the south counter area. Avoid Door 5 or Door 6 at the north end: that entry typically triggers a ~200-meter sideways traverse before you even reach domestic bag drop, adding roughly 4 minutes and extra wayfinding friction.


