Harry Reid International Airport Terminal 1 Map (Most Up-To-Date)
Harry Reid International Airport Terminal 1 is a Y-shaped main terminal with three attached concourses (A, B, C) plus a separate, satellite D Gates building reached only by an airside tram. Within Las Vegas’s primary airport complex, the biggest orientation challenge is spotting the “hidden split” between the walkable A/B/C spokes and the detached D concourse, while ground transportation is stacked across multiple levels and door ranges.
Map Table
| Zone | Connection | Walk Time |
|---|---|---|
| A/B/C Gates core | walkable airside connectors | A↔B↔C continuous |
| D Gates satellite | Blue Line tram from T1 airside hub | tram ride ~3–5 min |
| Terminal 3 E Gates | Red Line via D Gates rotunda | transfer across rotunda |
| Ground transport stack | Level 0 / Level 1 / Level 2M + garage bridge | level-dependent |
Harry Reid International Airport Terminal 1 Map Strategy
- Treat Terminal 1 as two different places: A/B/C are walkable, but D Gates are a separate building; if you need D, stay airside and aim for the Blue Line, not the Green Line.
- Avoid the re-screen trap: once you pass security, never follow anything that dumps you into “Exit to Baggage Claim” while chasing D Gates; the penalty is backtracking to C/D security and screening again.
- Switch trams at D Gates the right way: Blue (to T1) and Red (to T3) meet at the D Gates rotunda on the tram level; don’t go up to the gate level to hunt for a connector.
- Use door-and-level discipline landside: rideshare is Door 2 → elevator up → Level 2 bridge into the garage → rideshare on Level 2M; rental car shuttle queues form at the center median outside doors 10–11; taxis stage at doors 1–4; the inter-terminal shuttle is on Level Zero (wrong-level risk + 20–30 minute frequency).
2026 Harry Reid International Airport Terminal 1 Map + Printable PDF
In 2026, Terminal 1 still operates as an A/B/C concourse cluster with D Gates as a detached satellite reached by the Blue Line tram from the secure-side hub. The same high-risk friction points remain: the airside/landside boundary near security (re-screen penalty), and door/level-specific ground transport zones (rideshare in the garage, rental car shuttle at doors 10–11, taxis at doors 1–4, inter-terminal shuttle on Level Zero).
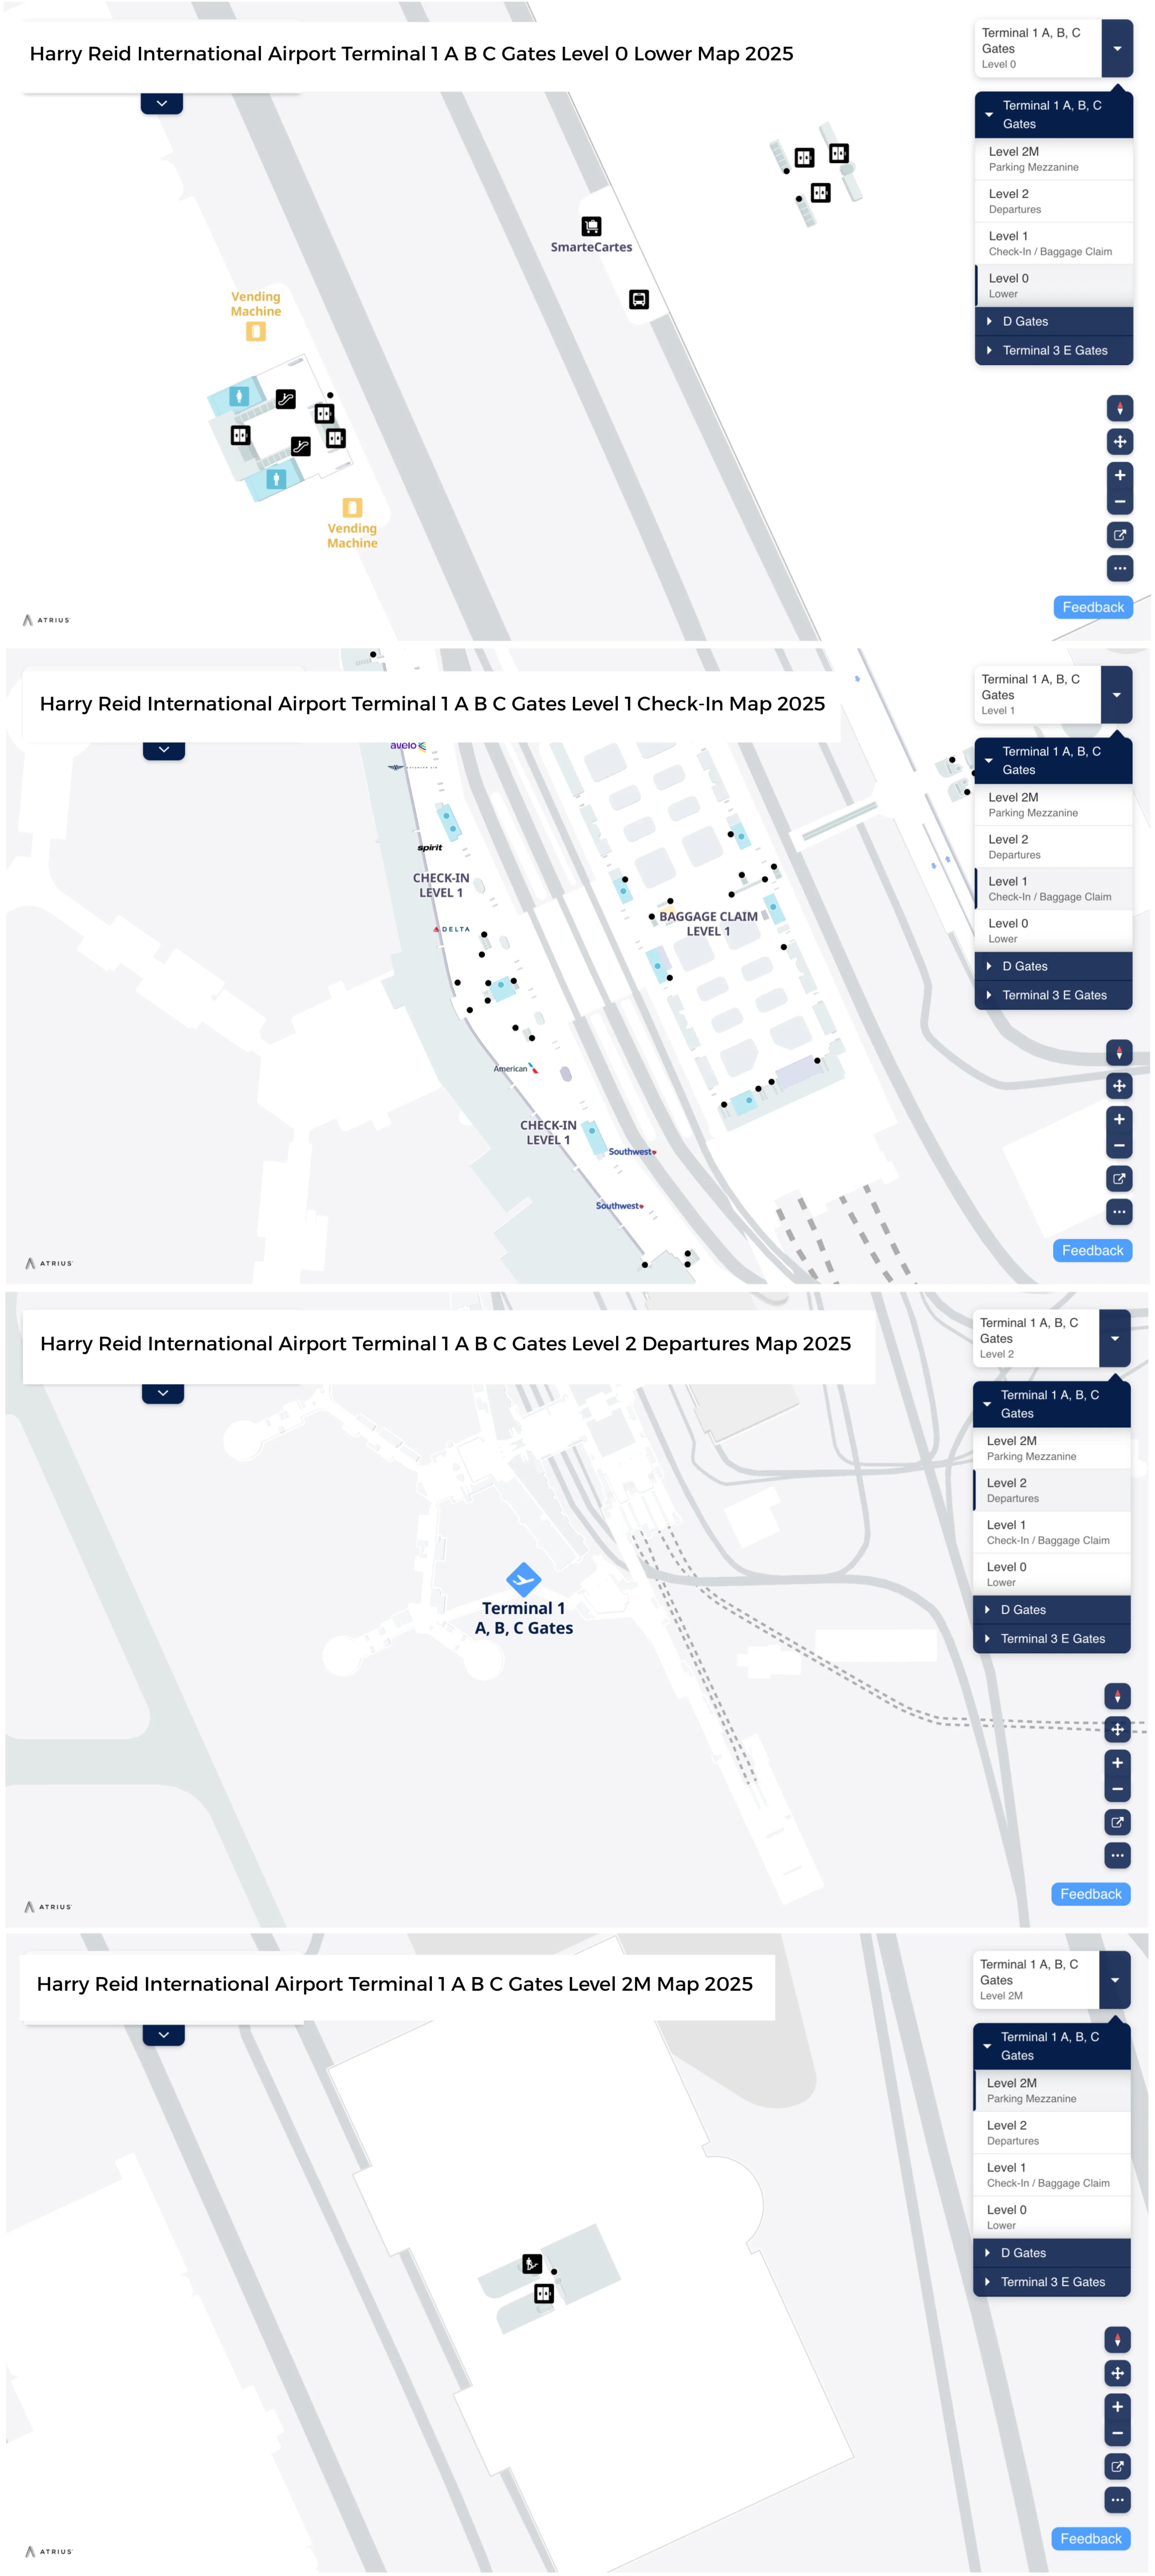
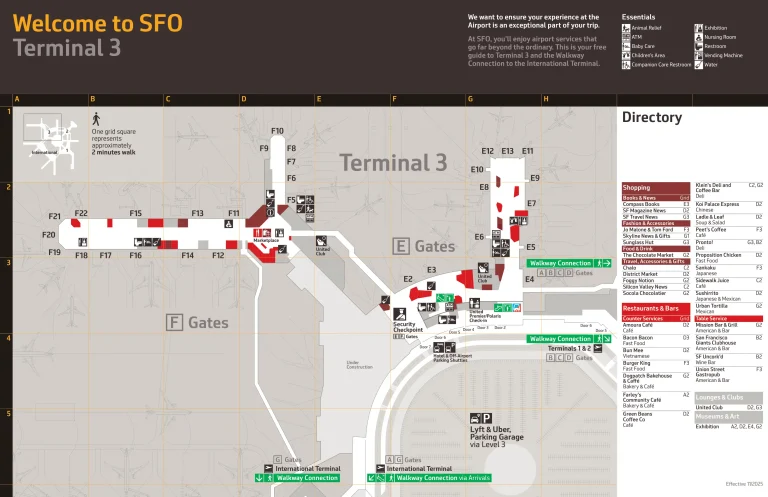
Harry Reid International Airport Terminal 1 A B C Gates Level 0 Lower Map 2025
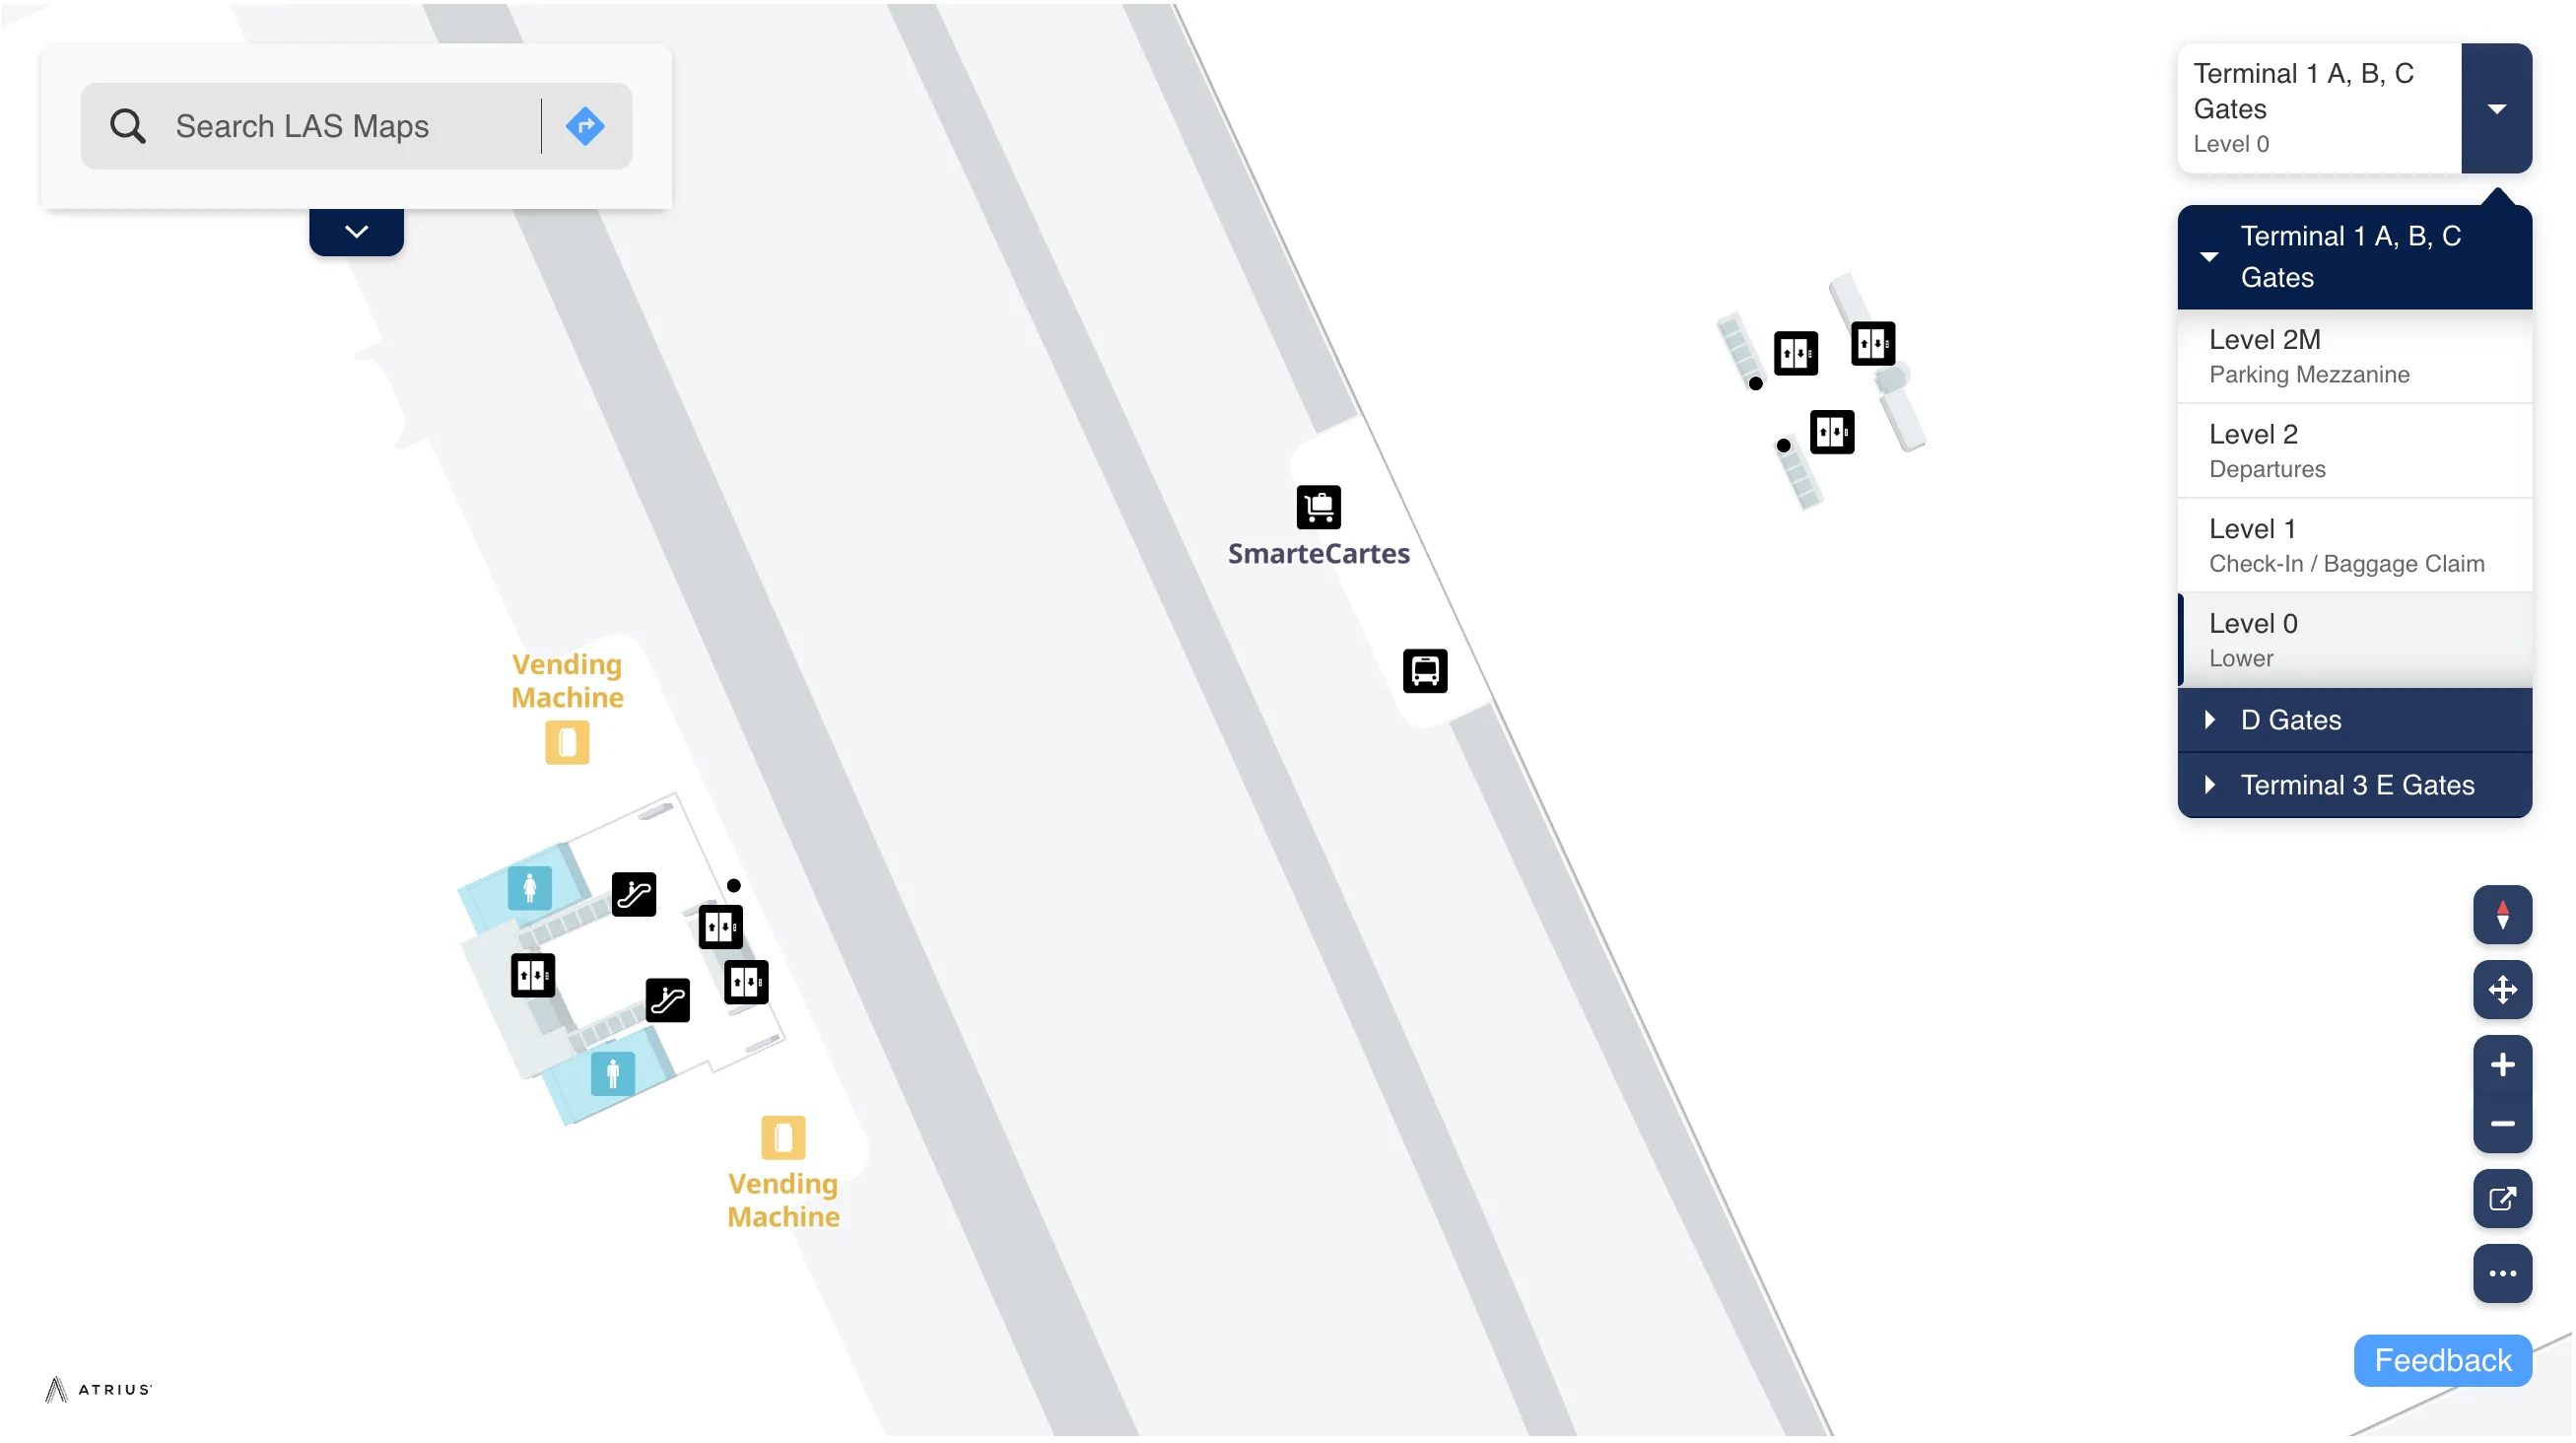
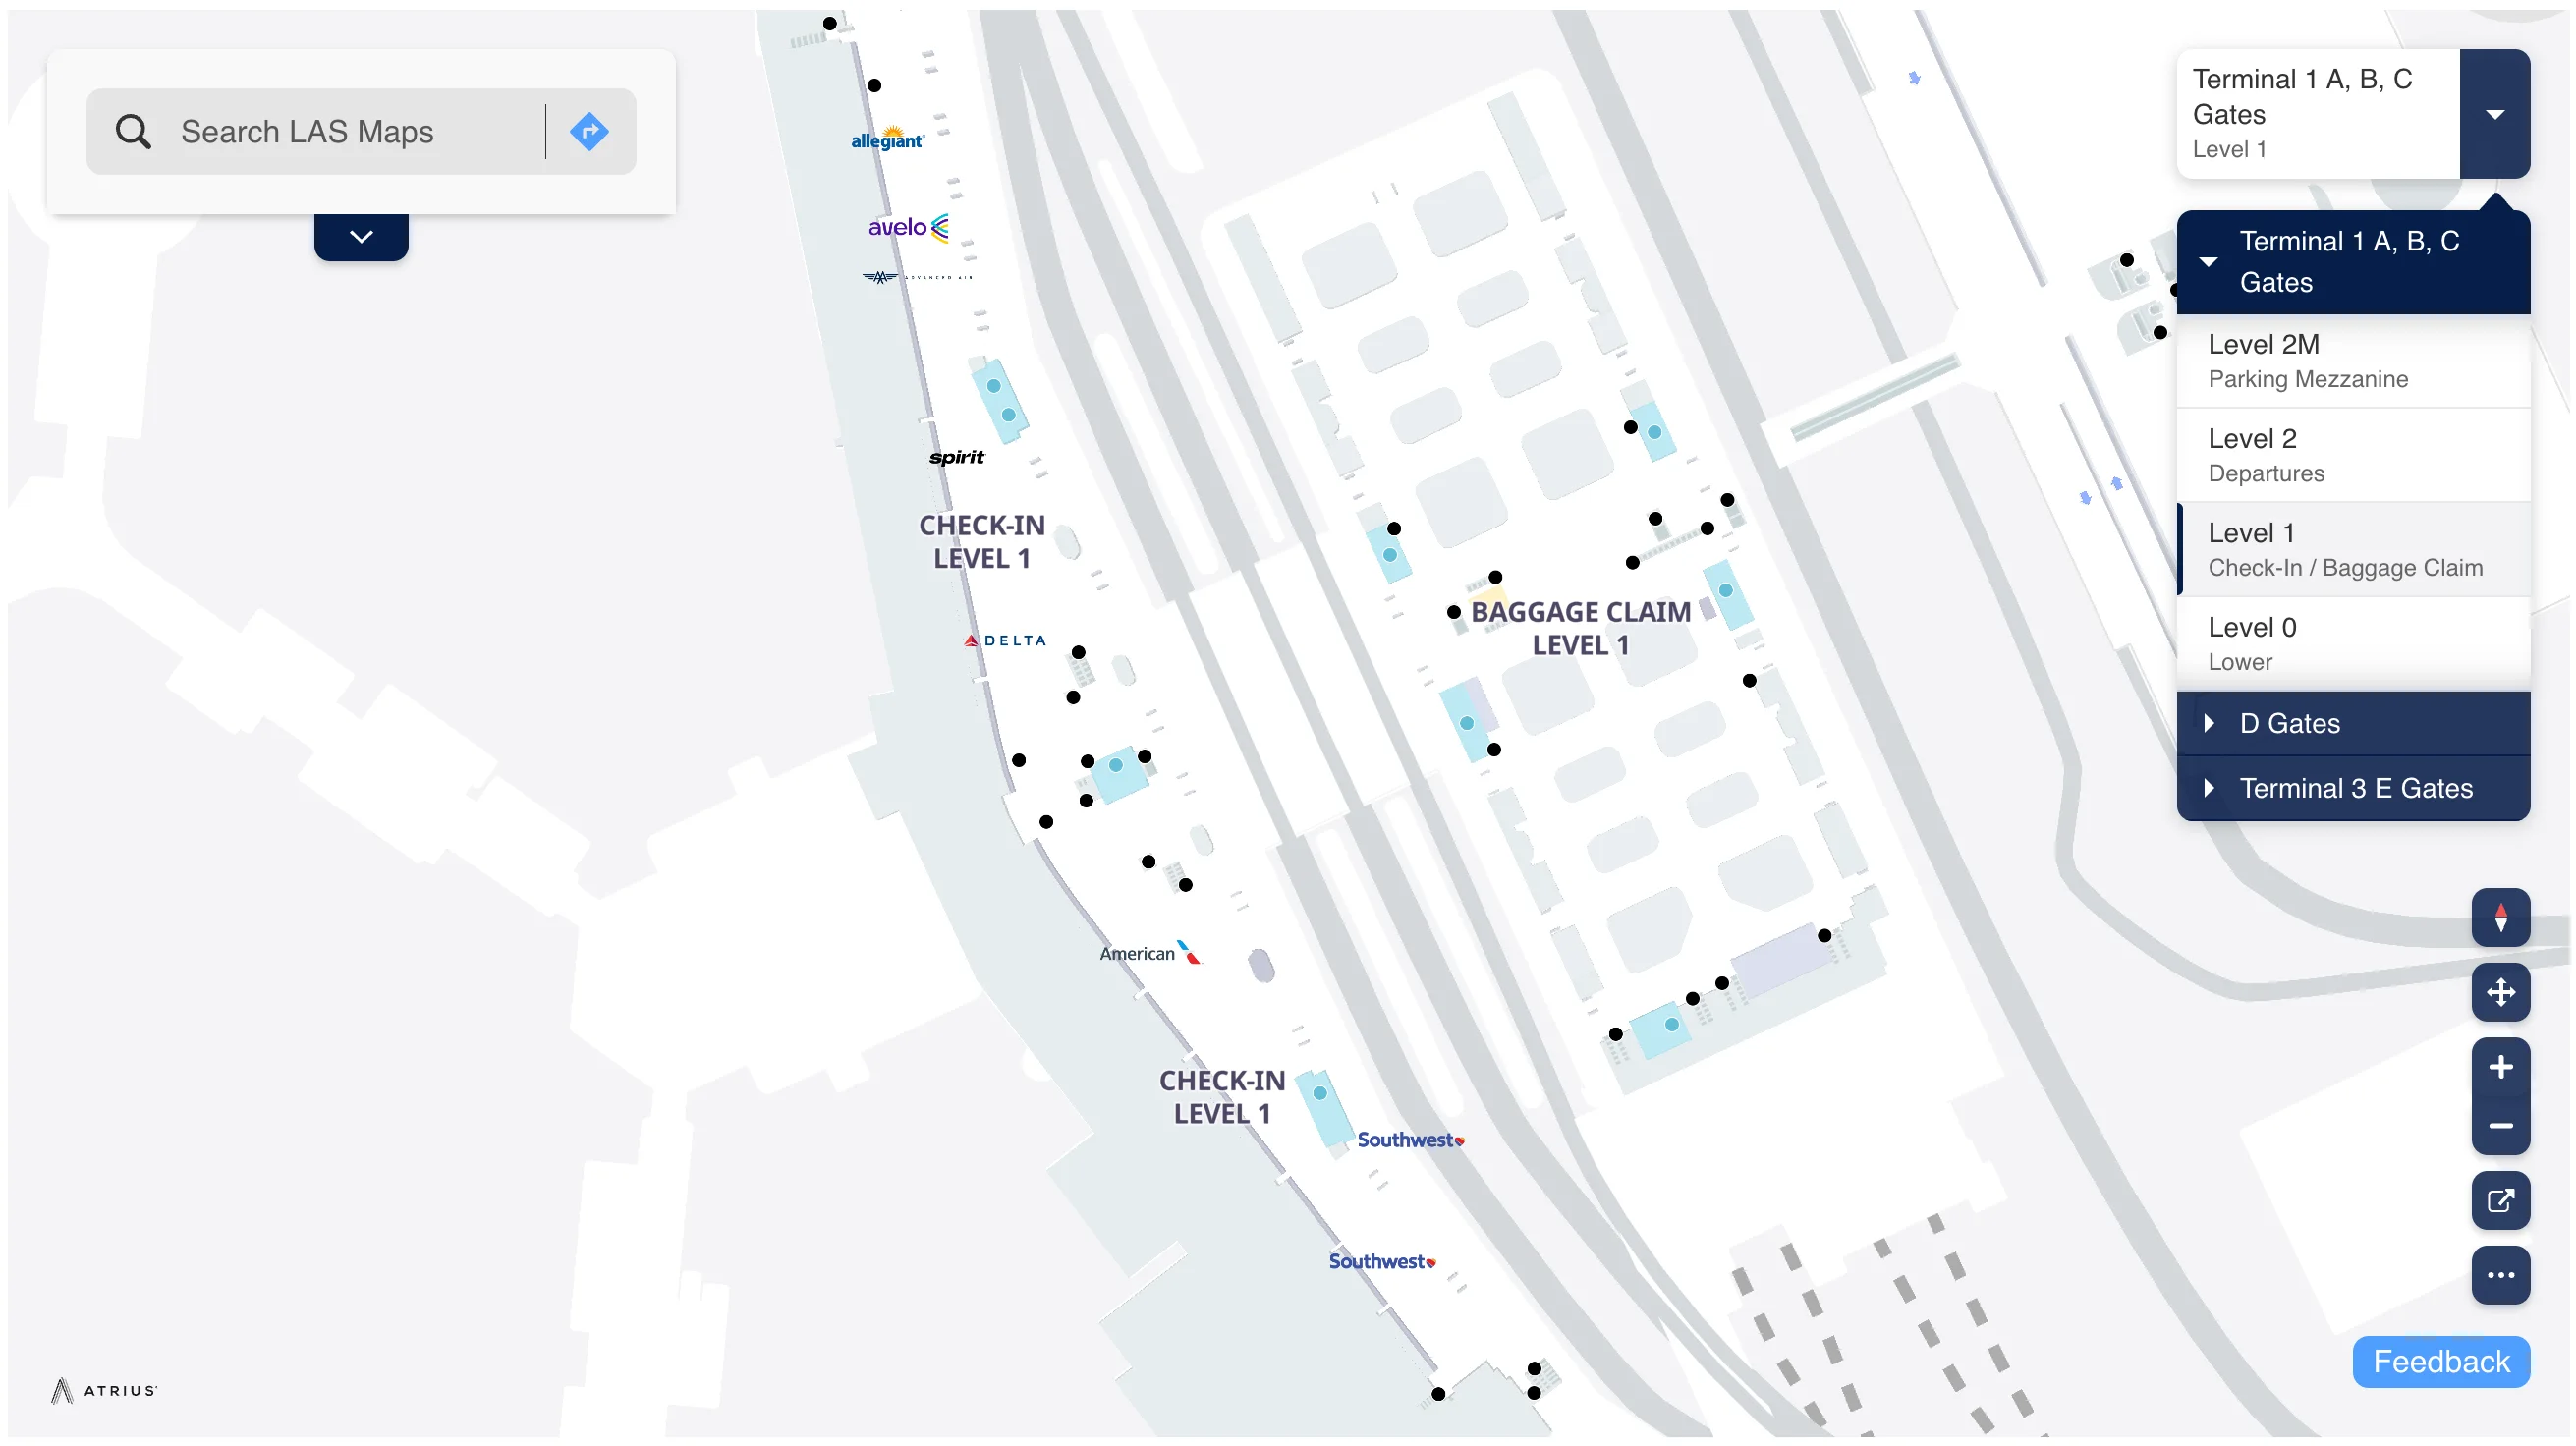
Harry Reid International Airport Terminal 1 A B C Gates Level 1 Check-In and Baggage Claim Map 2025
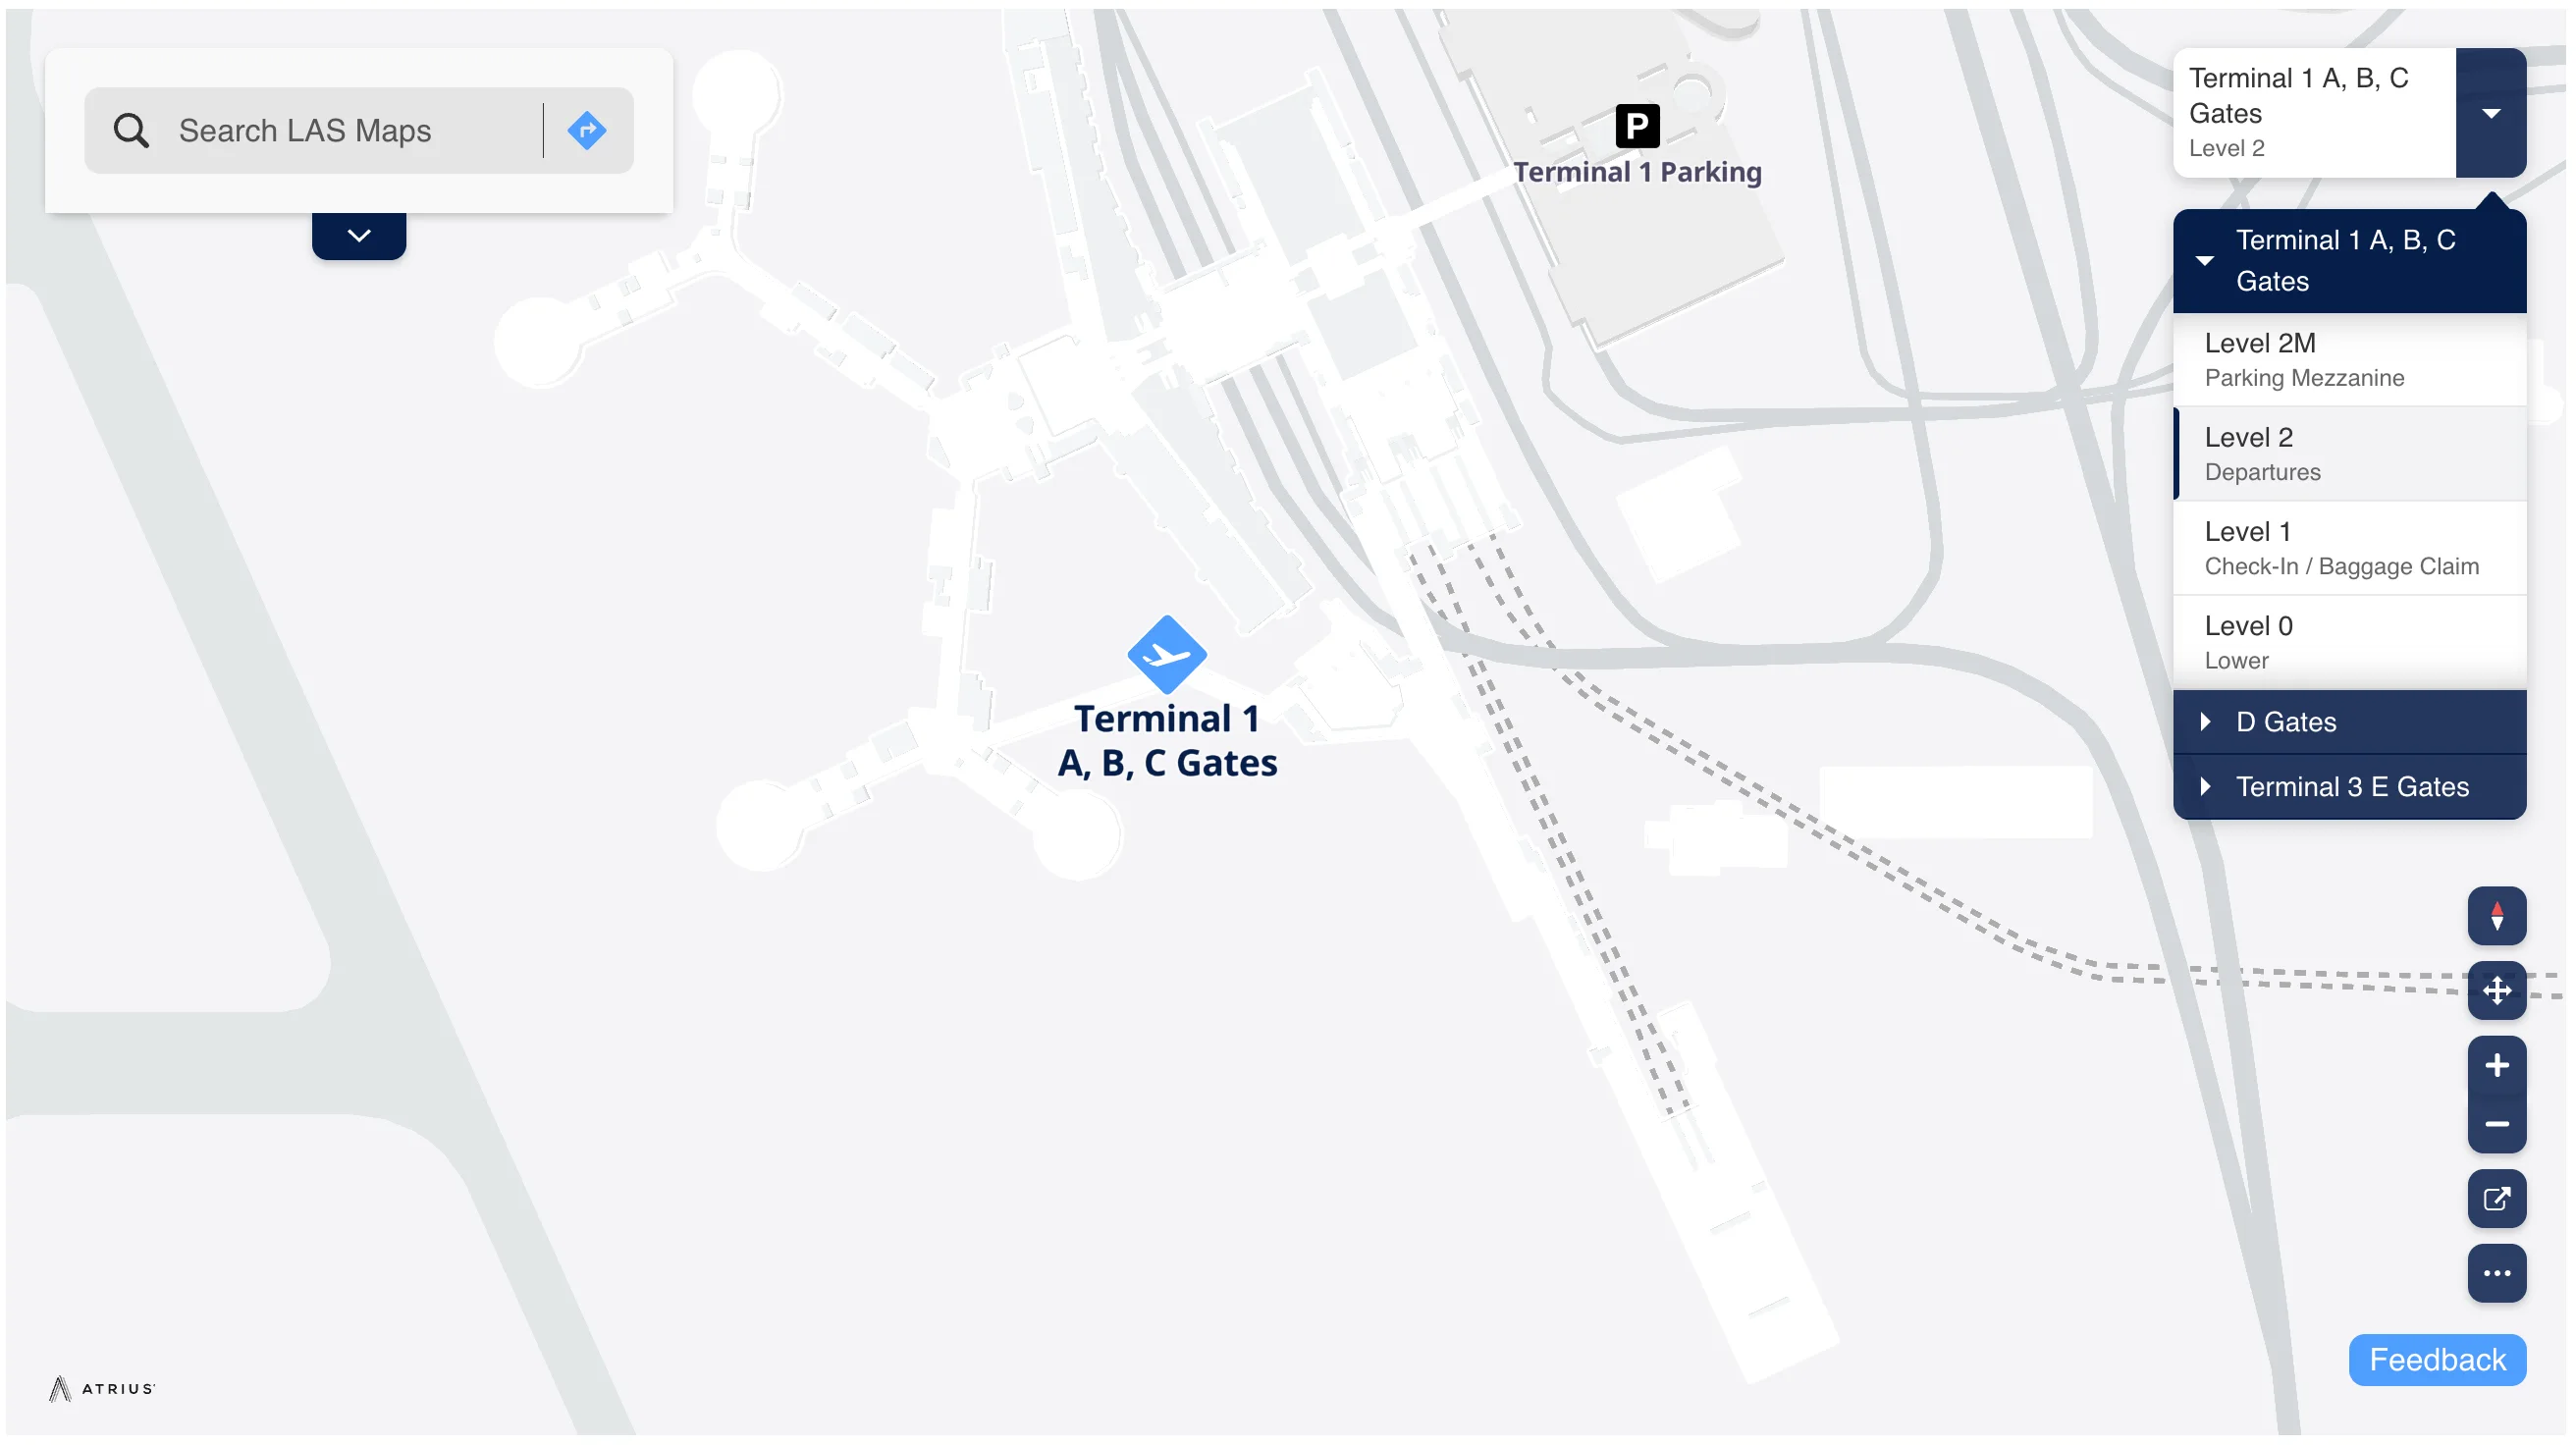
Harry Reid International Airport Terminal 1 A B C Gates Level 2 Departures Map 2025
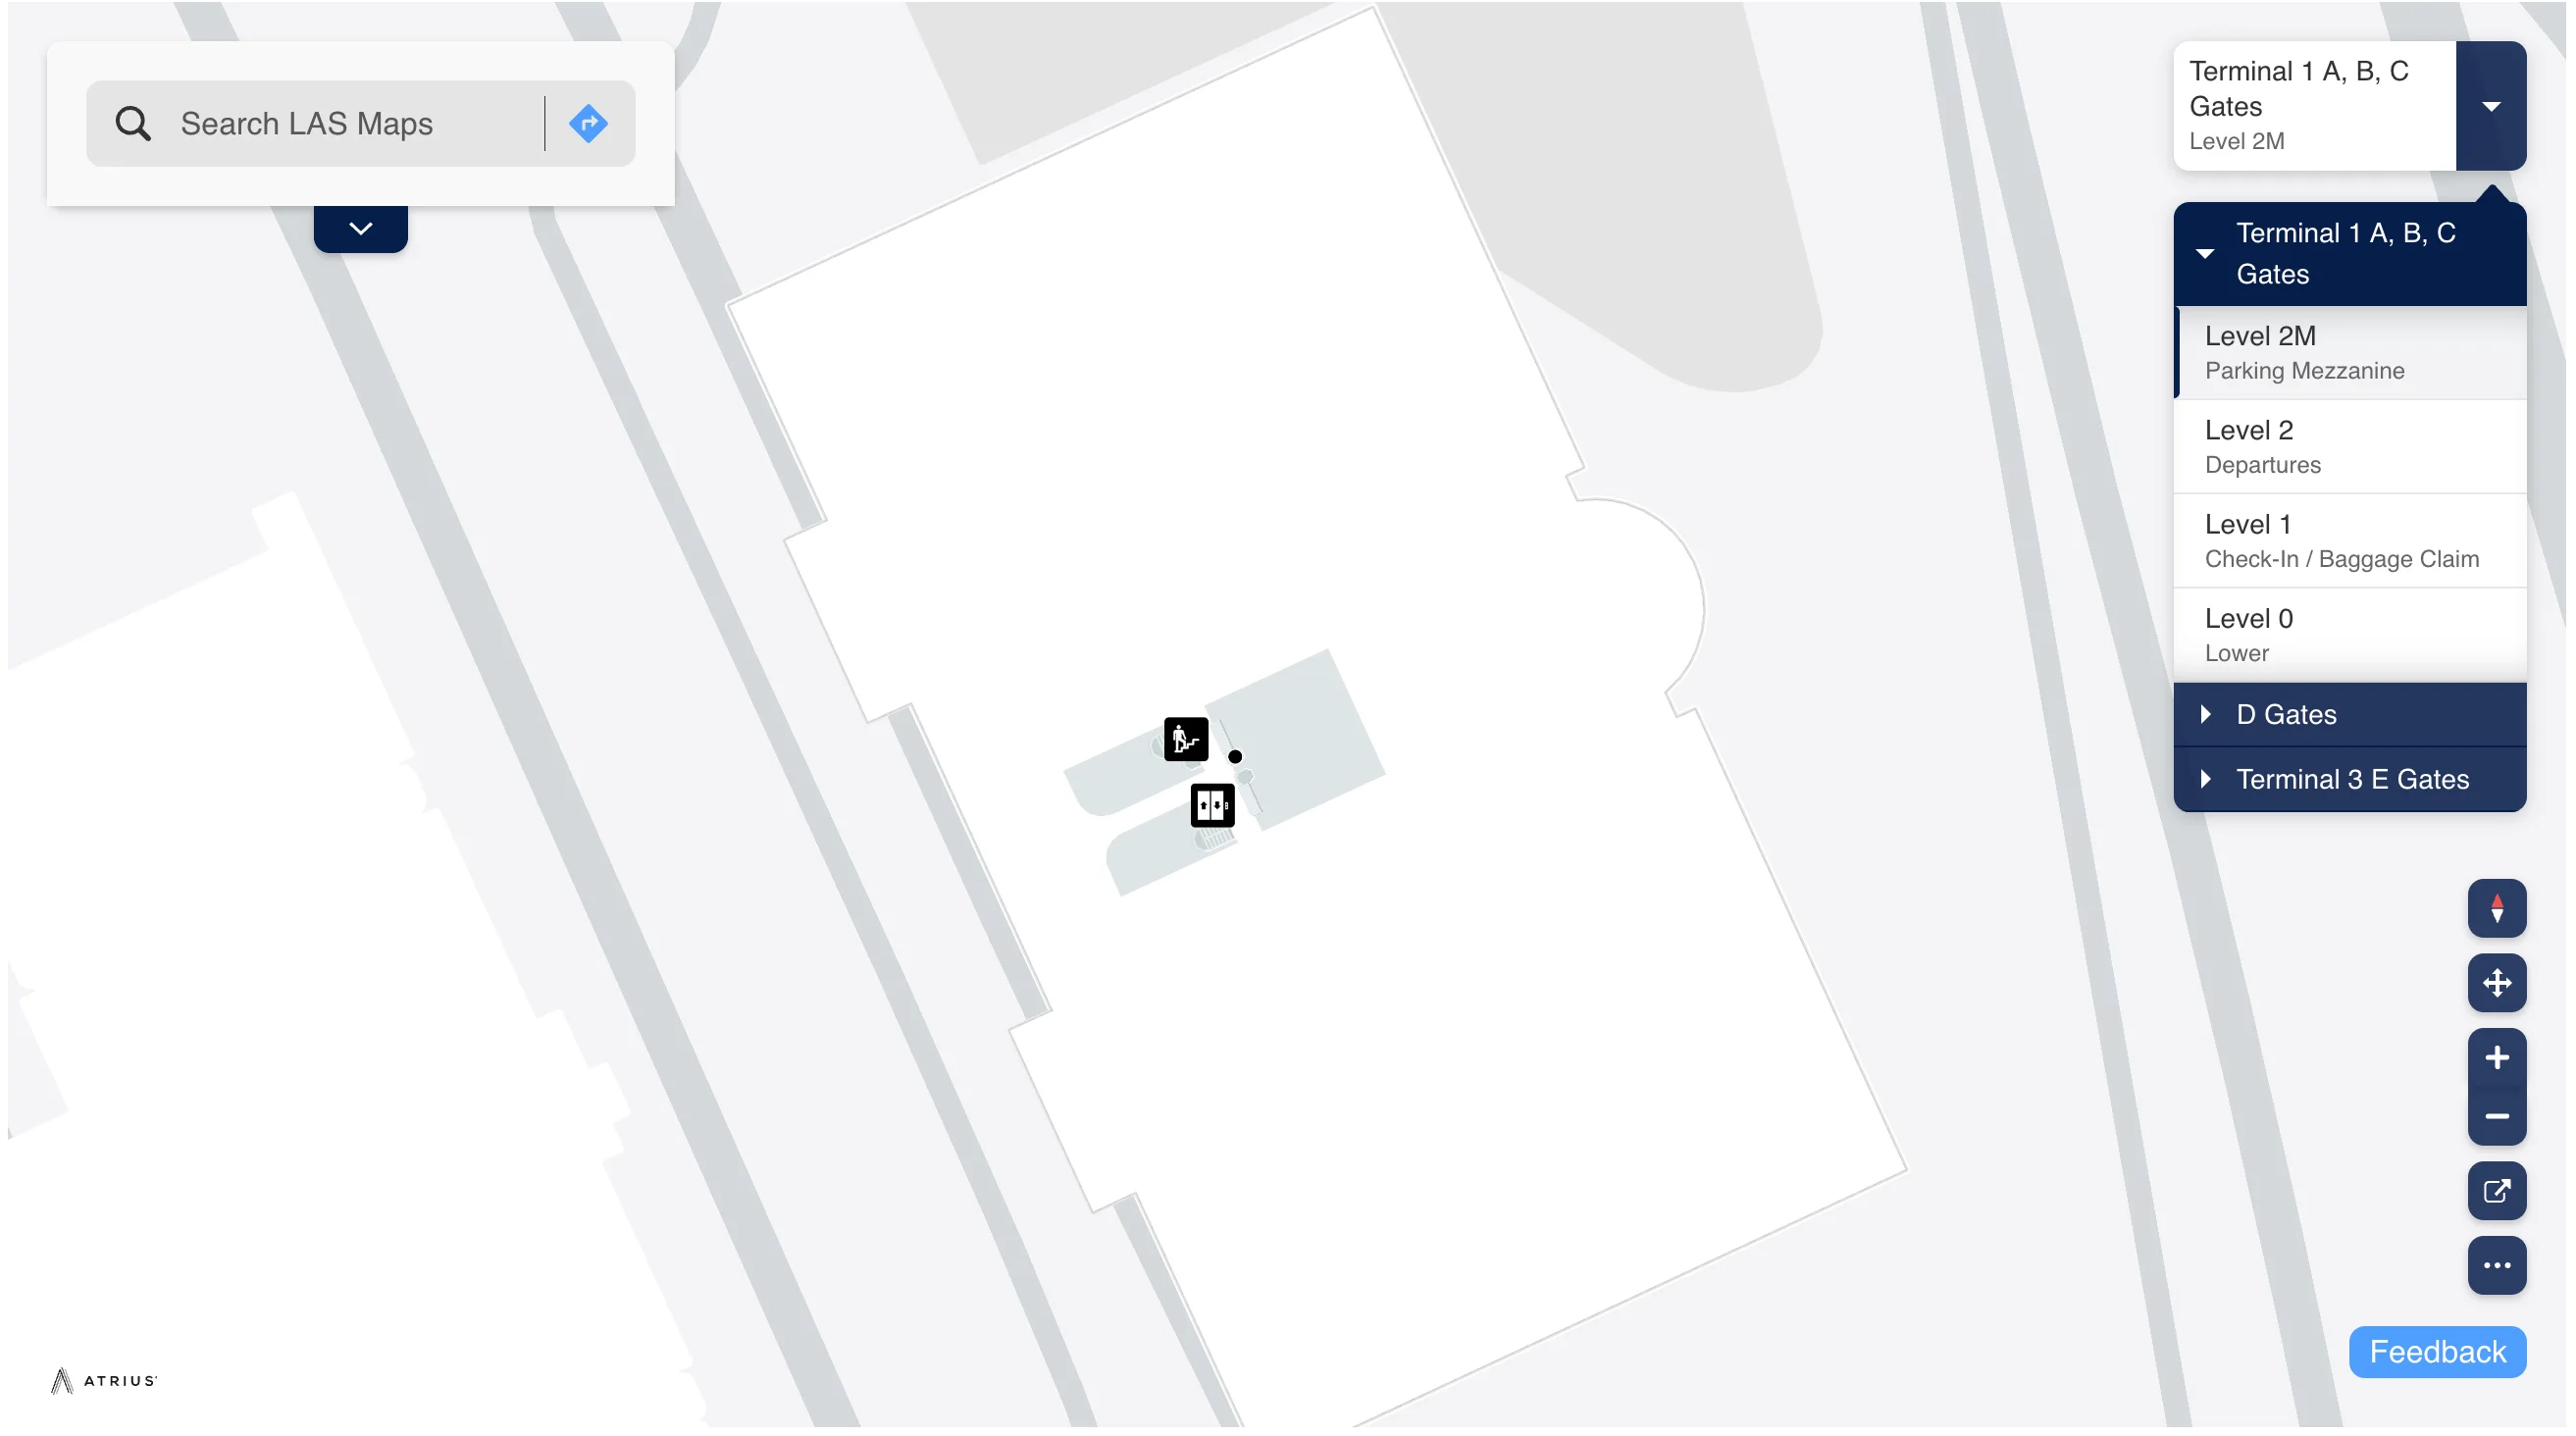
Harry Reid International Airport Terminal 1 A B C Gates Level 2M Parking Map 2025
2026 Harry Reid International Airport Terminal 1 Map Guide
Where is the D Gates building located relative to Terminal 1 on the LAS airport map?
The D Gates building is a freestanding satellite concourse directly east of Terminal 1 and west of Terminal 3, not physically attached to Terminal 1. On the map it sits between Terminal 1’s Y-shaped A/B/C concourses and Terminal 3’s E Gates complex, so it reads like a separate “island” in the middle of the airfield.
A tram-only connection defines the relationship: Terminal 1 reaches D Gates by the Blue Line from the secure-side central hub, while Terminal 3 reaches D Gates by the Red Line. There is no landside pedestrian bridge from Terminal 1 ticketing or baggage claim into the D Gates building, so trying to “walk over” outside security forces a reroute back through a checkpoint.
Which tram line connects Terminal 1 to D Gates (Green/Blue/Red)?
The Blue Line tram connects Terminal 1 to the D Gates. It runs from Terminal 1’s secure-side central hub area to the D Gates satellite concourse and is the only direct airside link from Terminal 1 to D.
The Green Line is a Terminal 1 internal spur to the C Gates and does not reach D. The Red Line runs between Terminal 3 and D Gates, so if you’re starting in Terminal 1 and you board Red, you’re already in the wrong place—your correct sequence is Terminal 1 hub → Blue Line → D Gates rotunda (then switch to Red only if you’re continuing to Terminal 3).
What is the exact airside route from Terminal 1 B Gates to D Gates that avoids exiting to baggage claim?
Walking stays fully airside by using the B-to-C connector to reach the Terminal 1 hub, then entering the Blue Line tram station to D Gates. The critical rule is that D Gates are reached by tram inside security, so any move that looks like “Exit to Baggage Claim” breaks the route and forces re-screening.
| Step | Airside landmark anchor | What to do |
|---|---|---|
| B Gates → C connector | corridor by the C Annex connection | follow signs toward C Gates / terminal hub, not “Exit” |
| C connector → hub pivot | Gate C25 / Coffee Bean & Tea Leaf area | continue toward the central hub where the tram stations are |
| Hub → Blue Line station | Blue Line platform next to the Green Line area | enter the Blue Line station (not Green) |
| Blue Line → D Gates | D Gates rotunda (tram level) | ride the tram, then follow D Gates signage up to gates |
Where is the “wrong turn” point near the Terminal 1 A/B security area where following “D Gates” can route you landside?
The wrong turn happens immediately after clearing the Terminal 1 A/B Security Checkpoint at the split where one path continues into the secure connector and another funnels into the “Exit to Baggage Claim” breach. If you interpret “D Gates” guidance as meaning you must leave this checkpoint area to find a different building, you can accidentally take the exit corridor and become landside.
The map-verified fix is to stay in the secure connector and aim toward the C Gates direction (the same general flow that leads toward the central hub near Gate C25), because the Blue Line tram to D is inside security. Once you cross into baggage claim, you cannot reverse back into the secure area without going to the C/D checkpoint and re-clearing screening.
Where is the Blue Line tram station entrance inside Terminal 1 (the exact map position)?
The Blue Line station entrance is on the secure (airside) side in Terminal 1’s central hub area, aligned with the C/D Security Checkpoint and adjacent to the Green Line station area. On the map it appears as the tram-station node you reach after you’re past the C/D checkpoint flow, before the trains run out to the detached D Gates concourse.
The easiest triangulation is to use Gate C25 as the nearby concourse anchor: from the C Gates spine near the C25 / Coffee Bean area, follow the airside hub corridor toward the tram platforms, then select the Blue Line (to D Gates), not the Green Line (to C Gates). If you find yourself being pushed toward an “Exit” corridor or anything labeled for baggage claim, you’ve drifted landside.
What is the mapped walking distance from Terminal 1 C Gates to the Blue Line station for D Gates?
Walking time from the far end of C Gates (around Gate C25) to the Blue Line station is about 5 minutes airside. The distance changes sharply depending on where you are on Concourse C, because the Blue Line station sits back at the central hub, not out on the C Gates tip.
| Start point on C Gates | Anchor landmark | Mapped transfer to Blue Line (to D Gates) |
|---|---|---|
| Near Gate C25 | C25 / Coffee Bean & Tea Leaf area | ~5 min walk to the hub tram platforms |
| Near Gate C1 | low-numbered C Gates near the concourse entrance | 15+ min if walking the full concourse; faster by taking Green Line back to the hub |
Where is the airside transfer point at D Gates to switch from the Blue Line (to T1) to the Red Line (to T3)?
The transfer point is the D Gates rotunda on the tram level (Level 0), where the Blue Line and Red Line stations face each other across the central atrium. You switch by staying on the lower tram lobby level and walking across the rotunda from the Blue Line side (Terminal 1) to the Red Line side (Terminal 3).
The common failure mode is going up the escalators to the D Gates gate level (Level 2) after arriving on Blue, then looking for a “connector” to Terminal 3. The map logic is simpler: arrive on Blue → remain on tram level → cross the rotunda → board Red to Terminal 3.
Where is the Terminal 3 E Gates elevator located that bypasses the down-only escalators when arriving by tram?
The elevator is in the Terminal 3 tram station core on the Red Line arrival level (Level 0), positioned near the central art landmark often described as the “Rabbit” sculpture and the escalator banks. On the map, it sits in the same tram-lobby cluster where passengers spill out from the Red Line trains before heading up toward the E Gates departures level.
The practical triangulation is: step off the Red Line at Terminal 3 → stay in the tram-station atrium → look for the elevator bank in the same sightline as the main escalators and the large sculpture/display area. Using the elevator avoids the escalator choke point when escalators are down-only or congested.
What is the shortest mapped route from Terminal 1 baggage claim Door 2 to the Terminal 1 rideshare pickup area?
Walking stays shortest by using Door 2’s adjacent elevator to go up before you cross into the garage, because rideshare is on the garage Level 2M, not at the arrivals curb. From Door 2, the route is elevator up to Level 2, then across the Level 2 pedestrian bridge into the parking garage, then follow rideshare signs to the Level 2M pickup lanes.
The key anchor is the Door 2 elevator: exiting at other doors often leads travelers to cross the Level 1 bridge into the garage passenger-pickup area and then wander looking for Uber/Lyft on the wrong level. If you’re outside at the baggage-claim curb on Level 1, you’re not in the rideshare pickup zone yet—rideshare requires going up, crossing the bridge, and entering the garage’s dedicated Level 2M area.
Where is the pedestrian bridge from Terminal 1 to the parking garage for rideshare pickup (exact connection point)?
The rideshare-relevant bridge connection is the Level 2 pedestrian bridge that links Terminal 1 into the parking garage, reached most directly by taking the elevator near baggage claim Door 2 up to Level 2. On the map, it’s the elevated walkway spanning the roadway from the terminal into the garage structure, separate from the Level 1 bridge used for standard passenger pickup in the garage.
The failure mode is taking the Level 1 bridge first (from baggage claim level) and entering the garage at passenger-pickup level, then trying to find rideshare from inside the garage by hunting for an elevator to go up to 2M. The shortest, lowest-confusion path is: Door 2 → elevator → Level 2 → cross the Level 2 bridge → rideshare zone on garage Level 2M.
Which Terminal 1 doors are closest to the rental car shuttle stop (doors 10–11 median)?
Doors 10 and 11 are the closest Terminal 1 doors to the rental car shuttle stop, because the shuttle loads from the center median directly outside those doors on Level 1. If you exit anywhere else, you’re usually adding a long luggage drag along the arrivals frontage to reach the correct loading island.
The critical map cue is “center median,” not curbside: the rental car shuttle pickup point is not at the building curb next to Door 10 or Door 11, but on the island across the roadway. Exiting at Doors 1–4 puts you in the taxi zone instead, and you’ll need to walk most of the terminal frontage to reach the doors 10–11 shuttle area.
Where does the rental car shuttle queue physically form relative to Terminal 1 doors 10 and 11?
The rental car shuttle queue forms on the center median island directly across the roadway from Doors 10 and 11, not on the building-side curb at the terminal wall. That median is the loading point, so you need to cross to the island area aligned with the Doors 10–11 frontage to join the correct line.
The failure pattern is waiting at Door 10 on the curb and assuming buses will pull up to the building; they don’t load there. Use the doors as your alignment marker (stand opposite Door 10–11), then verify you’re on the island/median where other rental-car passengers and stanchions typically collect, rather than in any taxi or general shuttle line nearer Doors 1–4.
Where is the Terminal 1 inter-terminal shuttle stop on Level Zero relative to baggage claim exits and the covered garage crosswalk?
The inter-terminal shuttle stop is on Level Zero, one level below baggage claim, reached by going down from the baggage claim level and exiting the building to cross toward the covered garage-side waiting area. Relative to baggage claim, the map logic is “down first, then cross,” because the shuttle does not stage on the Level 1 arrivals curb.
The anchor to look for is the pedestrian crosswalk that leads toward the garage structure: once you’re on Level Zero outside the terminal, the shuttle stop sits near that covered/garage-adjacent waiting zone. The common wrong-level mistake is waiting outside baggage claim doors on Level 1; with ~20–30 minute frequency, being on the wrong level can cost a full shuttle cycle.
Where is the Terminal 1 taxi pickup zone located (doors 1–4) on the baggage-claim-side map?
The taxi pickup zone is on the baggage-claim-side curb on Level 1 outside Doors 1 through 4. On the map it’s the ground-transport segment clustered at the low-numbered doors, separated from the rental car shuttle area at Doors 10–11 and from the garage bridge routes used for passenger pickup and rideshare.
The easiest triangulation is to use Door 2 as the center reference: Door 2 sits inside the taxi door range, so stepping out there typically places you in or near the taxi staging flow. If you walk toward Doors 10–11 you’ll leave the taxi zone and enter the rental car shuttle frontage, and if you cross the bridge into the garage you’ll be leaving the terminal curb system entirely.
Where is the arrivals passenger pickup curb location in Terminal 1 (exact curb/door zone on the map)?
There is no curbside private passenger pickup zone at the Terminal 1 baggage-claim doors on the map, because personal vehicles are routed to the parking garage pickup area across the pedestrian bridge. The designated pickup location is inside the parking garage on Level 1 (passenger pickup), not at any specific terminal door on the Level 1 curb.
The map anchor is the pedestrian bridge from Terminal 1 into the garage: passengers exit baggage claim, cross the bridge, and meet their driver in the garage pickup lanes. The failure mode is waiting at Doors 1–15 on the terminal curb while the driver is circulating the garage pickup zone; the two areas are visually disconnected, and enforcement typically moves private vehicles off the terminal curb.